Quick Knits & Crafts

Scrappy Socktober!

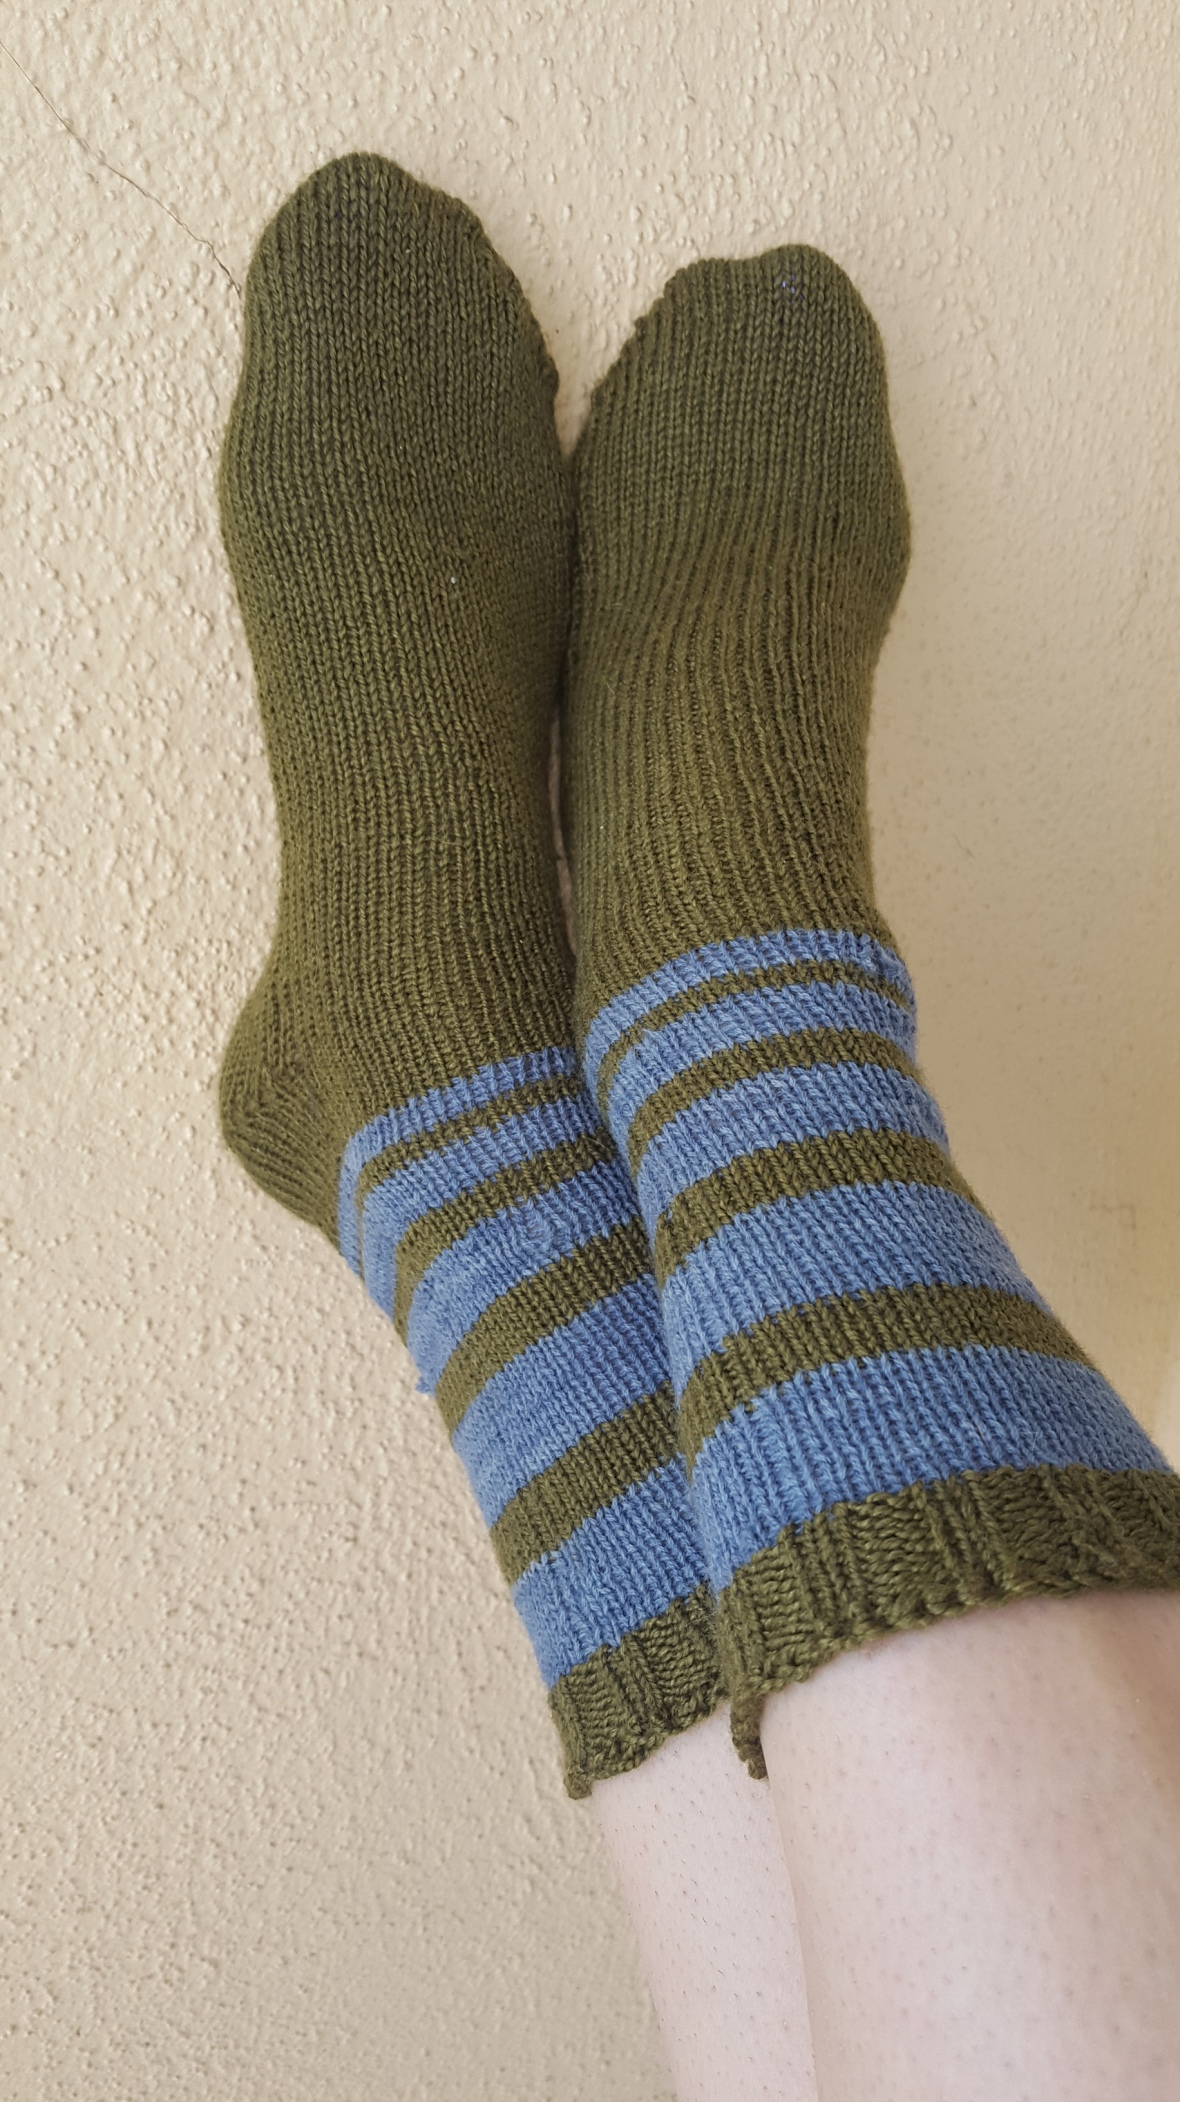
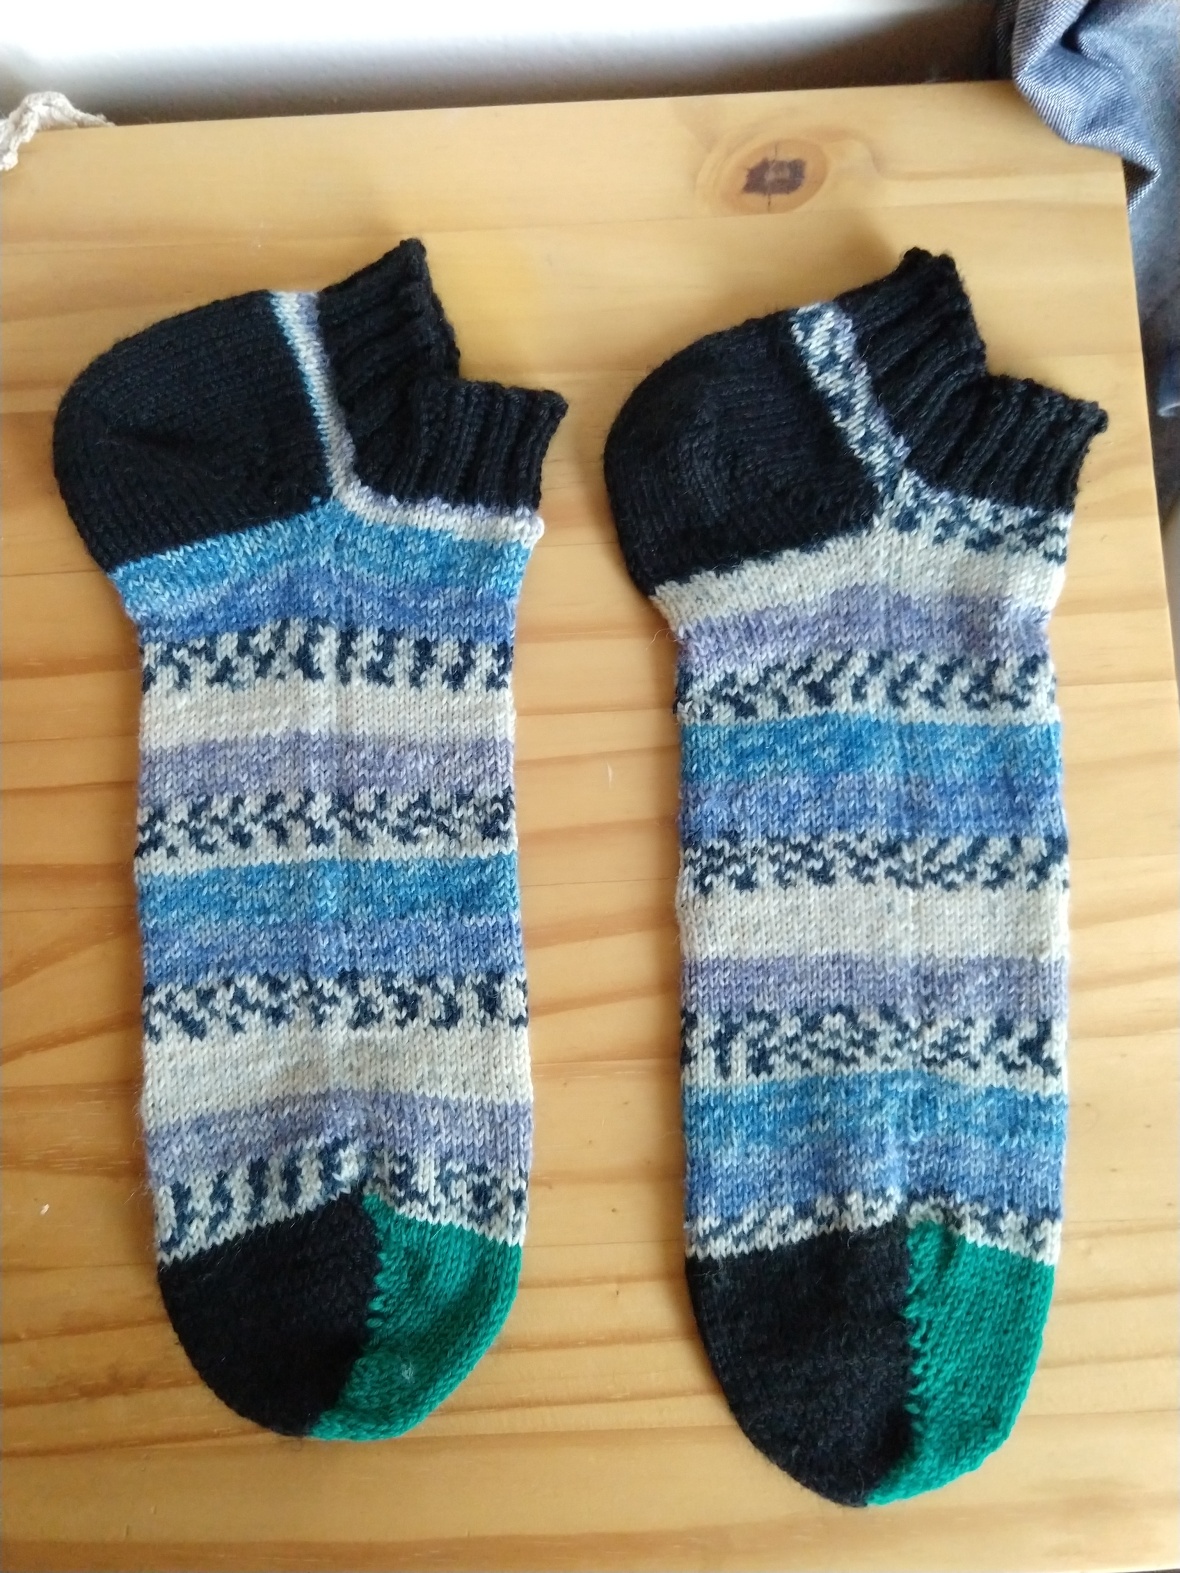
Oh hey, I made a pair of socks from scrap yarn!

2018-09-21 18.43.15

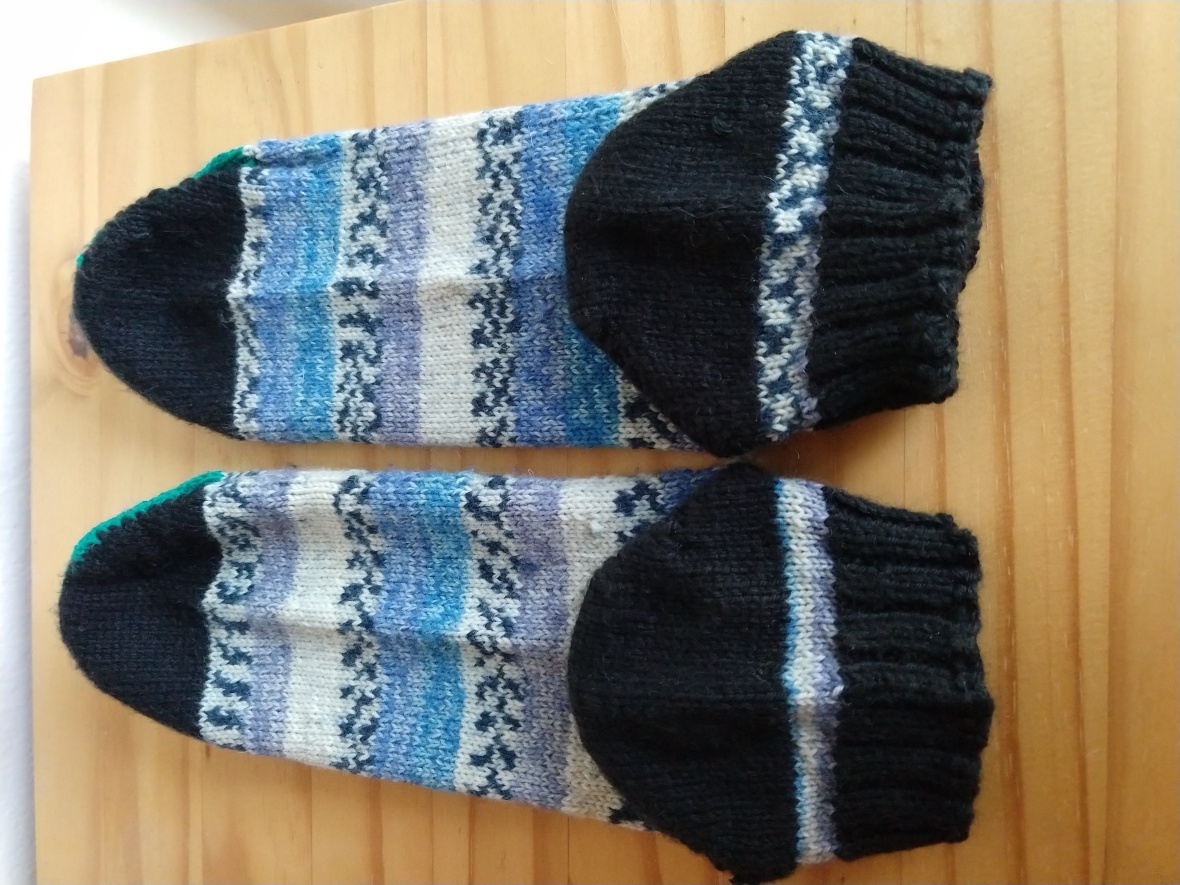
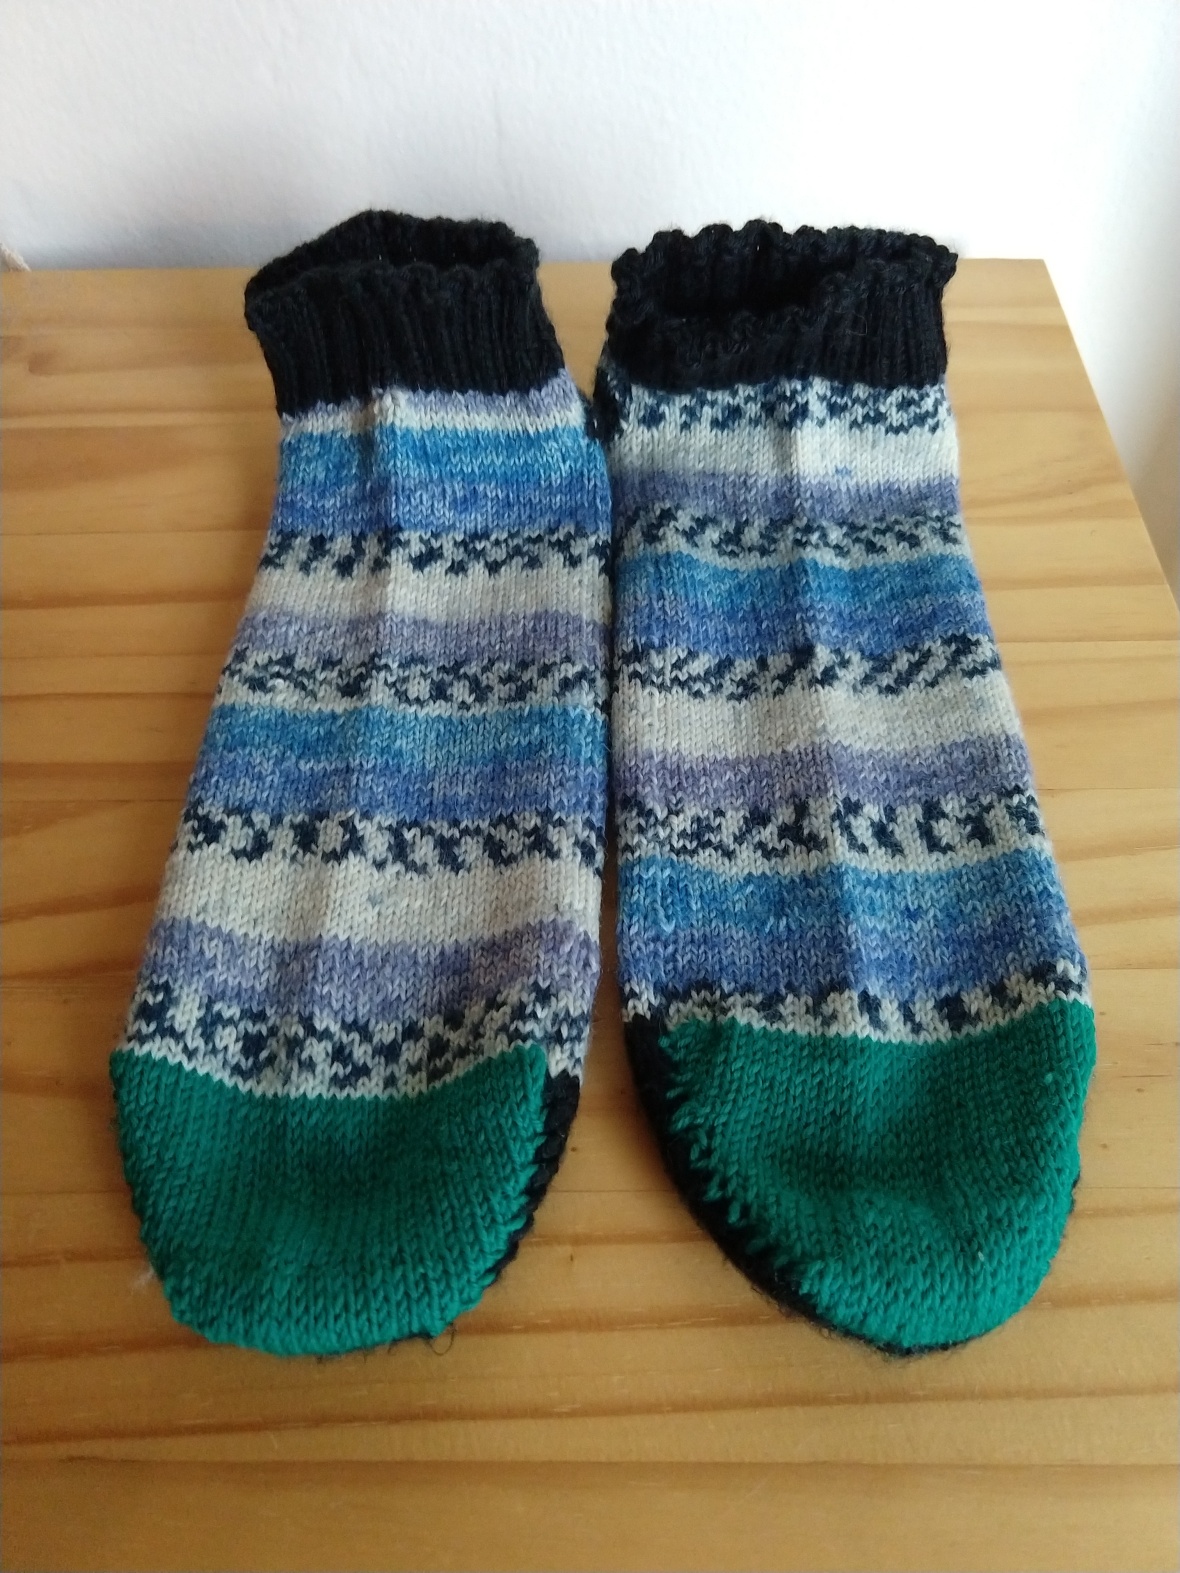
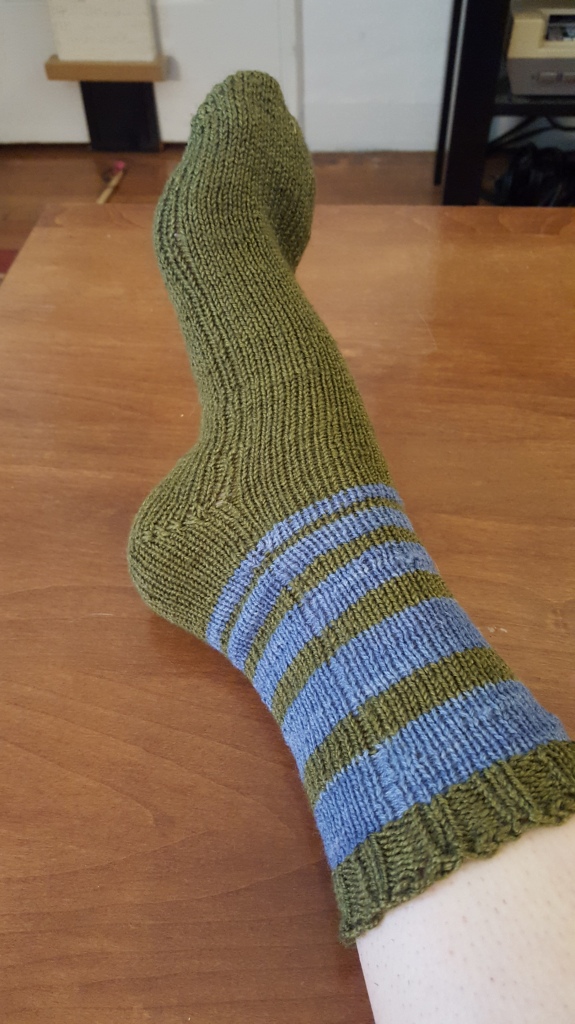
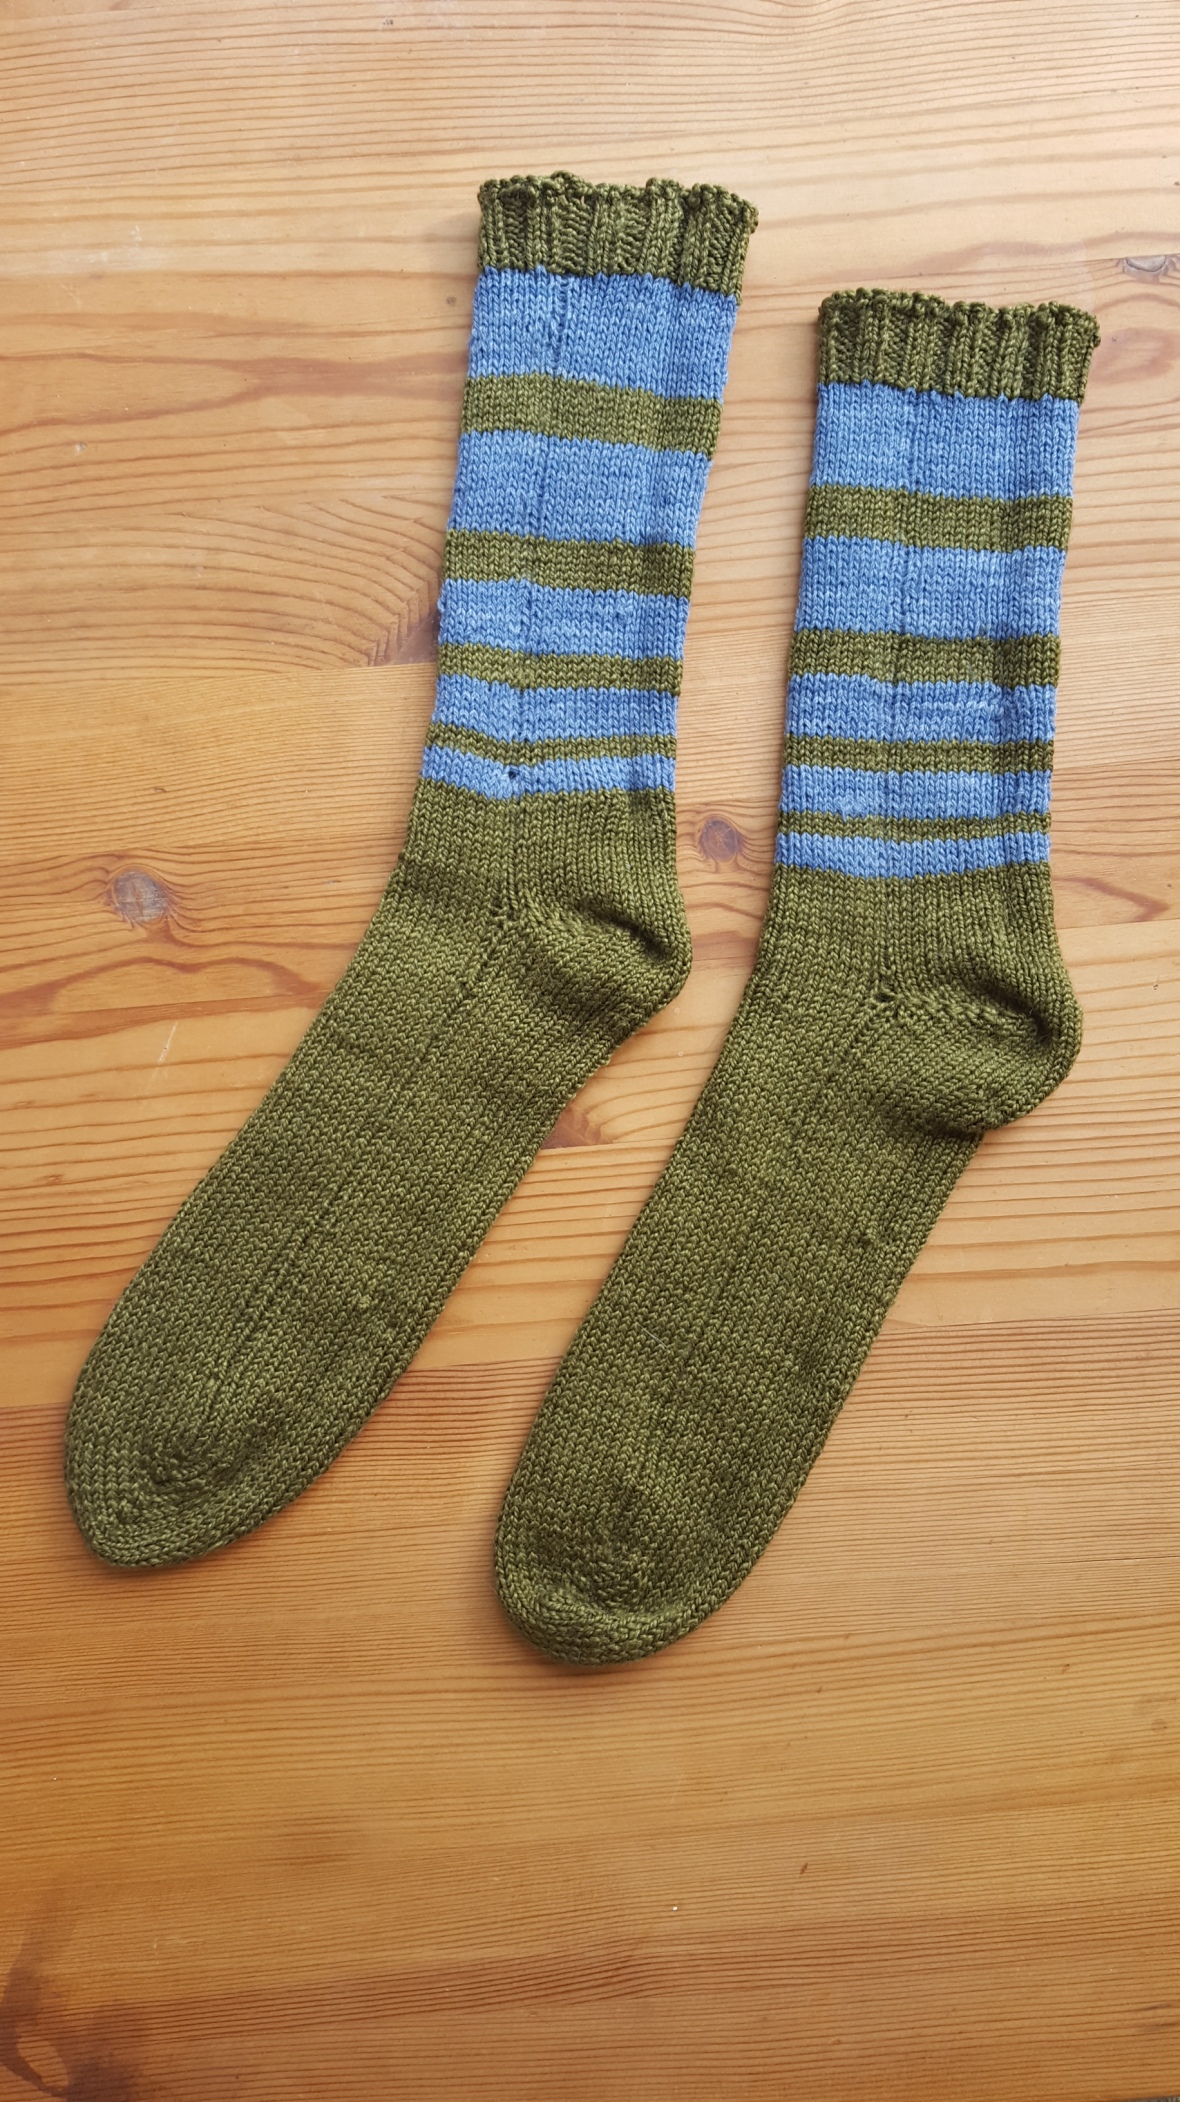
I made these ankle socks for Andrew out of leftover wool blend sock yarn from several different projects. I used my “go to” sock pattern, the Universal Toe up Sock Formula, and switched to magic loop after completing the toes.

2018-09-21 18.45.35

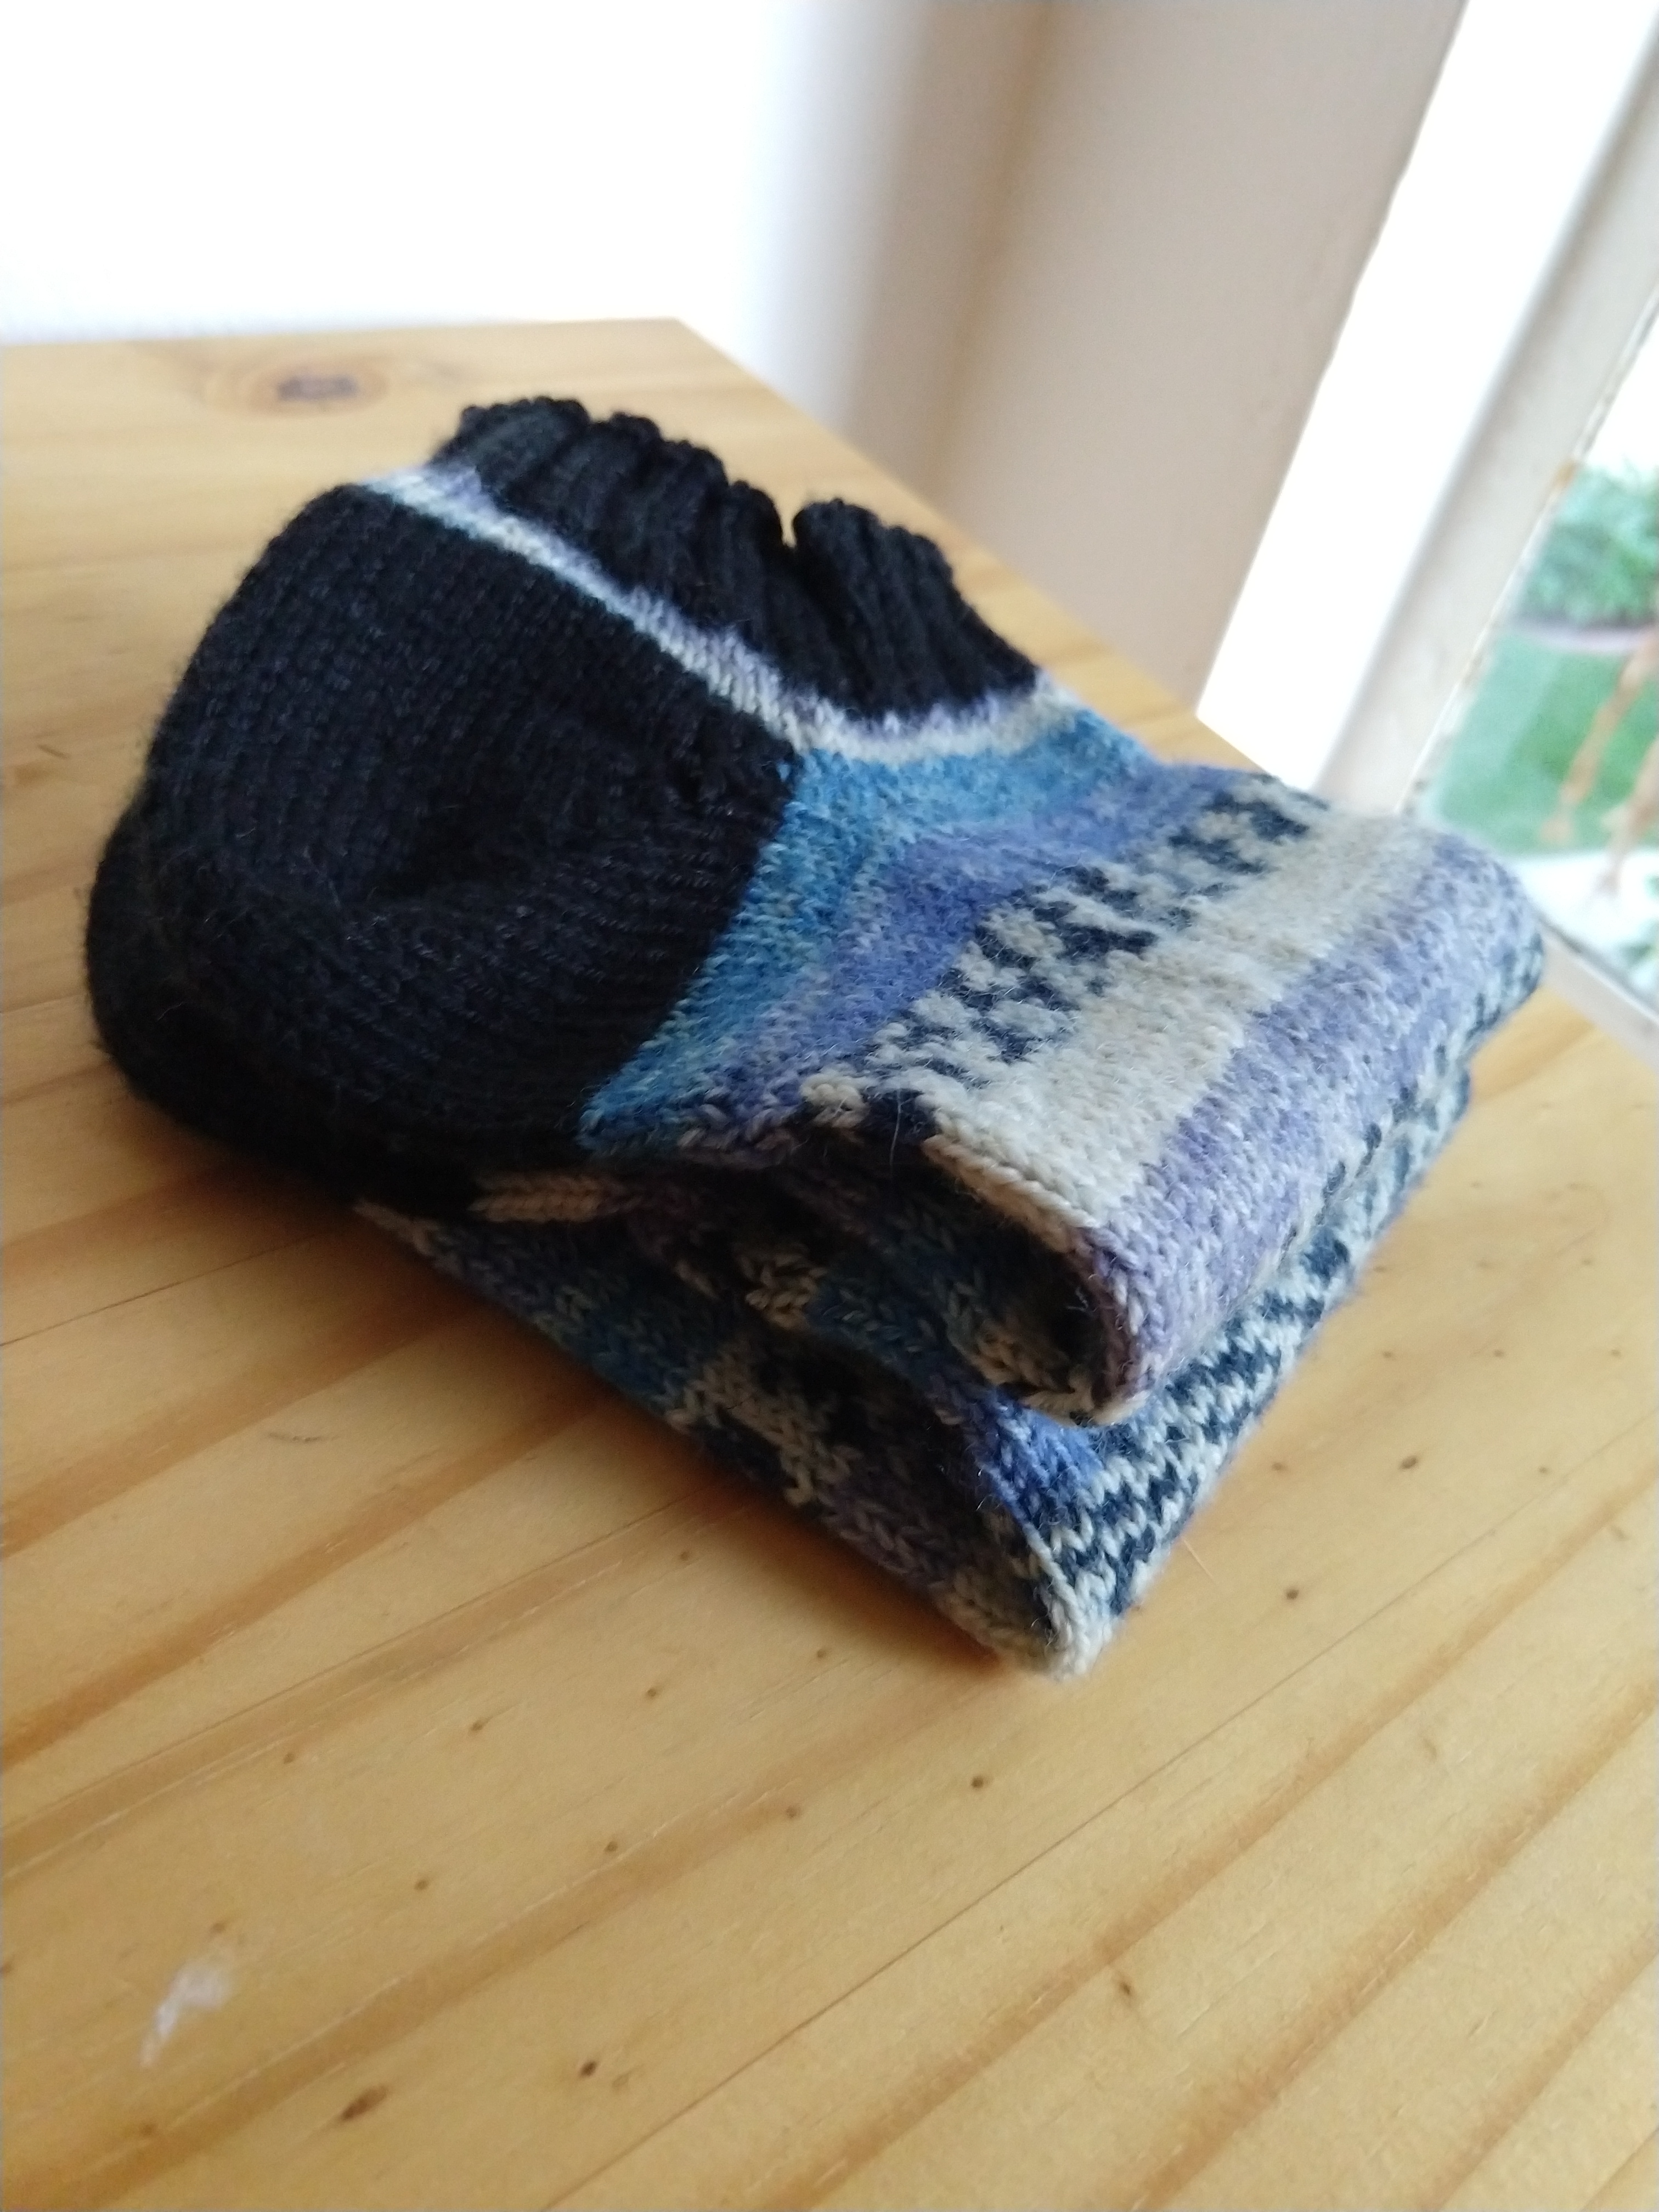
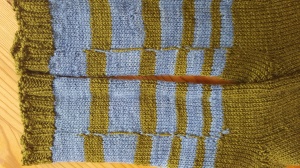
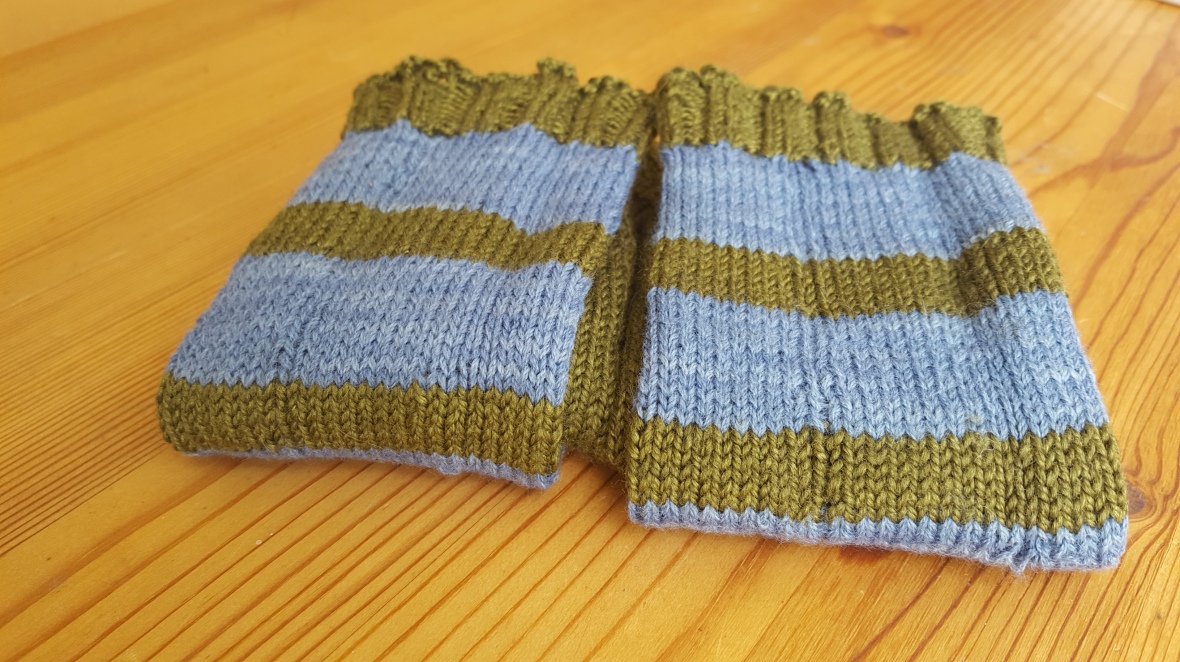
I worked hard to make the self-striping blue yarn look the same on each sock, but these twins are definitely fraternal, not identical. Each yarn ended up creating a unique little stripe just before the ribbing! The striped yarn is leftover from my earliest sock gift back in 2013, which I blogged about in a blue-themed post.

2018-09-21 18.44.57

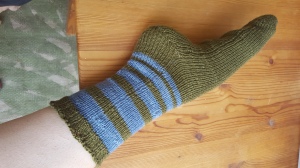
The teal toes are probably my favorite part of these. I made a pair of fern-patterned socks out of the teal yarn back in 2012, which I blogged about here. I also made a really cool Halloween costume piece that used this yarn, which I still need to blog about someday.

2018-09-21 18.46.00.jpg I think 2018 is the first year that I’ve ever finished two pairs of socks! And just in time for Socktober. I mean, technically I finished them in September, but with highs in the 80s, it as been too warm for them to get any wear.  Yet. So these are Socktober socks for sure.

Here’s to cooler days and warm socky nights.


Quick Knits & Crafts, Sewing & Fabric Crafts

Home Decor Craft: “Is it worth it? Let me work it” Edition

In the last year, I did three home decor projects for our apartment: a window shade, a rag rug, and two bench cushions.

Here, I will evaluate each craft in the style of Missy Elliott’s “Work It.” (Yes, the post title is a Missy Elliott reference)


Roll-up paper window shade

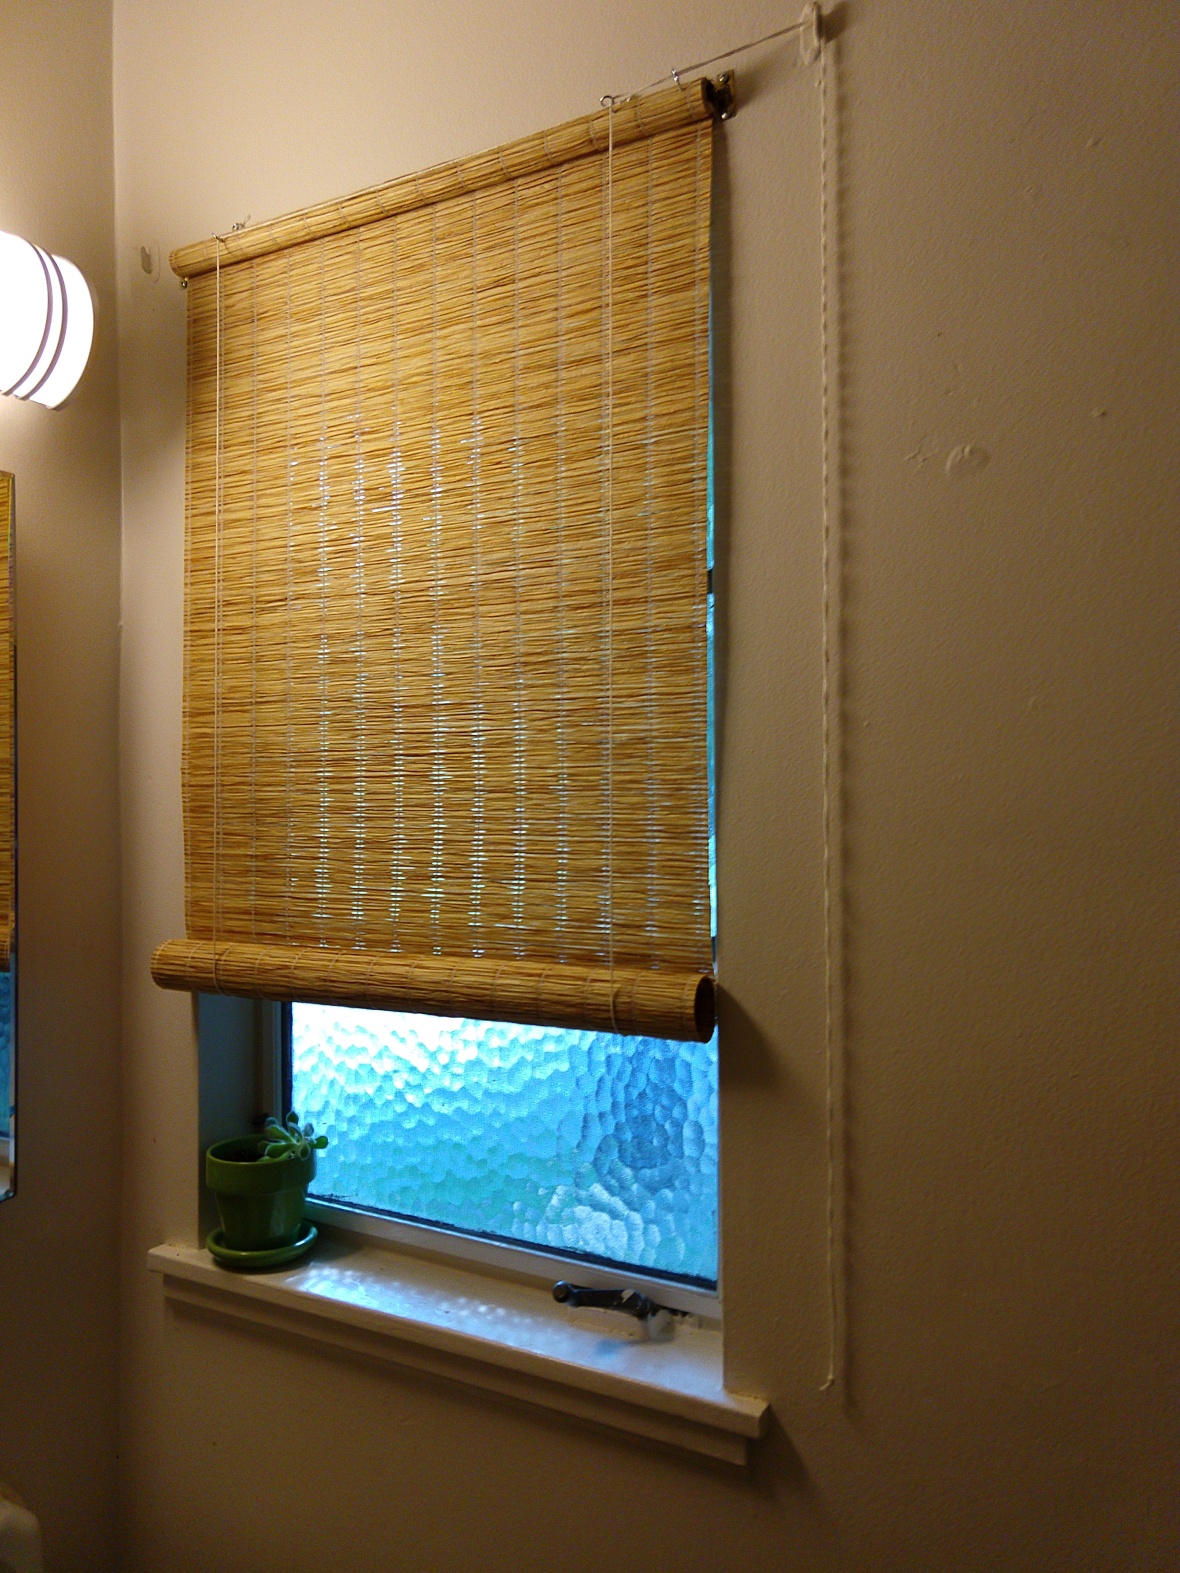
Worth it? Yes.2018-08-09 09.33.51

I spent about $3 to purchase the paper panel curtain from a thrift store and the screw eyes from the hardware store. The panel curtain is Anno Stra from Ikea but it looks like they don’t carry it anymore—they have similar panels for about $10. I already had the string on hand.

Time wise, it only took me about 15 to 20 minutes, start to finish.

Work it. 

2018-08-09 09.34.19      2018-08-09 09.47.04

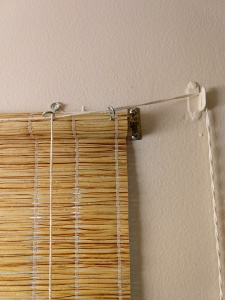
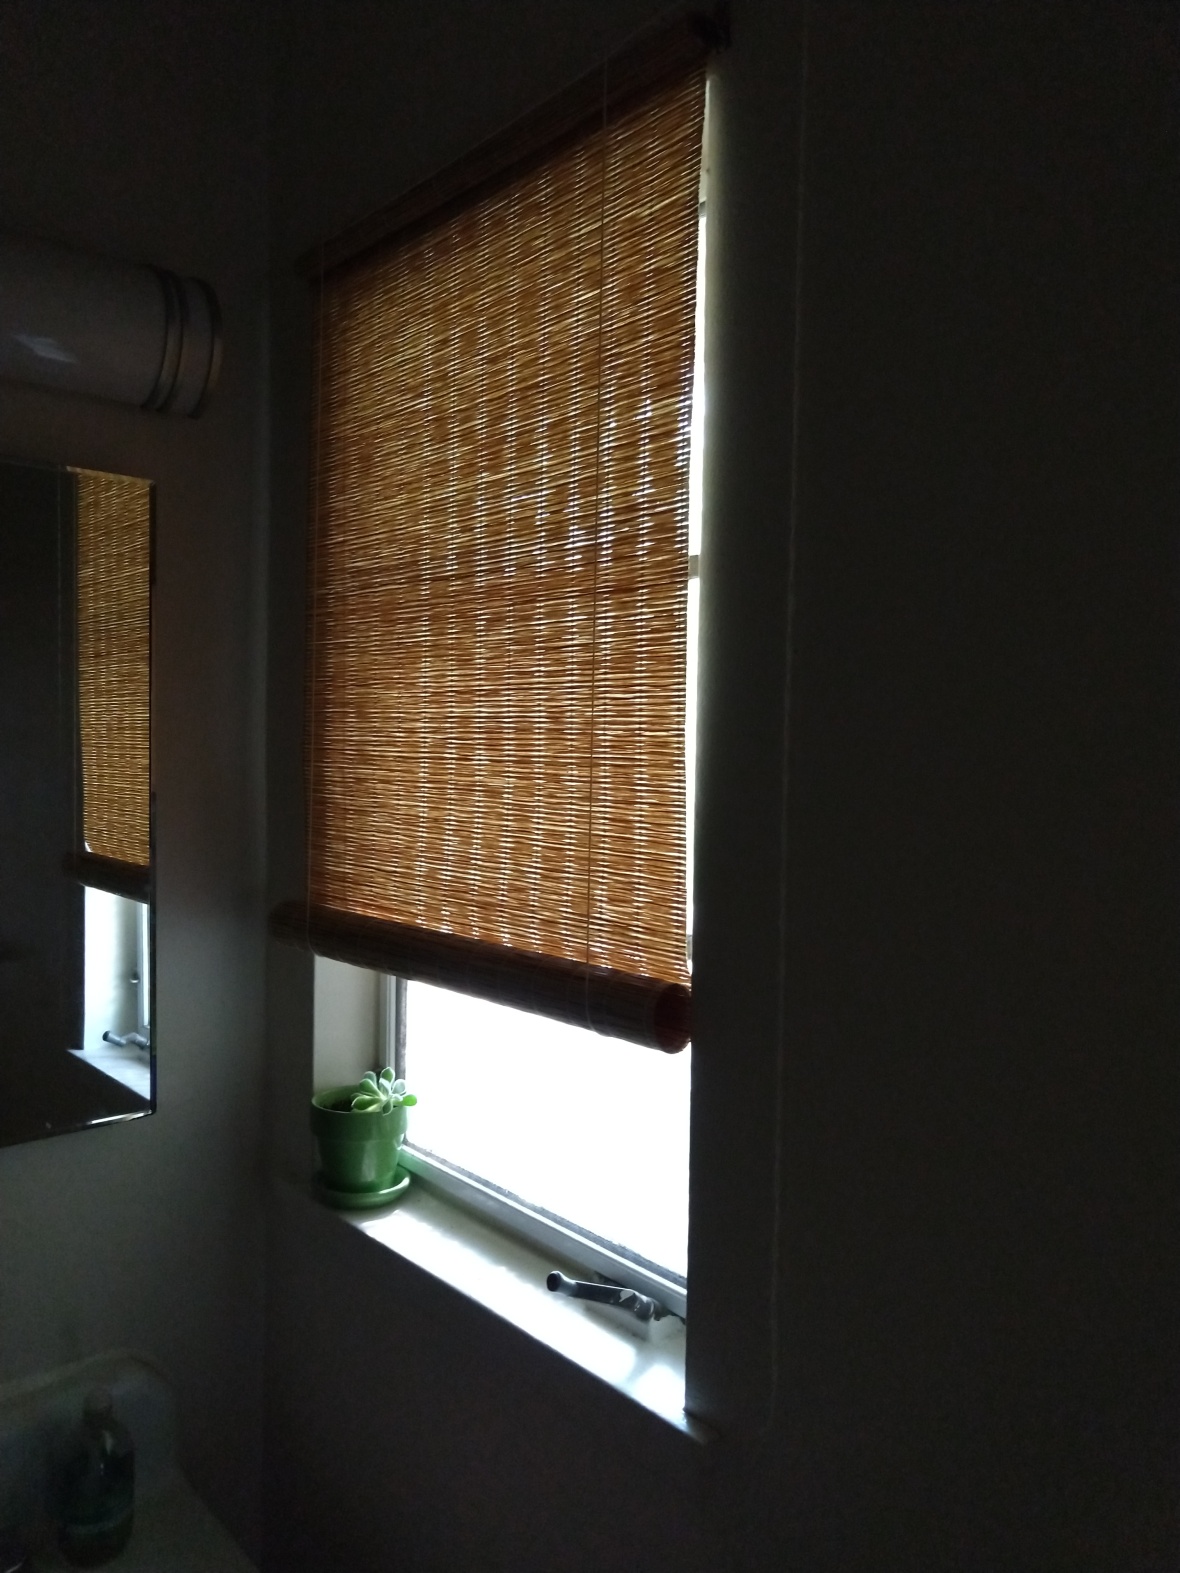
I watched several videos to get ideas for installation. Ultimately I went with Bob Bee’s DIY Roll Up Blinds as my model. Screw eyes and string work well for a lightweight panel, and the paper curtain rolls up with ease.

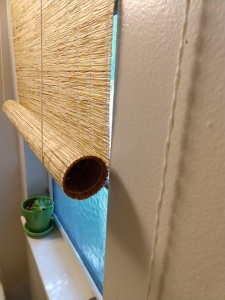
There are two main differences between my window shade and the video version. One, instead of a wood piece at the top, I incorporated the cardboard tube at the end of the panel roll to keep things, well, rolling. Two, instead of using zip ties at the top, I used a staple gun to staple to panel to the cardboard roll. It faces the wall, so it won’t be visible.

Put my thing down flip it and reverse it. 

I like how the shade provides privacy (bathroom faces a busy street) while still letting in a lot of natural light. Here it is in the dark:

2018-08-09 09.34.05

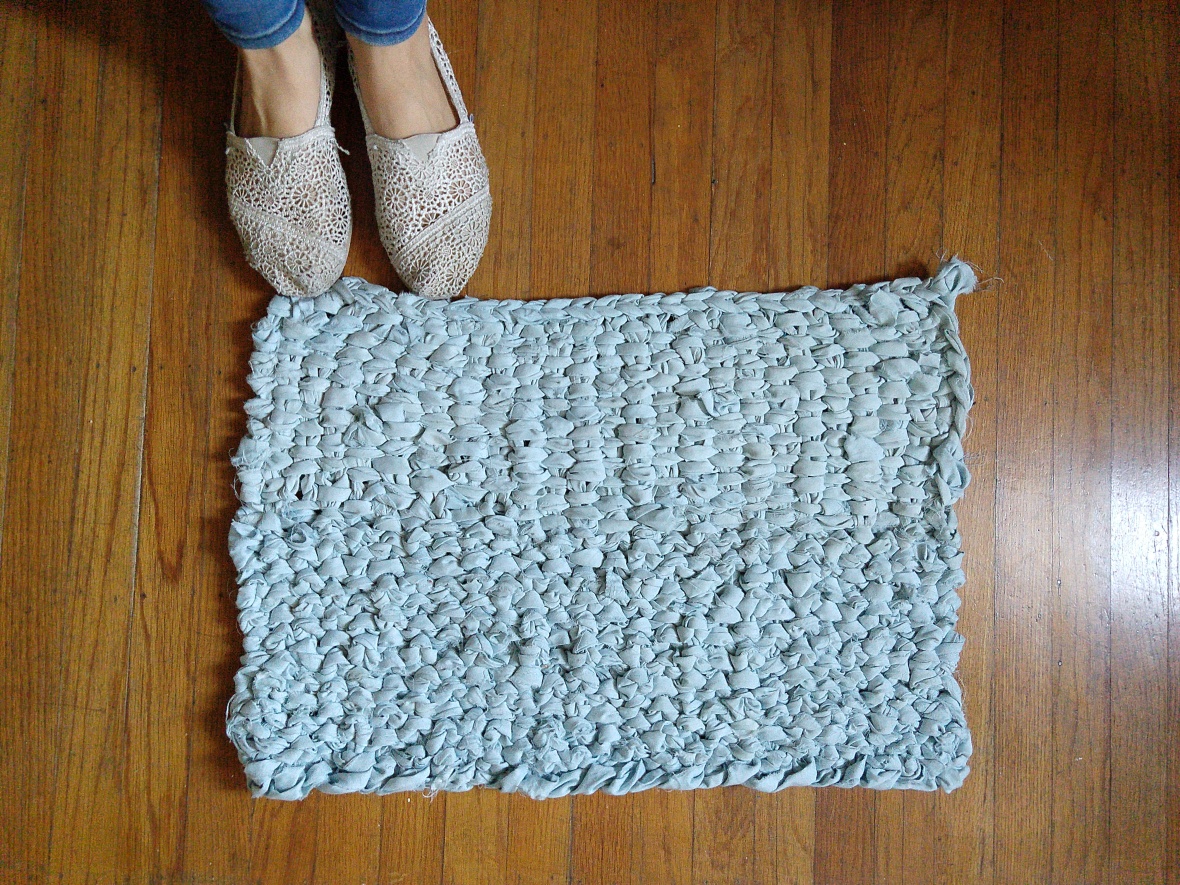
Sheet yarn rag rug

Worth it? No.

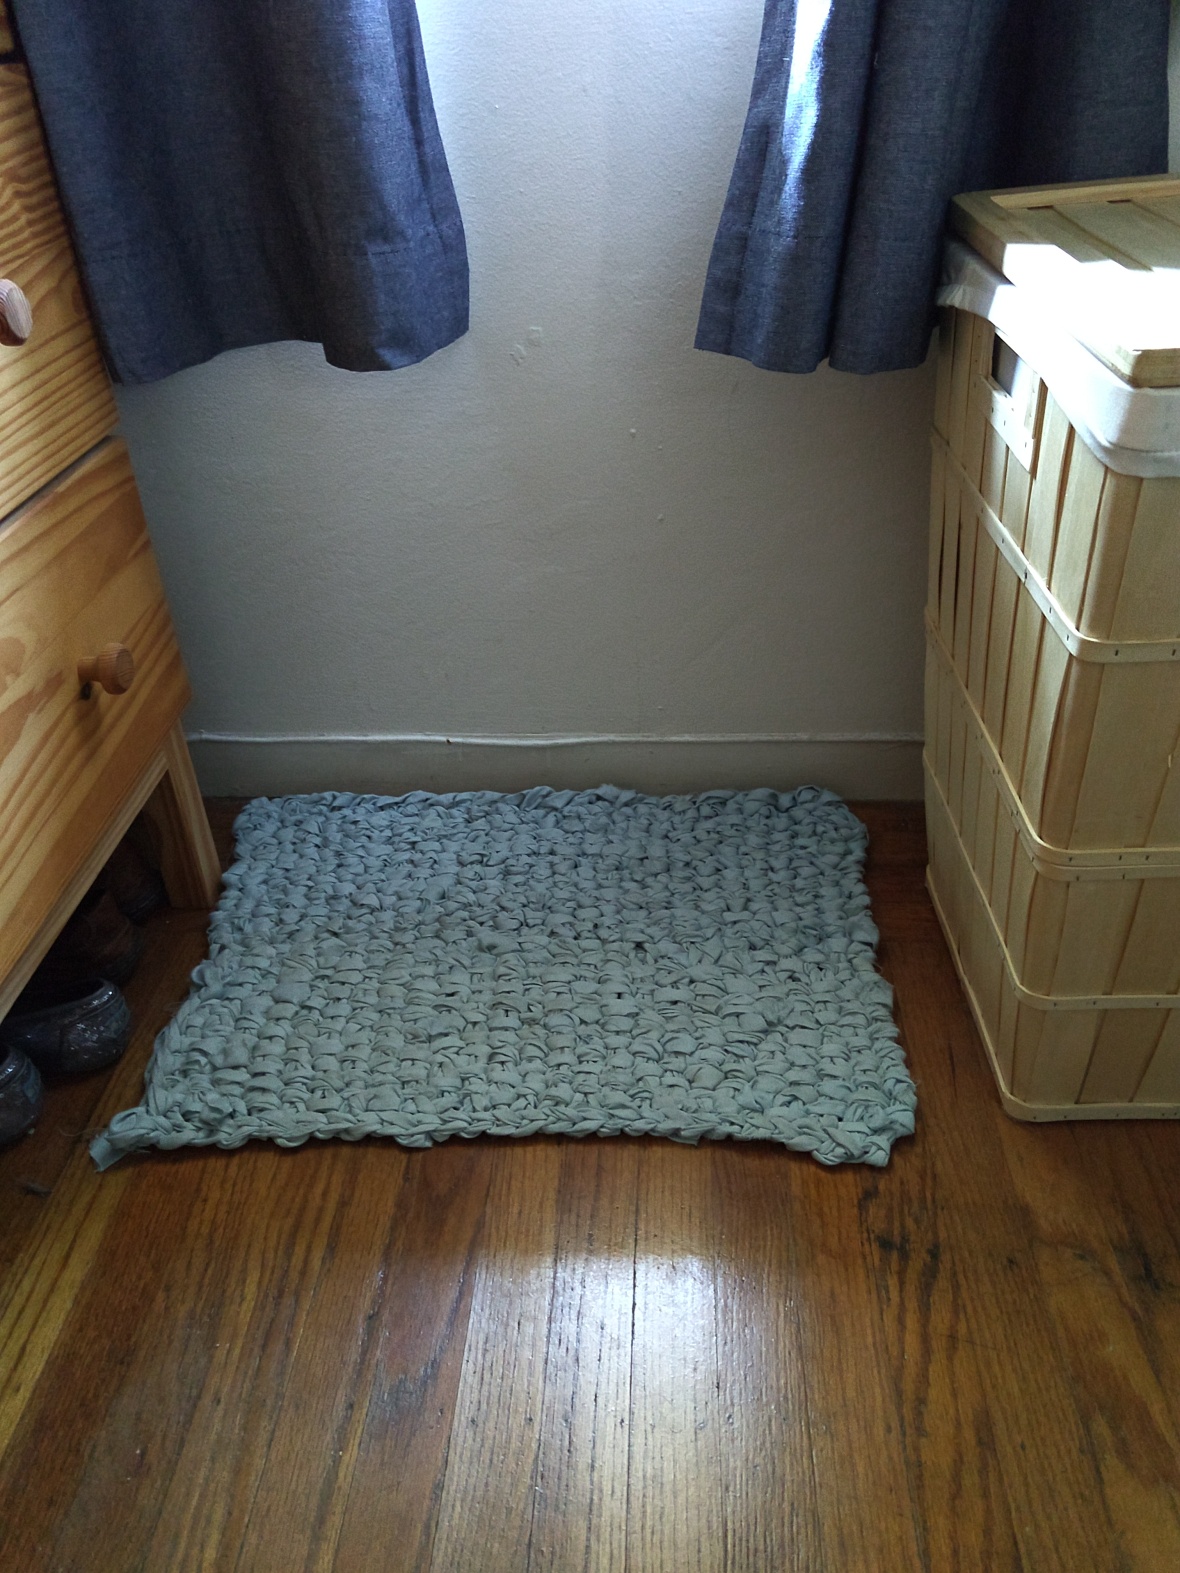
2018-08-09 09.31.47

I’m happy with the end result, but there is no way I would make this rug again.

Sure, the cost was right—I already owned this Full-sized fitted sheet and I wasn’t going to use it again after it ripped in the wash. But it was time consuming and not at all fun to knit.

Work it. 

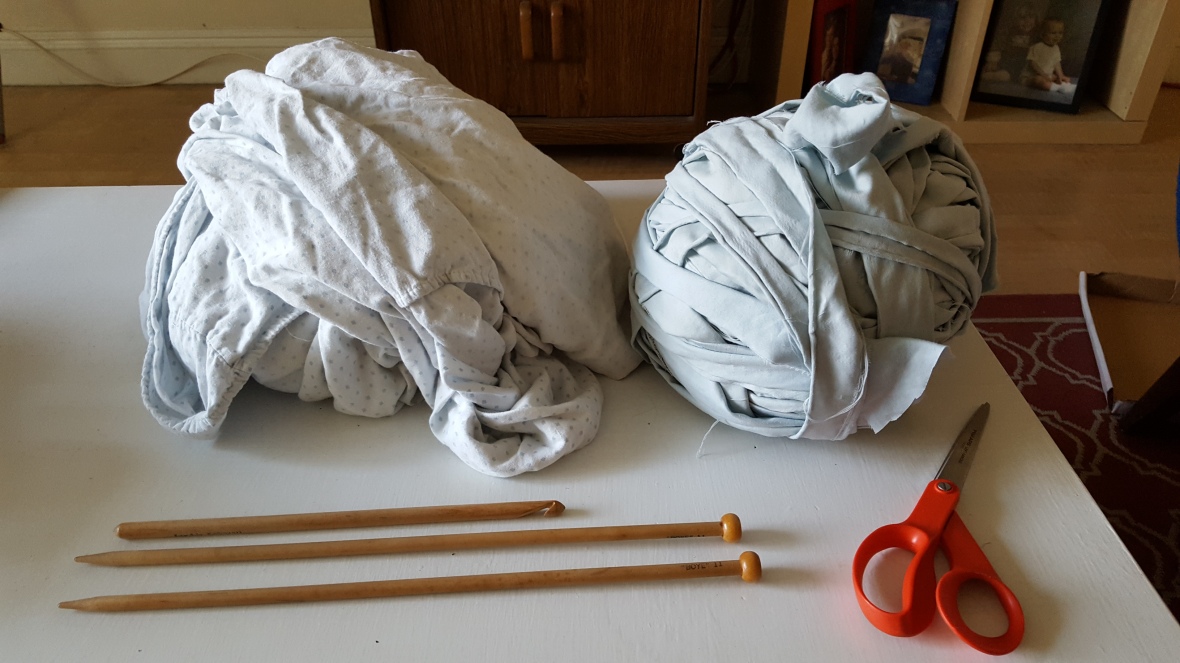
2017-08-03 12.17.06 Cutting up a sheet into strips and winding it into a continuous ball takes a surprising amount work. There are plenty of video tutorials for making continuous strips (here’s one with a kitty!). But it took me almost two hours. I don’t have a rotary cutter, and I was using a fitted sheet so I had to work around the gathered corners. When I took the above photo, I still thought I might do a second sheet. I did not.

2018-08-09 09.32.37

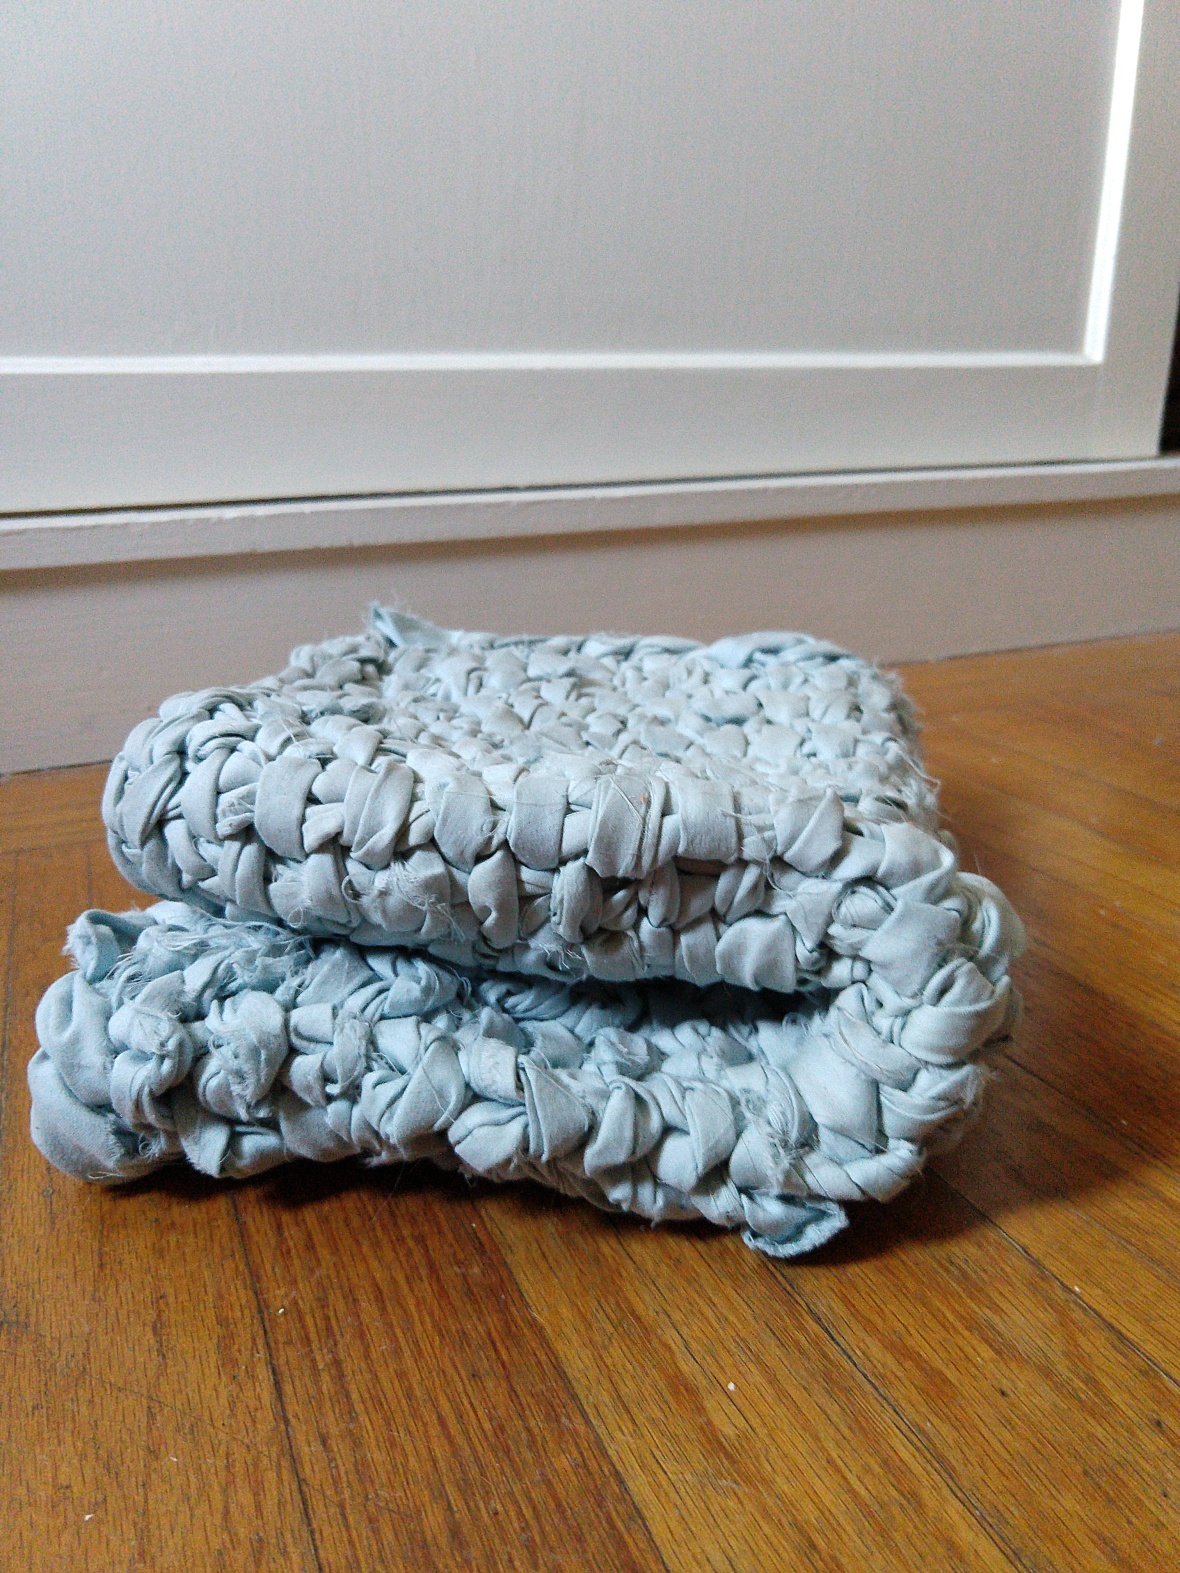
I tried several crochet and knit stitches before deciding that linen stitch would make a nice, woven, flat surface for a rug that wouldn’t curl. But it’s a time consuming stitch, and the weight of the rug on the huge needles slowed me down. I had trouble keeping the yarn on the needles, and I had to cut a lot of little threads that unravelled and gummed up  the stitches.

Put my thing down flip it and reverse it. 

2018-08-09 09.32.13

Look closely at this photo. Notice that the top half doesn’t match the bottom. That’s because at some point half way through, I started the next row of linen stitch on the wrong side. And so I made the second half backwards. Ti esrever dna ti pilf, nwod gniht ym tup indeed.

I think it looks alright, as the switch happens right in the middle. But one side of the stitch is smoother than the other, and when I stand on it in bare feet, only half of my feet are on the smooth side.

Fabric bench cushions

Worth it? Yes.

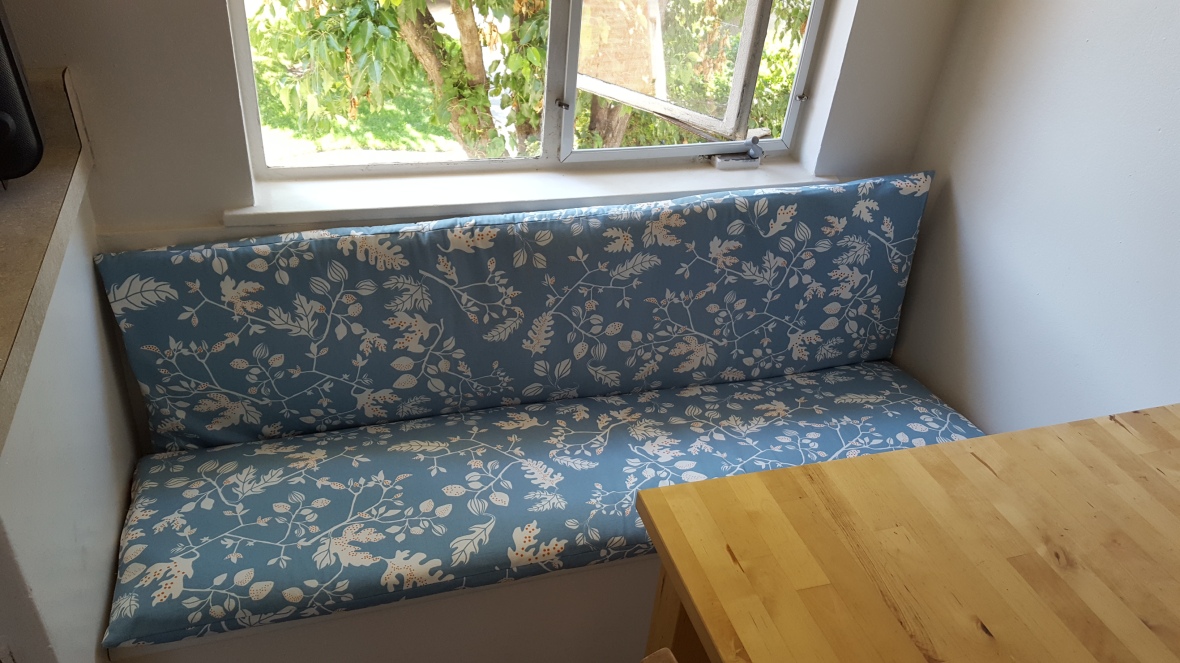
2017-08-08 13.24.02

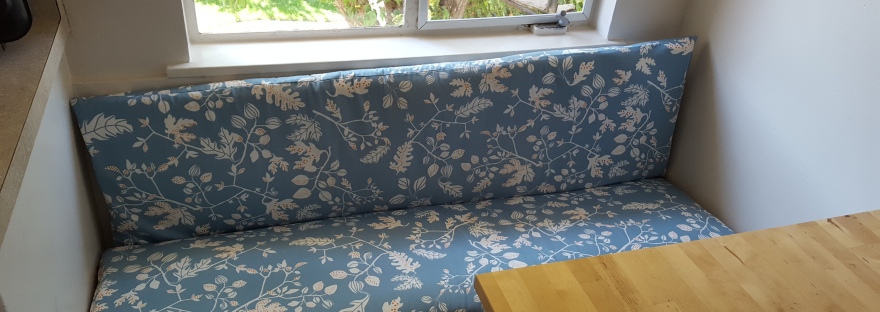
When moving into an apartment with a built-in kitchen bench, I knew I wanted to sew removable, custom-fit bench cushions. I’m glad I did.

I didn’t purchase anything to make them, as I’ve had this Ikea fabric for ages.  I sewed these last year, just a few days before moving. I think it took me about four hours.

Work it. 

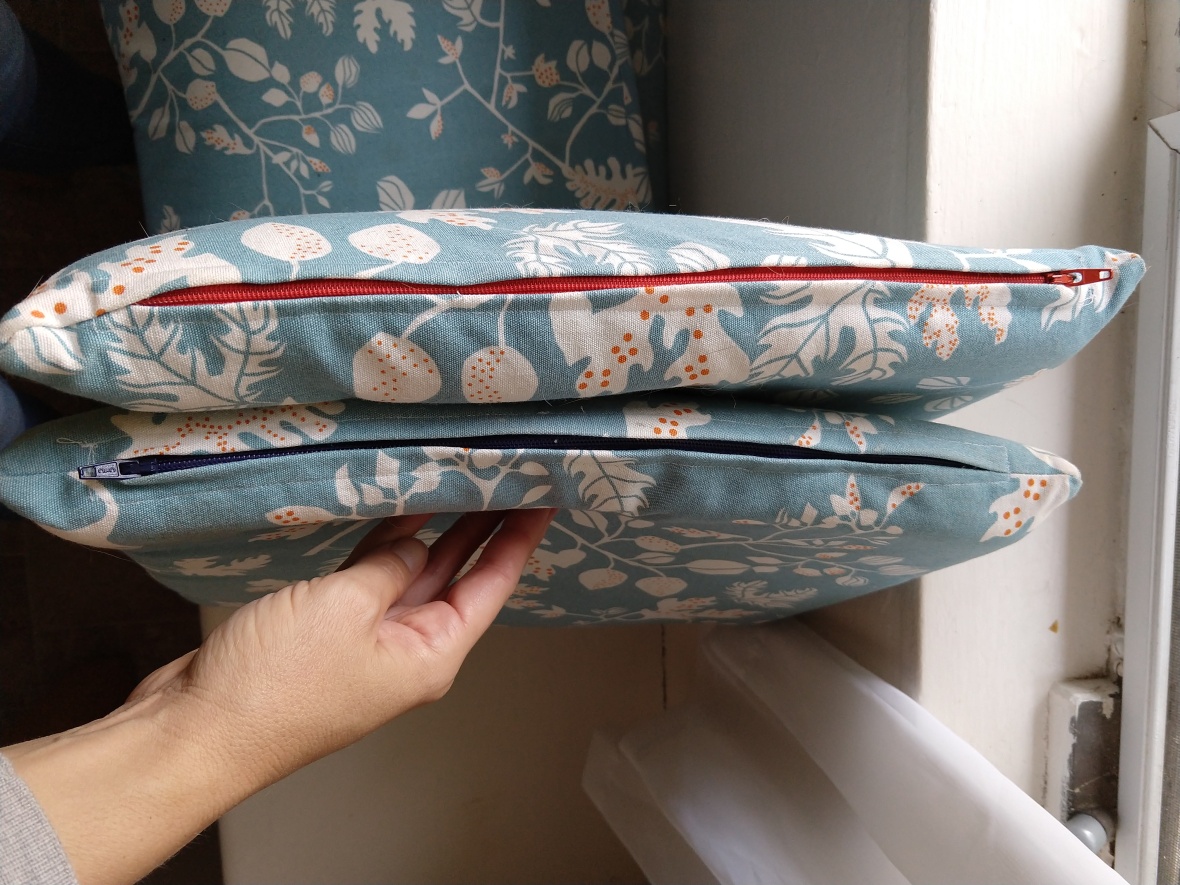
After measuring the bench, I cut up an old foam mattress topper to the exact dimensions to create a kind of pillow form. Then I followed a simple pattern in my Sewing 101 book to make zippered “pillows” to fit. I even had red and blue zippers to match the fabric.

Here’s the only caveat. The foam mattress topper I used is a little too squishy. It provides only light cushioning. And getting the pillow forms inside the cushions was a challenge to say the least. I don’t remove them often. So those zippers don’t see much use.

2018-08-09 09.29.02

Put my thing down flip it and reverse it.

On the bright side, when the cushions get a bit misshapen, I just flip them over or swap the top one for the bottom one.

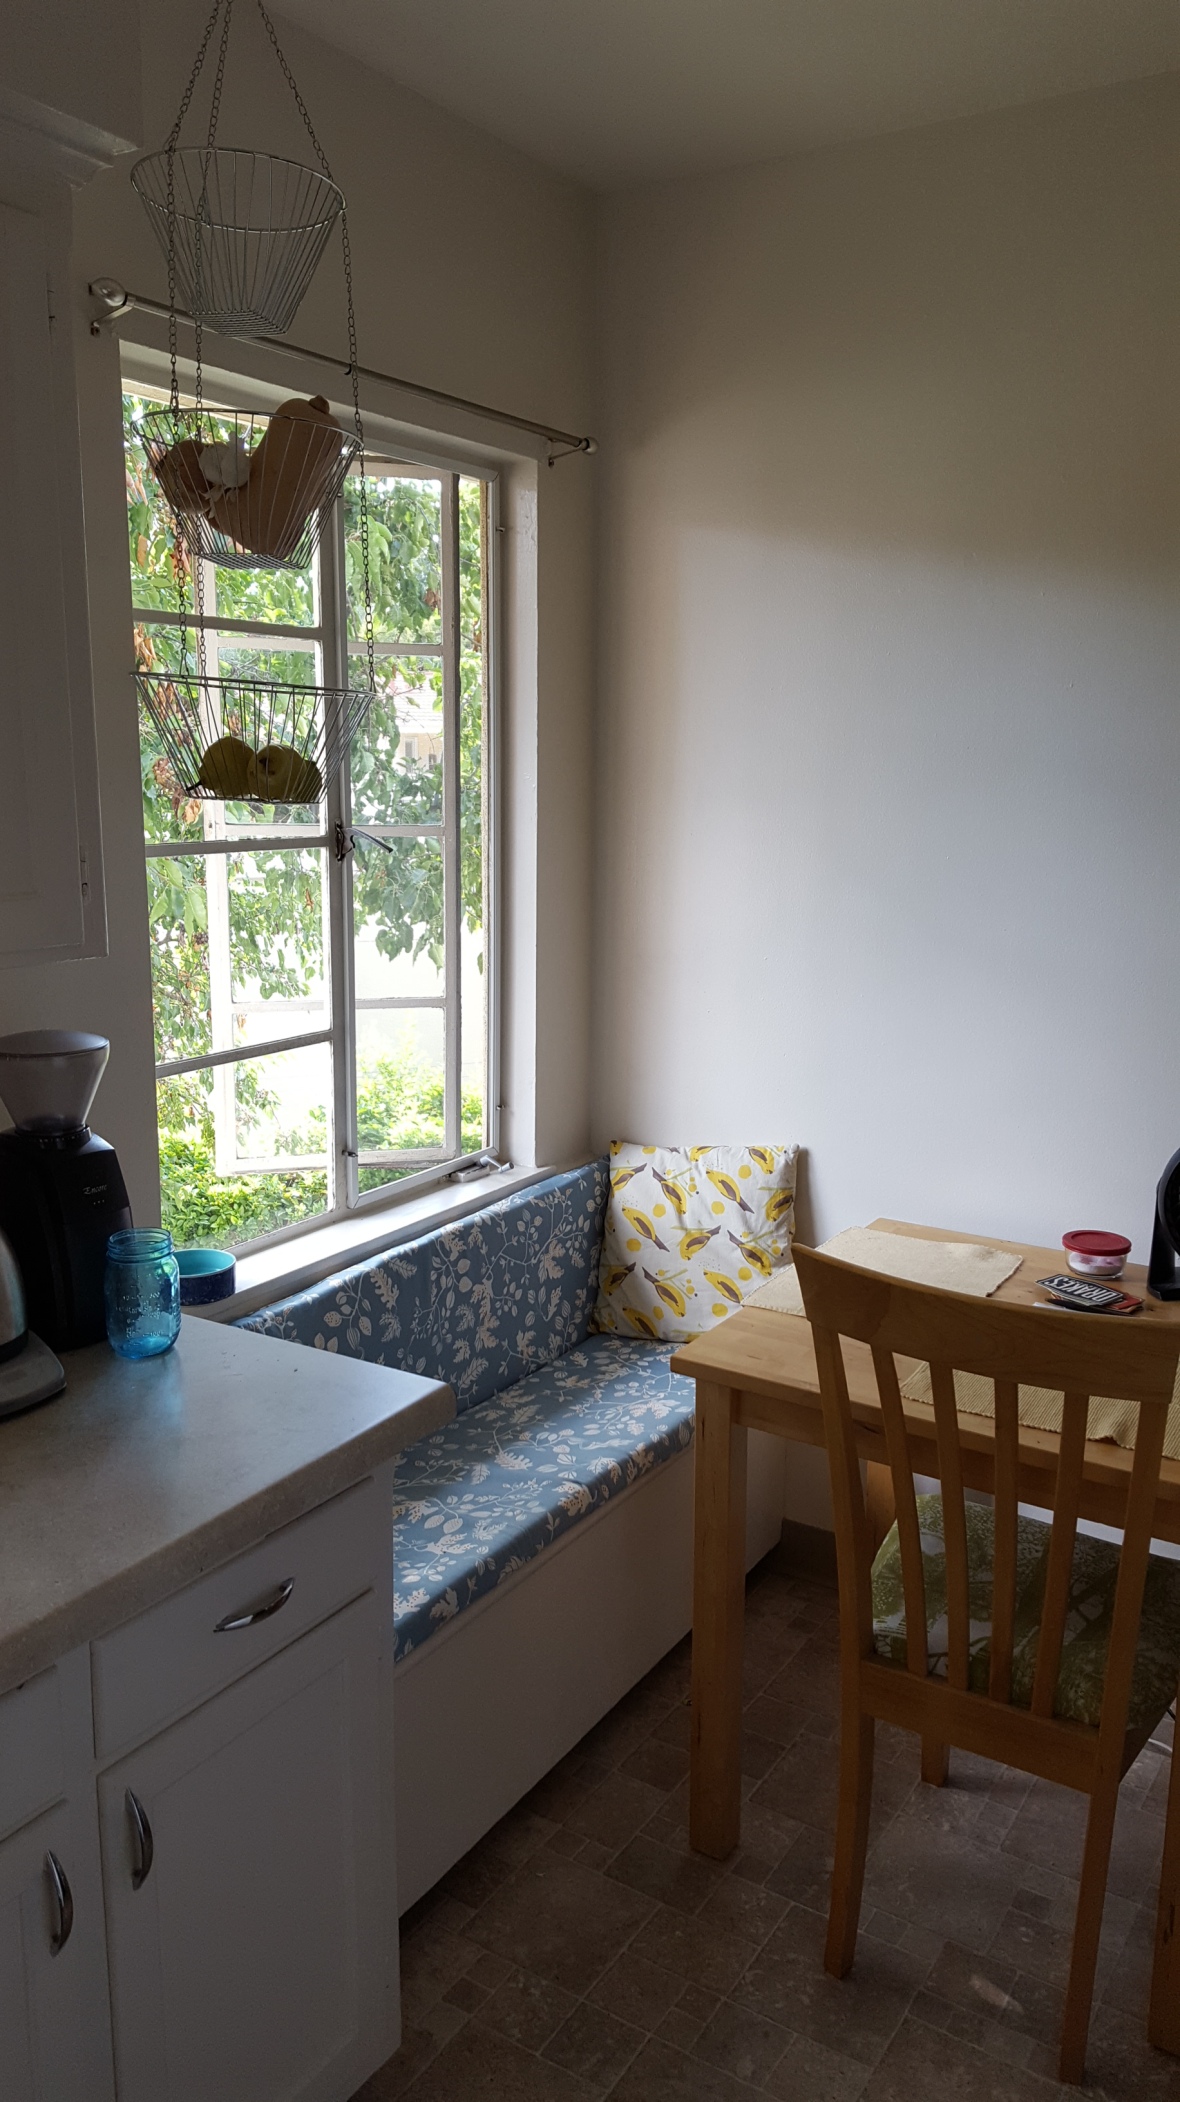
Here’s one last photo of the bench cushions, along with a bird print pillow and tree print chair I also made.2017-09-13 16.03.33

TL;DR . If you’re going to work it, make sure it’s worth it. If you put your thing down flip it and reverse it, try to make sure you do so intentionally!

Costumes, Nerdy Knits & Crafts, Uncategorized

Hobbitses!

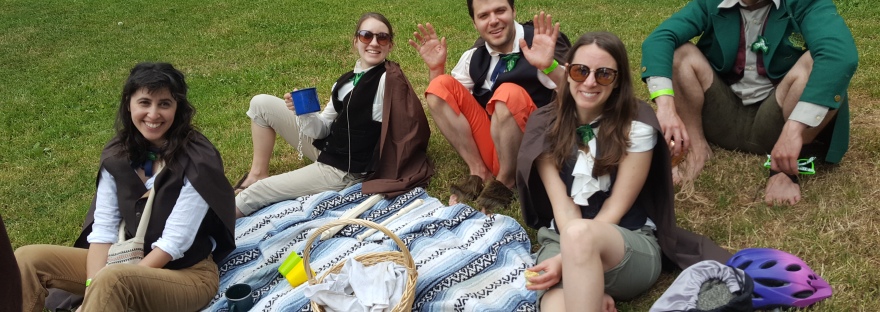
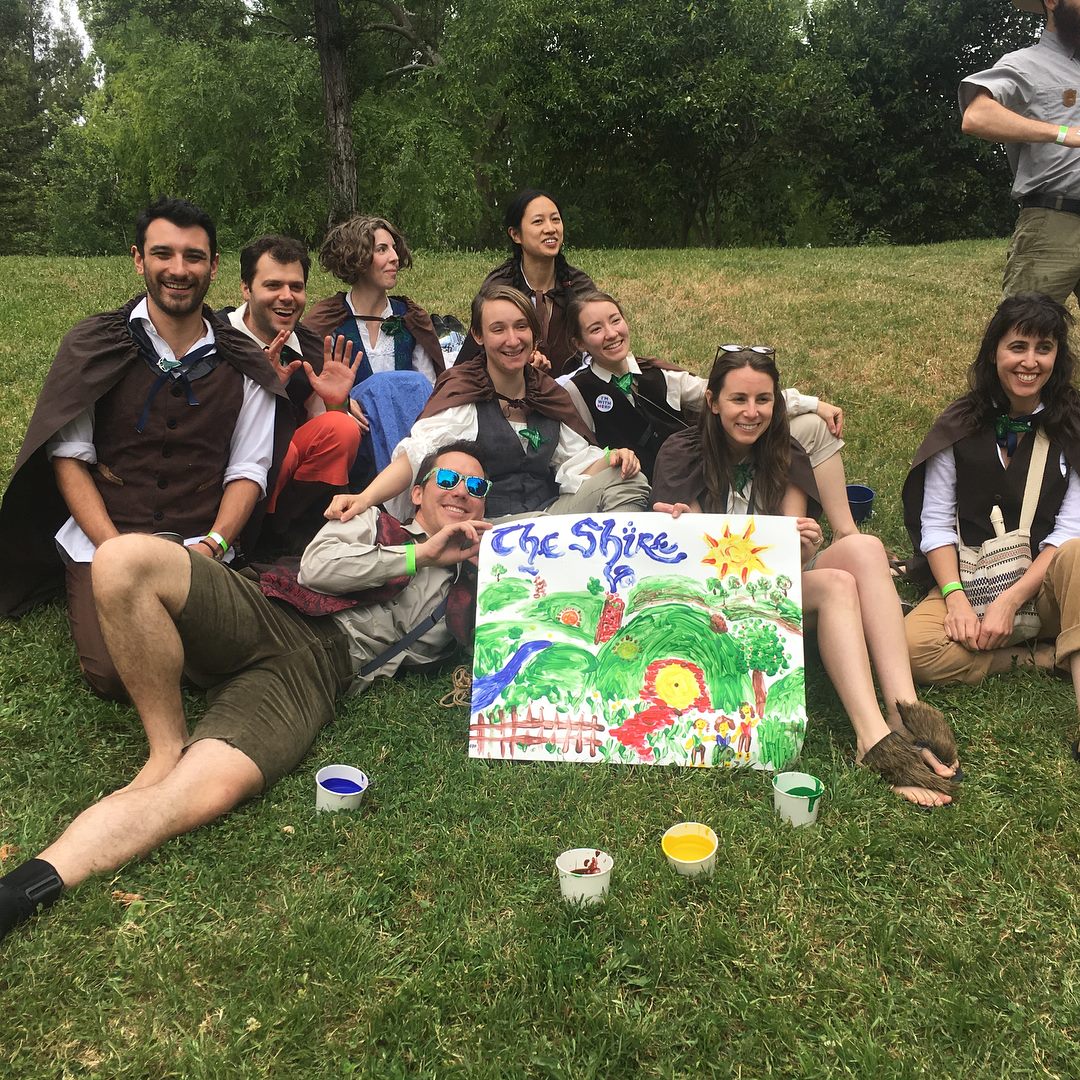
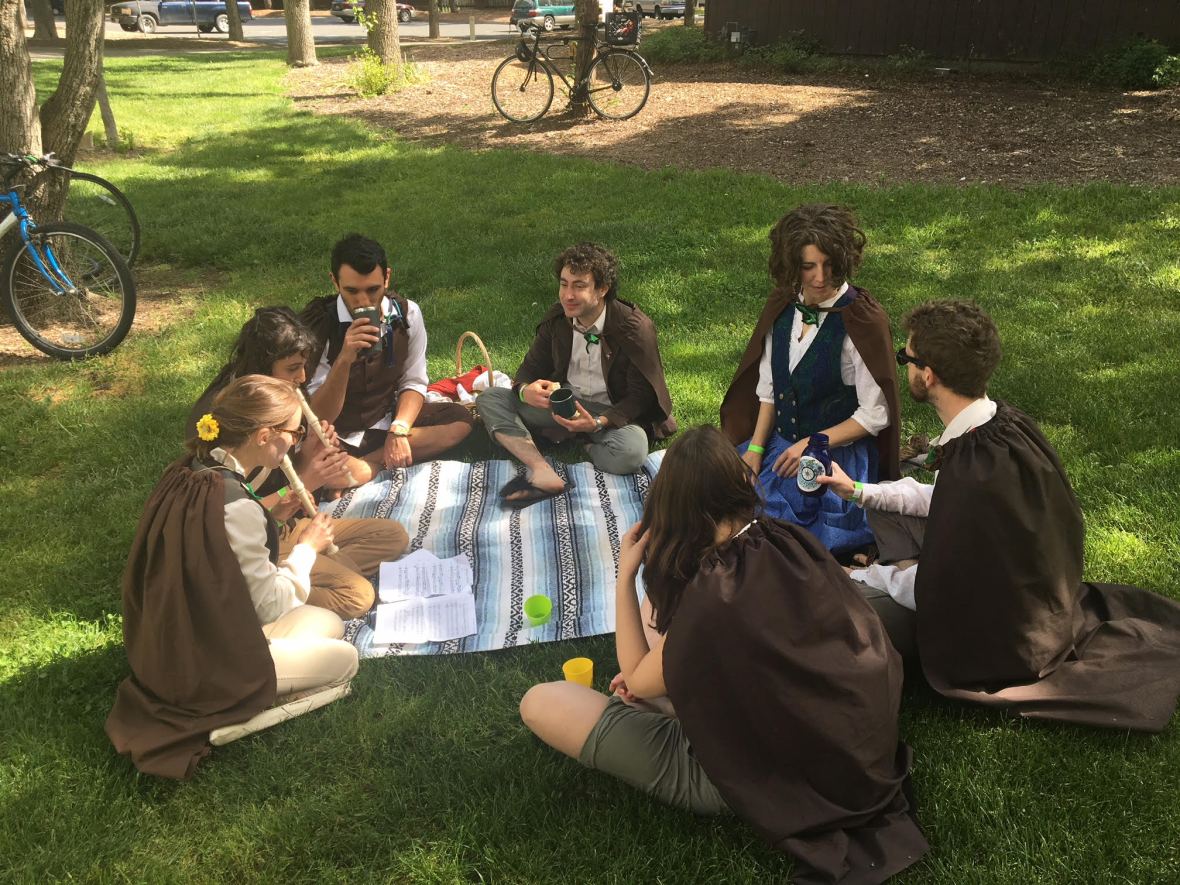
It’s another Tour d’Davis craft post! Several years ago, we were team Oregon Trail. Last year, we were sheep. This year, we did our costumed bicycle tour of town as Hobbits! We enjoyed breakfast, second breakfast, elevensies, and ales while frolicking in the Shire:

hobbits Tour 2018

Hobbit craft!

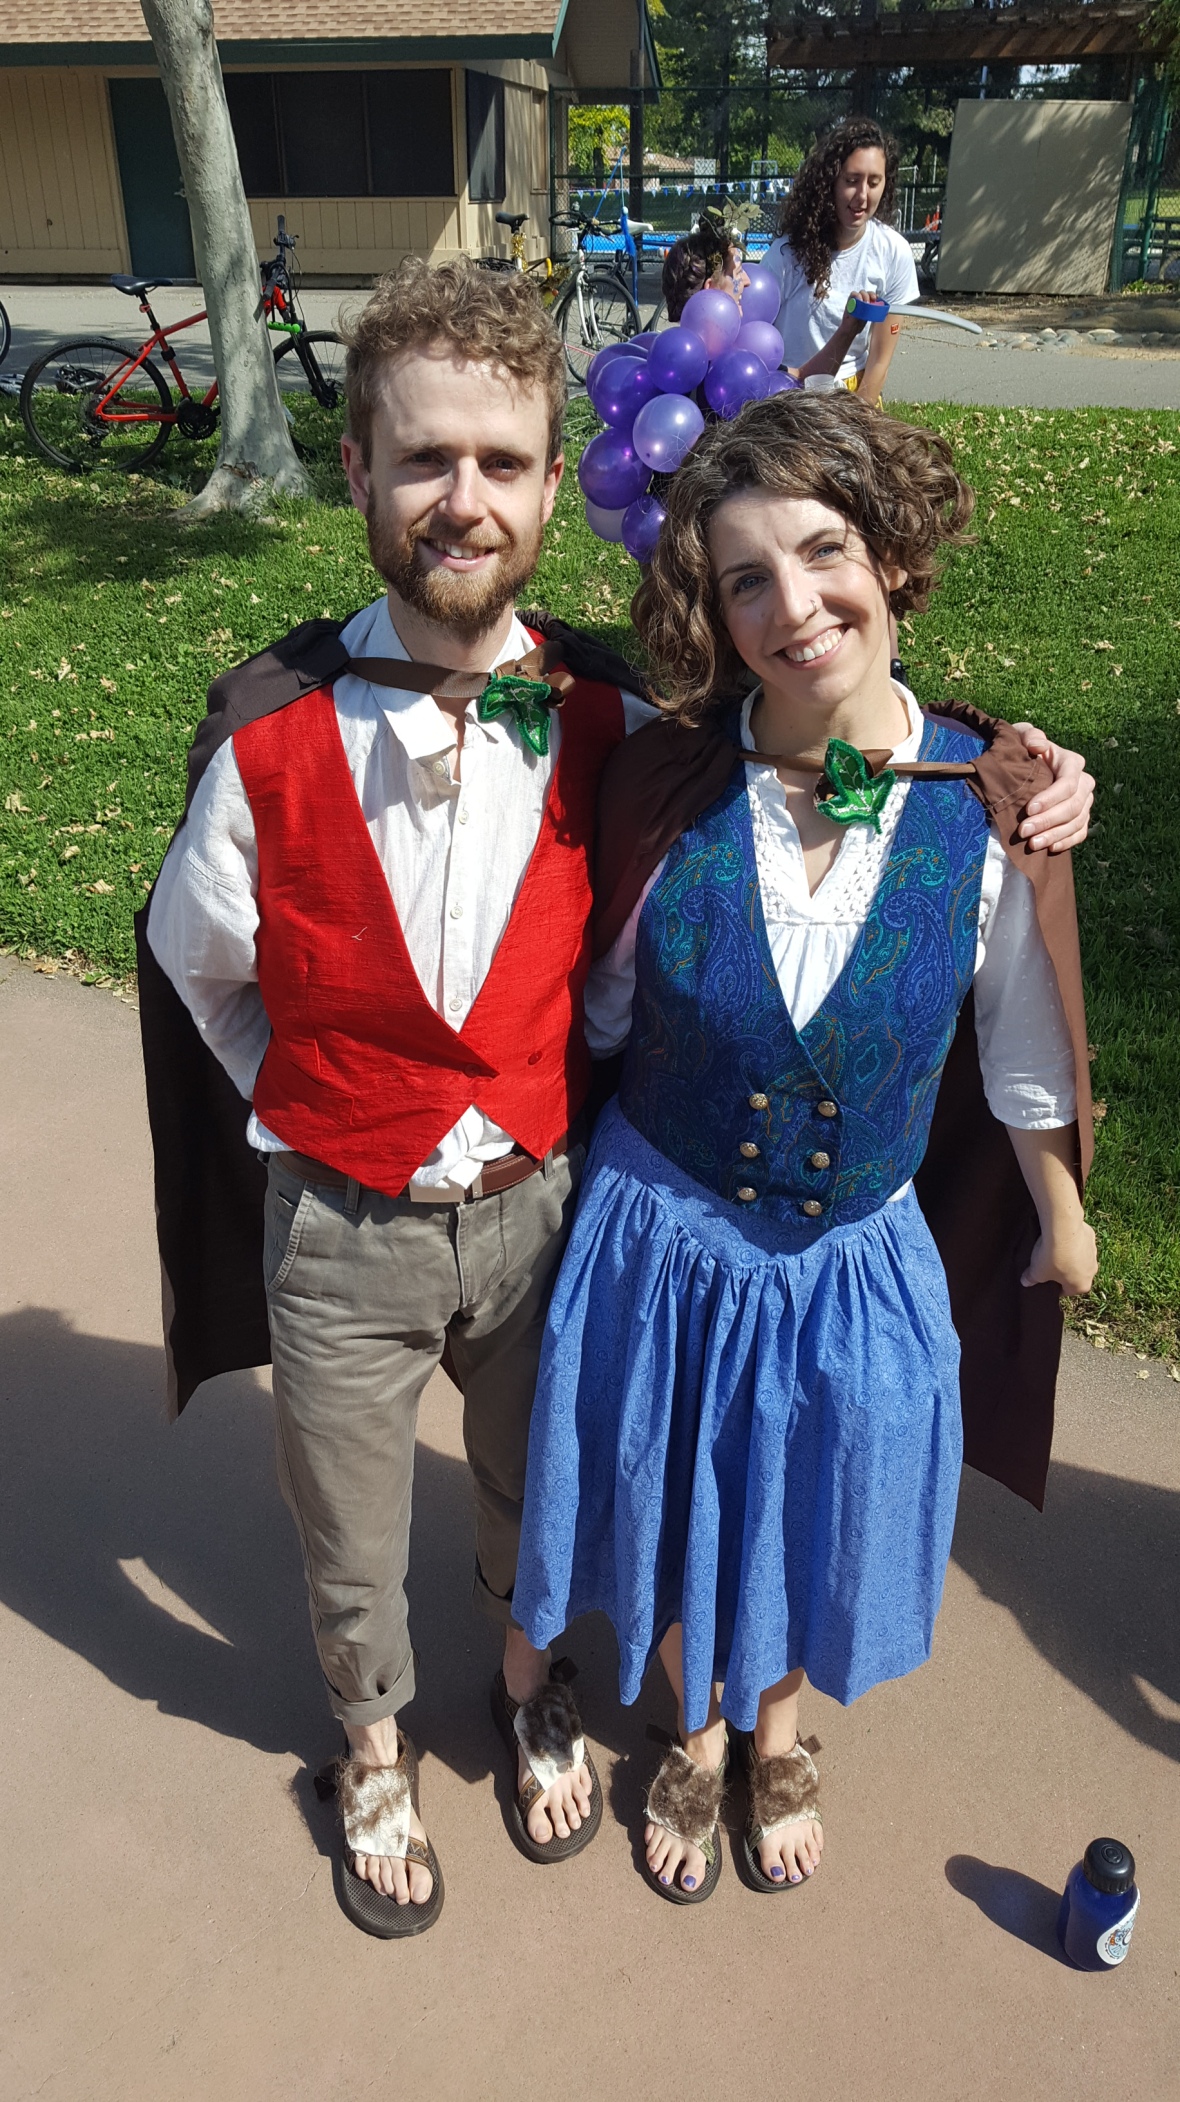
Every team member wore three handcrafted items: a cloak, a leaf pin, and a pair of furry sandals. Pro tip: take photos from above to create the appearance of hobbity sized humans!

2018-04-28 10.21.42

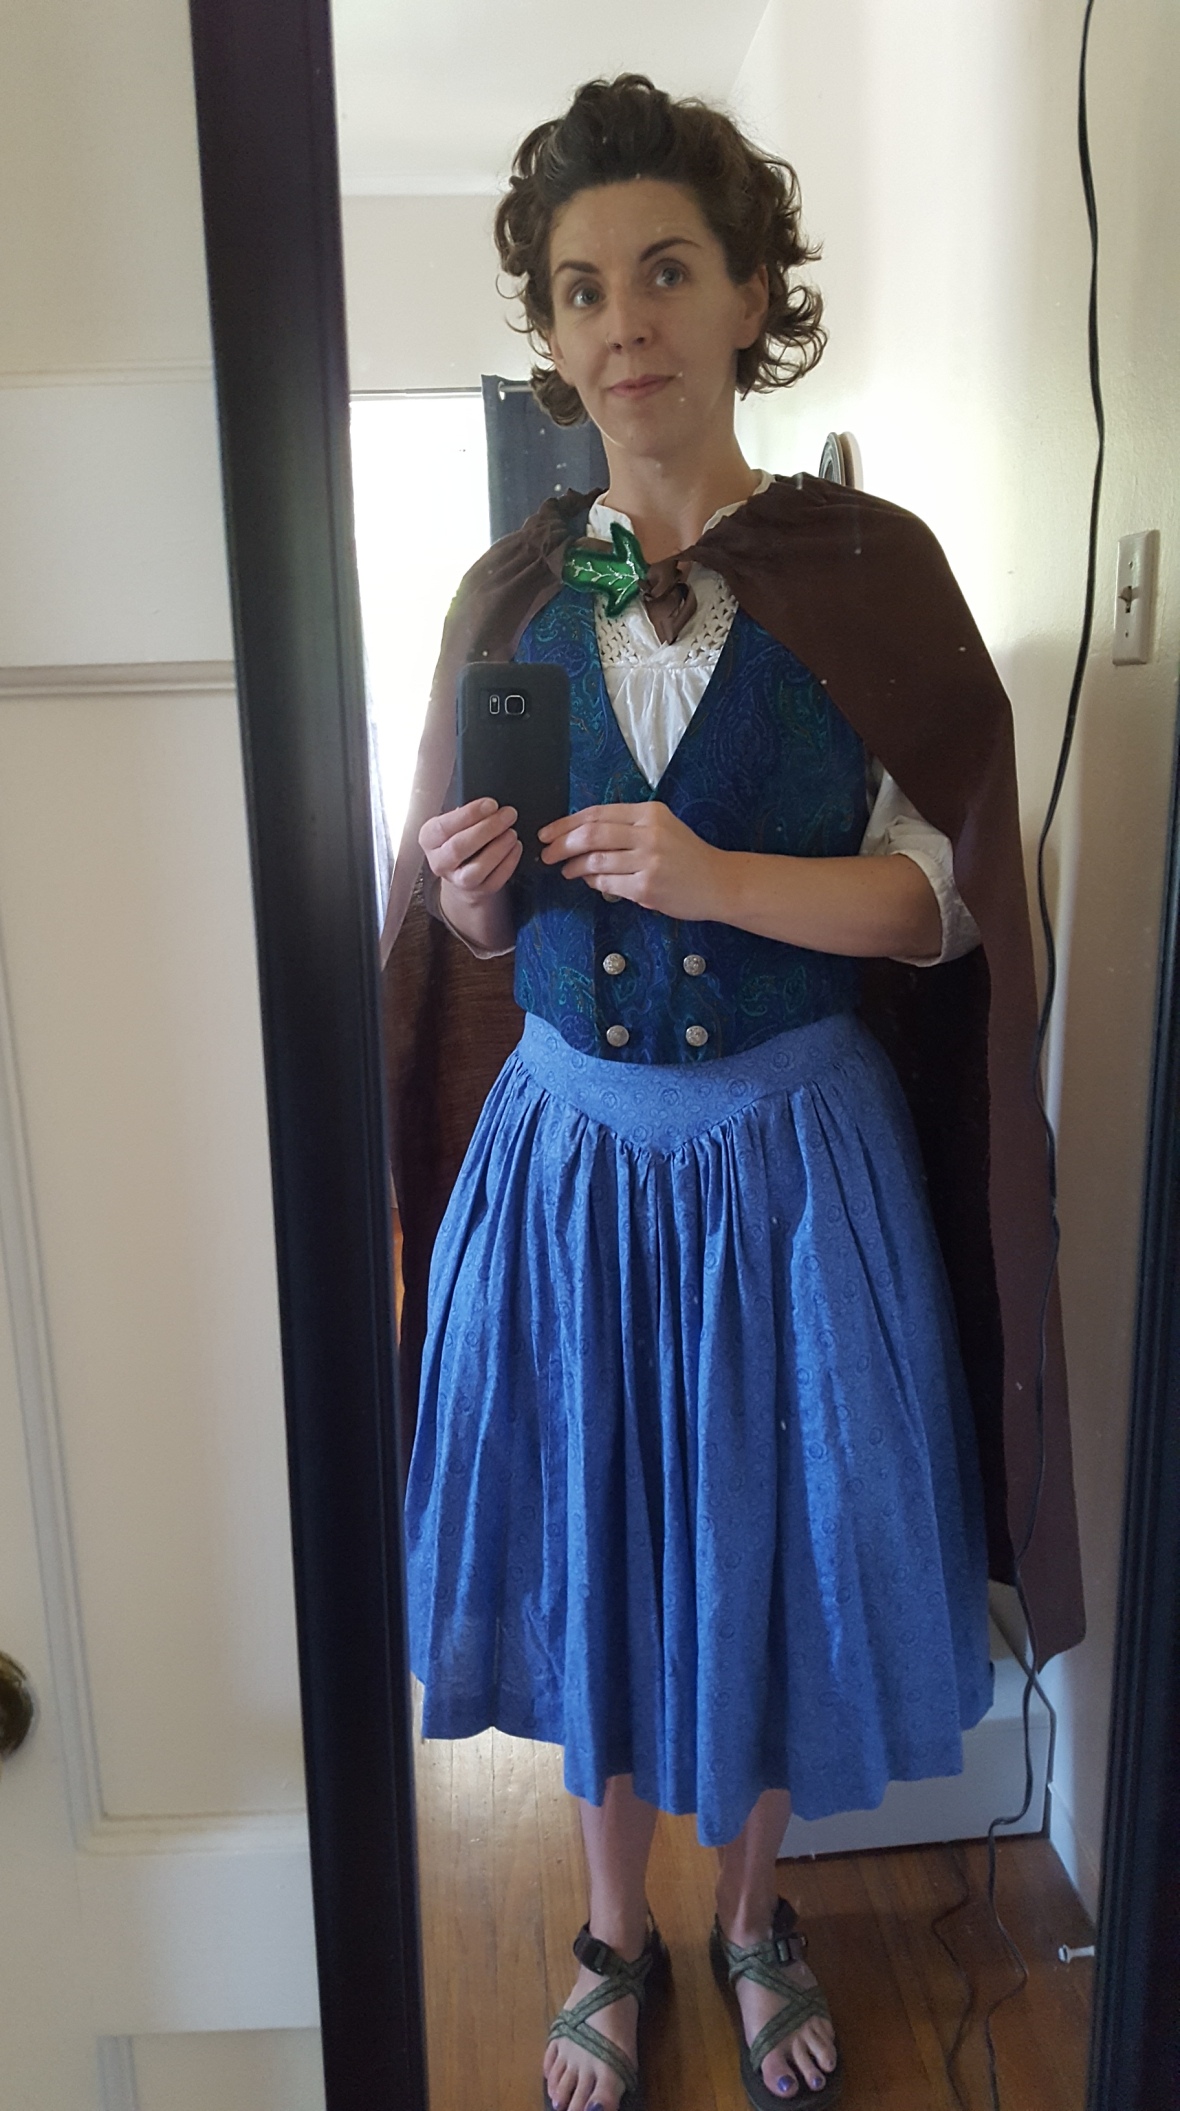
I sewed the cloaks for our team on my sewing machine, making a drawstring hem for the ribbon at the top of each. These costumes only had to last the day, so they were very simple brown cloaks! They were about 3/4 length because we needed to be able to ride bicycles (aka horses) in them.

Next up: leaf pins. Allie designed them out of felt, pipe cleaners, and glitter glue. We made our own and fastened them to our cloaks.

2018-04-24 15.46.29

And last but not least: furry feet! Most of the team used fake fur glued to flip flops. I had to be a weirdo hobbit and use MY OWN HAIR. I happened to be getting a hair cut that week—my hairdresser thought it was funny and asked to see photos of the final result.

I used my sewing machine and some scrap fabric to sew a tube of fabric around my sandals, then used hot glue to attach the hair. I know they are a bit much, but hey! Hobbit Realism.

We were each responsible for our own hobbit clothing, and that mainly meant one thing: a vest! Vests from thrift stores. Vests from costume stores. Vests over white peasant shirts. Say yest to the vest.

*Picnic Break* (tea, scones, and picnic blanket were provided throughout the tour!)

hobbits1

The Shire

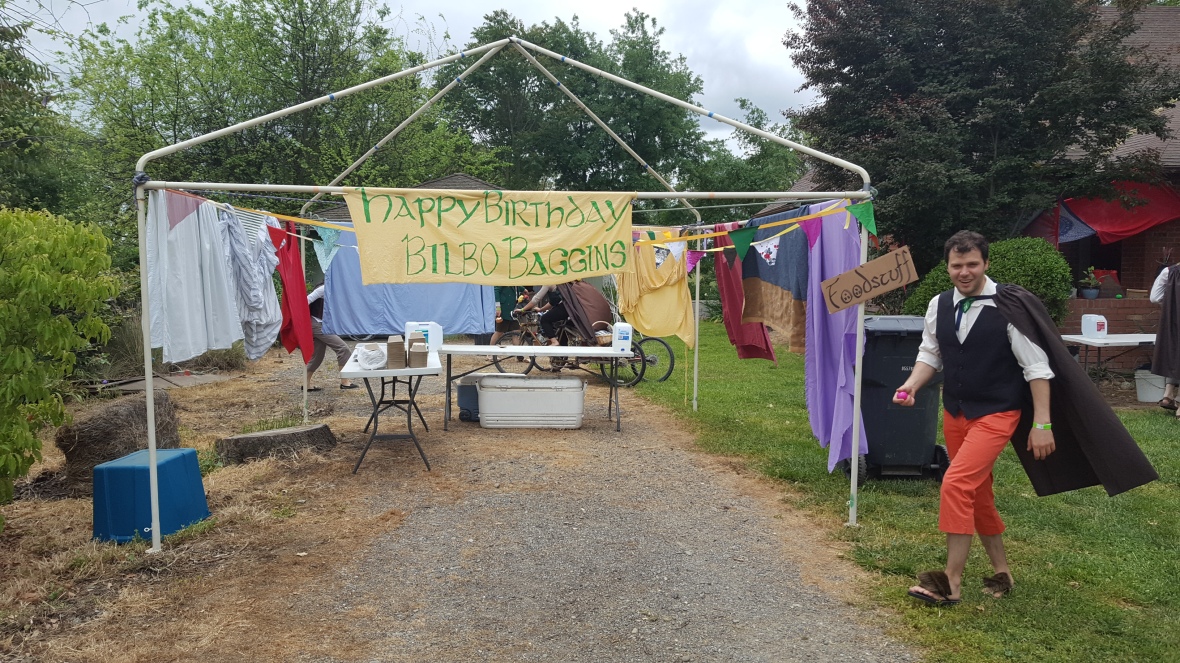
We also created our very own Shire, decorated for the festivities. After all, it was Bilbo Baggins’ Eleventy-First birthday! Bunting and signs greeted all of our welcome visitors. We served them delicious vegetarian shepherd’s pie at this spot:

2018-04-28 12.44.04

And since no hobbit meal would be complete without a pint to wash it down, several halflings converted the garage into the Green Dragon Inn, complete with Lisa’s amazing, hand-painted signage!

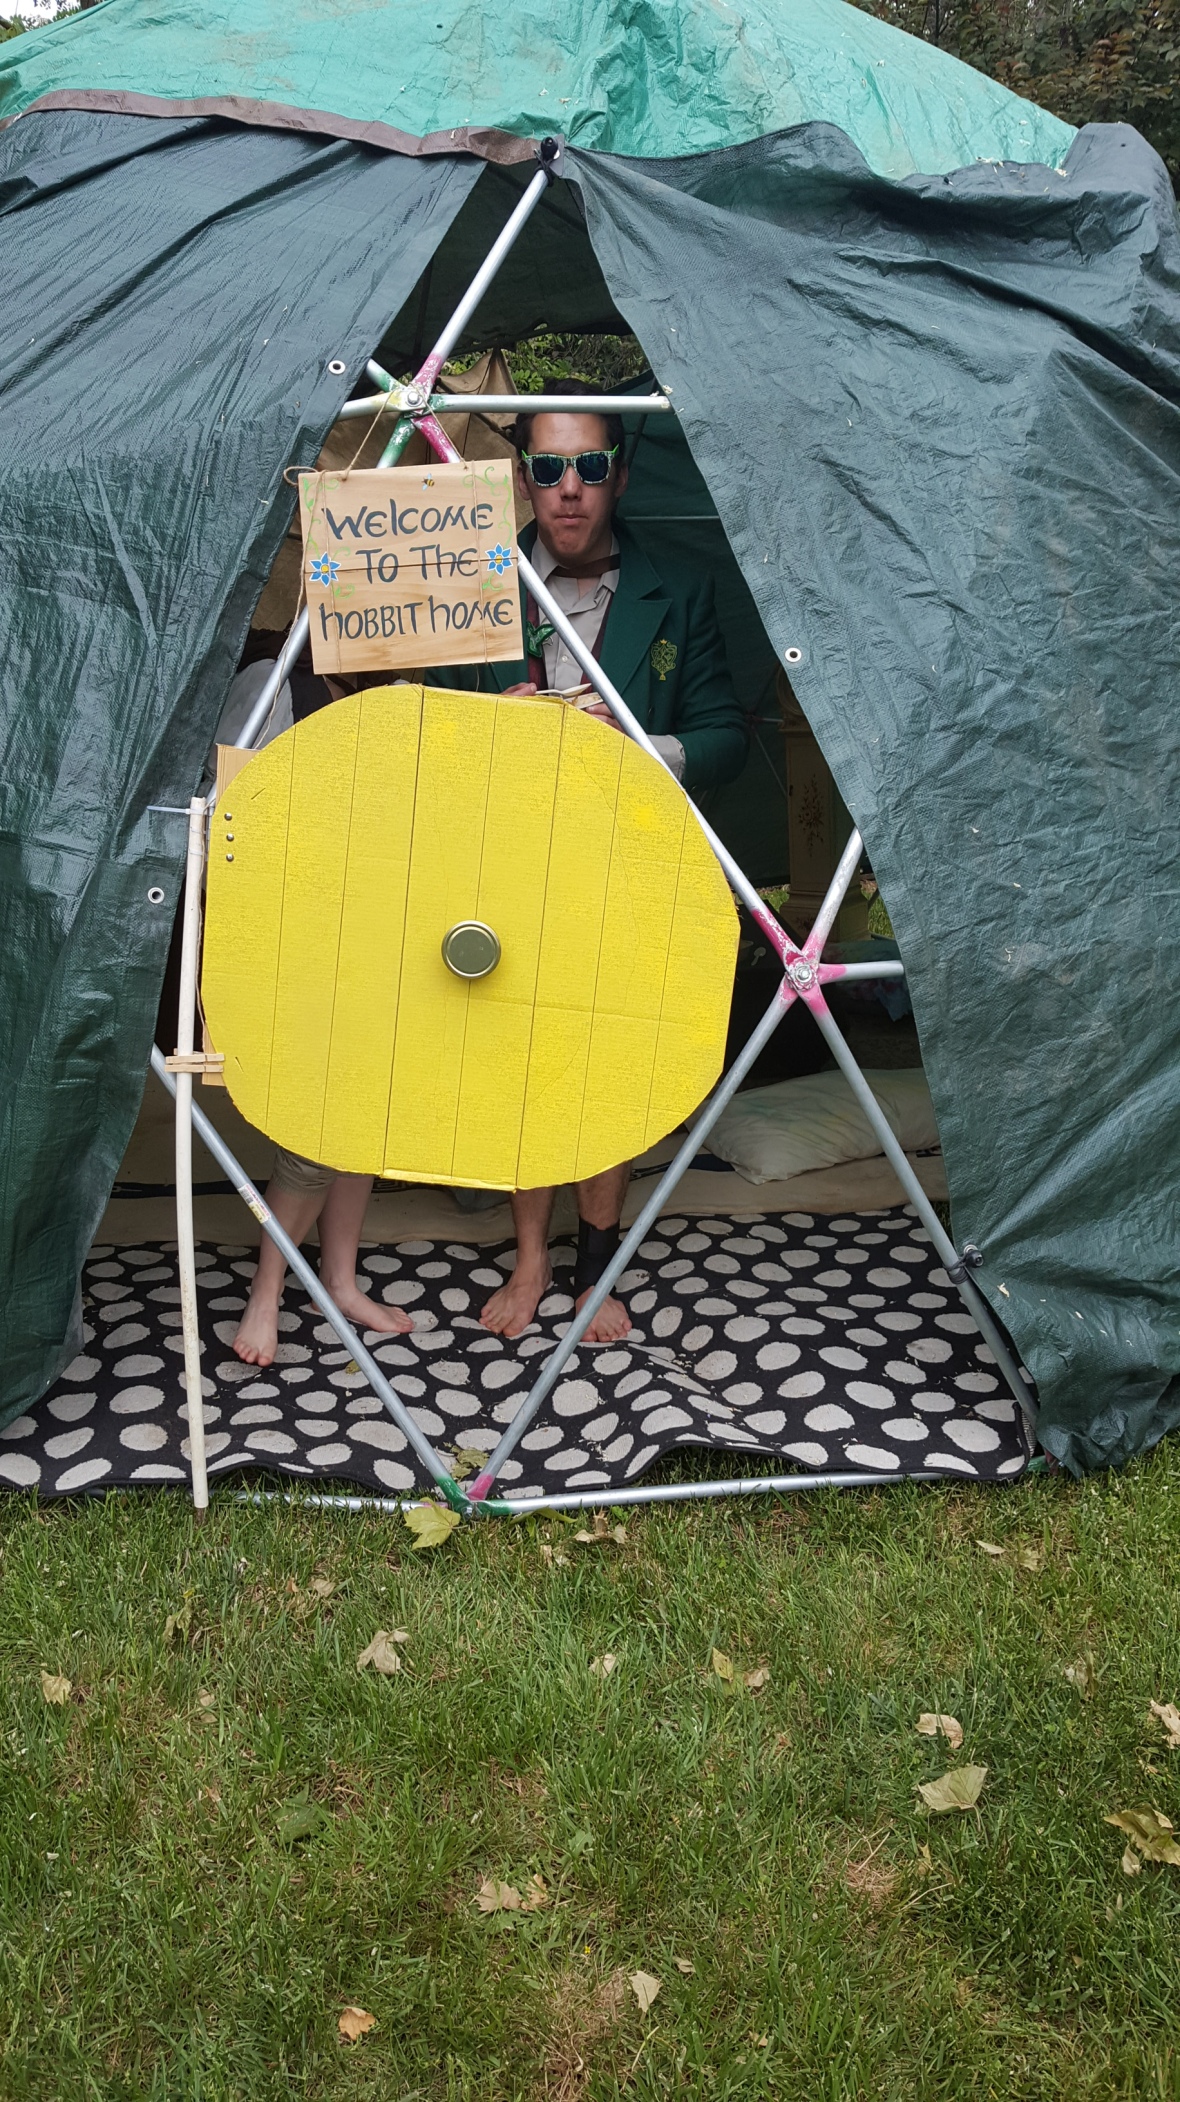
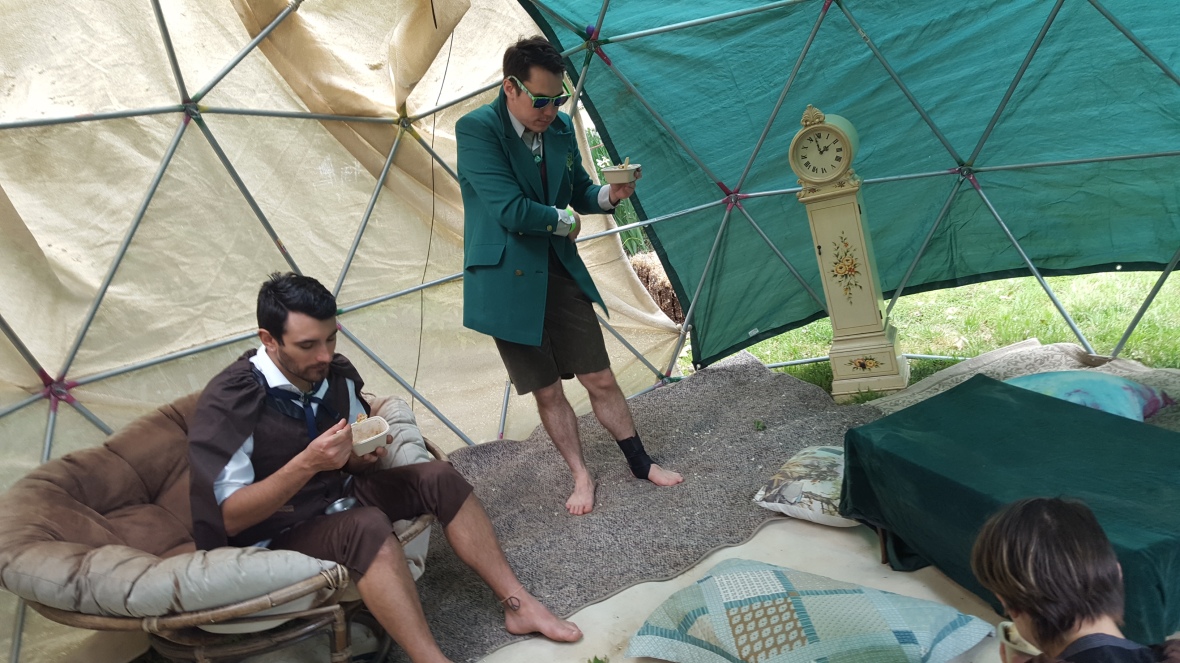
And last but certainly not least: a hobbit hole! This geodesic dome (which took a lot of teamwork to set up) got the Shire treatment with green tarps, a window, a sign, and Allie’s handmade bright yellow door. The door knob came from a jar lid!

2018-04-28 12.52.26

The inside was as cozy as could be!2018-04-28 12.53.14

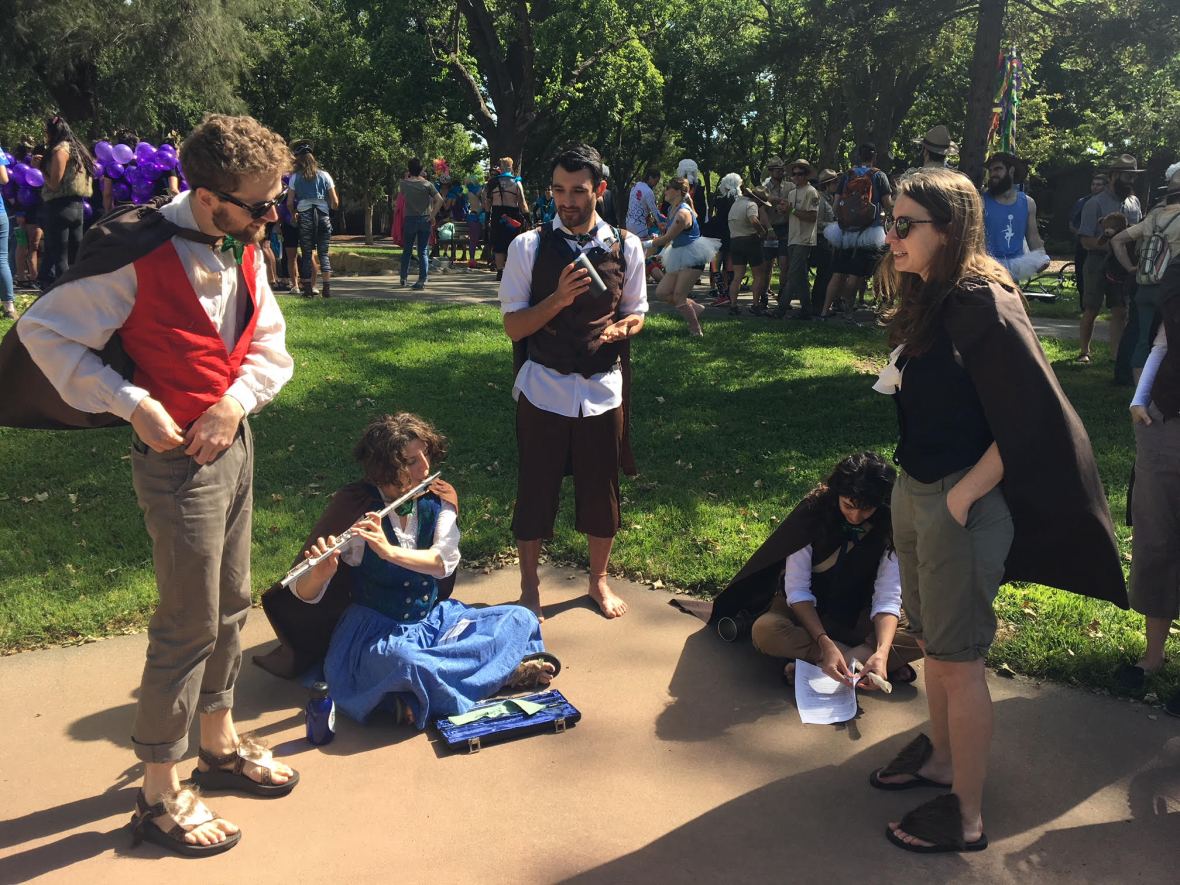
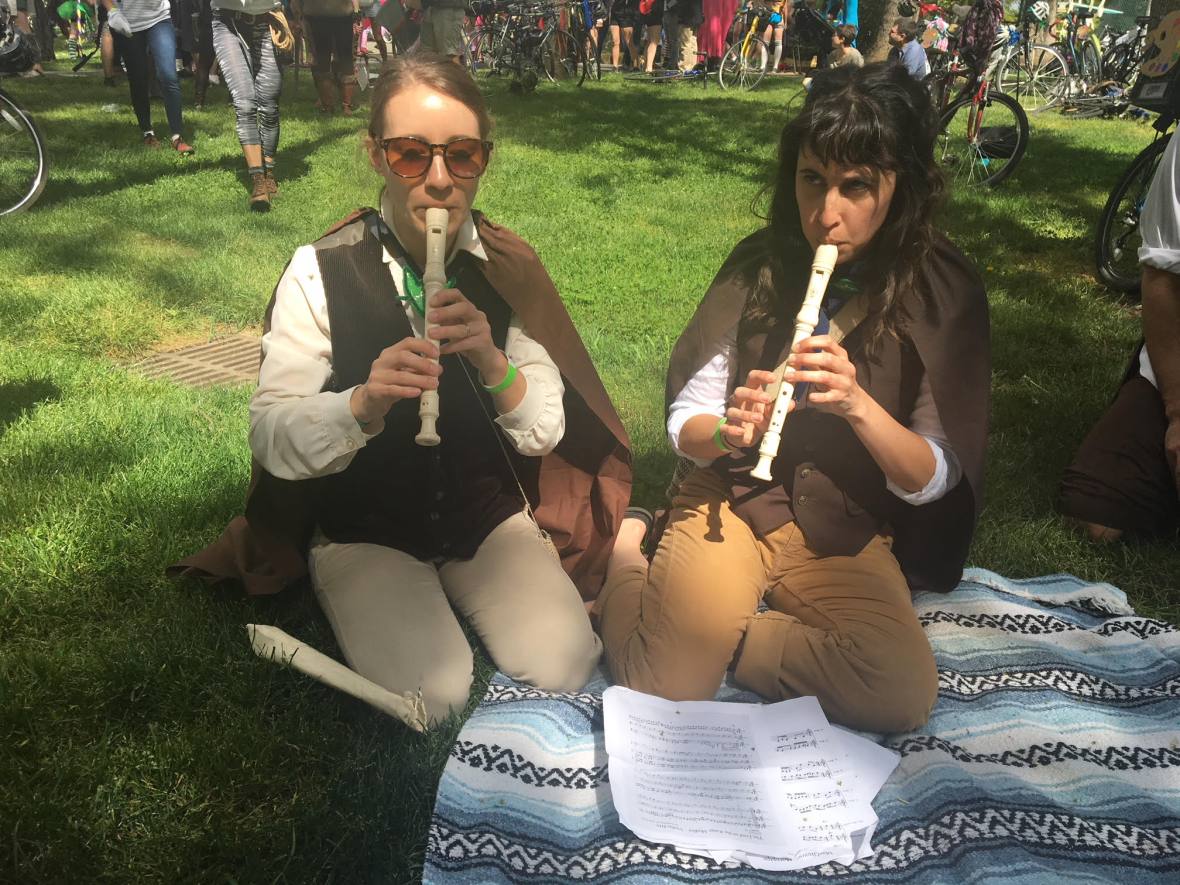
Last but not least, we welcomed guests by playing “Concerning Hobbits” from The Lord of the Rings soundtrack on flute and recorder:

hobbits2

hobbits 3

I hope this inspires your own halfling-themed crafting!

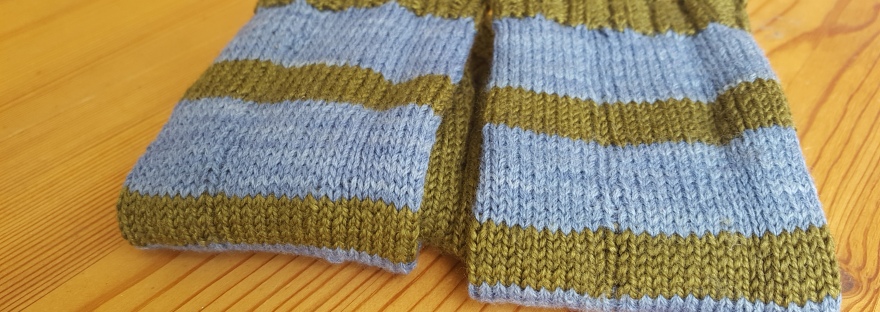
blue stripes close up
Yarn Dyeing

The sock blues: green and blue striped socks

I’ve bean just dyeing to share my latest project: Green and blue striped socks, featuring blue yarn created with black bean dye!

green and blue striped socks

I won’t tip-toe around the facts: sometimes, these socks gave me the blues. They have been in-progress for 8 months, and I dyed the blue yarn almost 4 years ago. If I was hoping to get them done in a timely fashion, I really blue it.

But on the plus side, they’re beautiful, they fit, and they’re done! Here’s what went into making them.

The Sock Blues

blue yarn from black bean dye

Back in the fall 2014, I used my blue dye from black beans tutorial to dye several sock yarns. (I also made black bean soup at the same time—perhaps a story for another post).

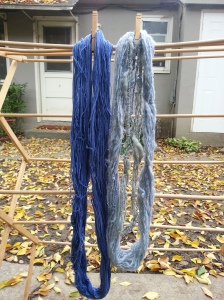
As seen drying on the laundry rack, the yarn on the left is a commercially prepared white wool yarn that I  bought at a second-hand store. The yarns on the right were wool yarns I hand spun on a spinning wheel!

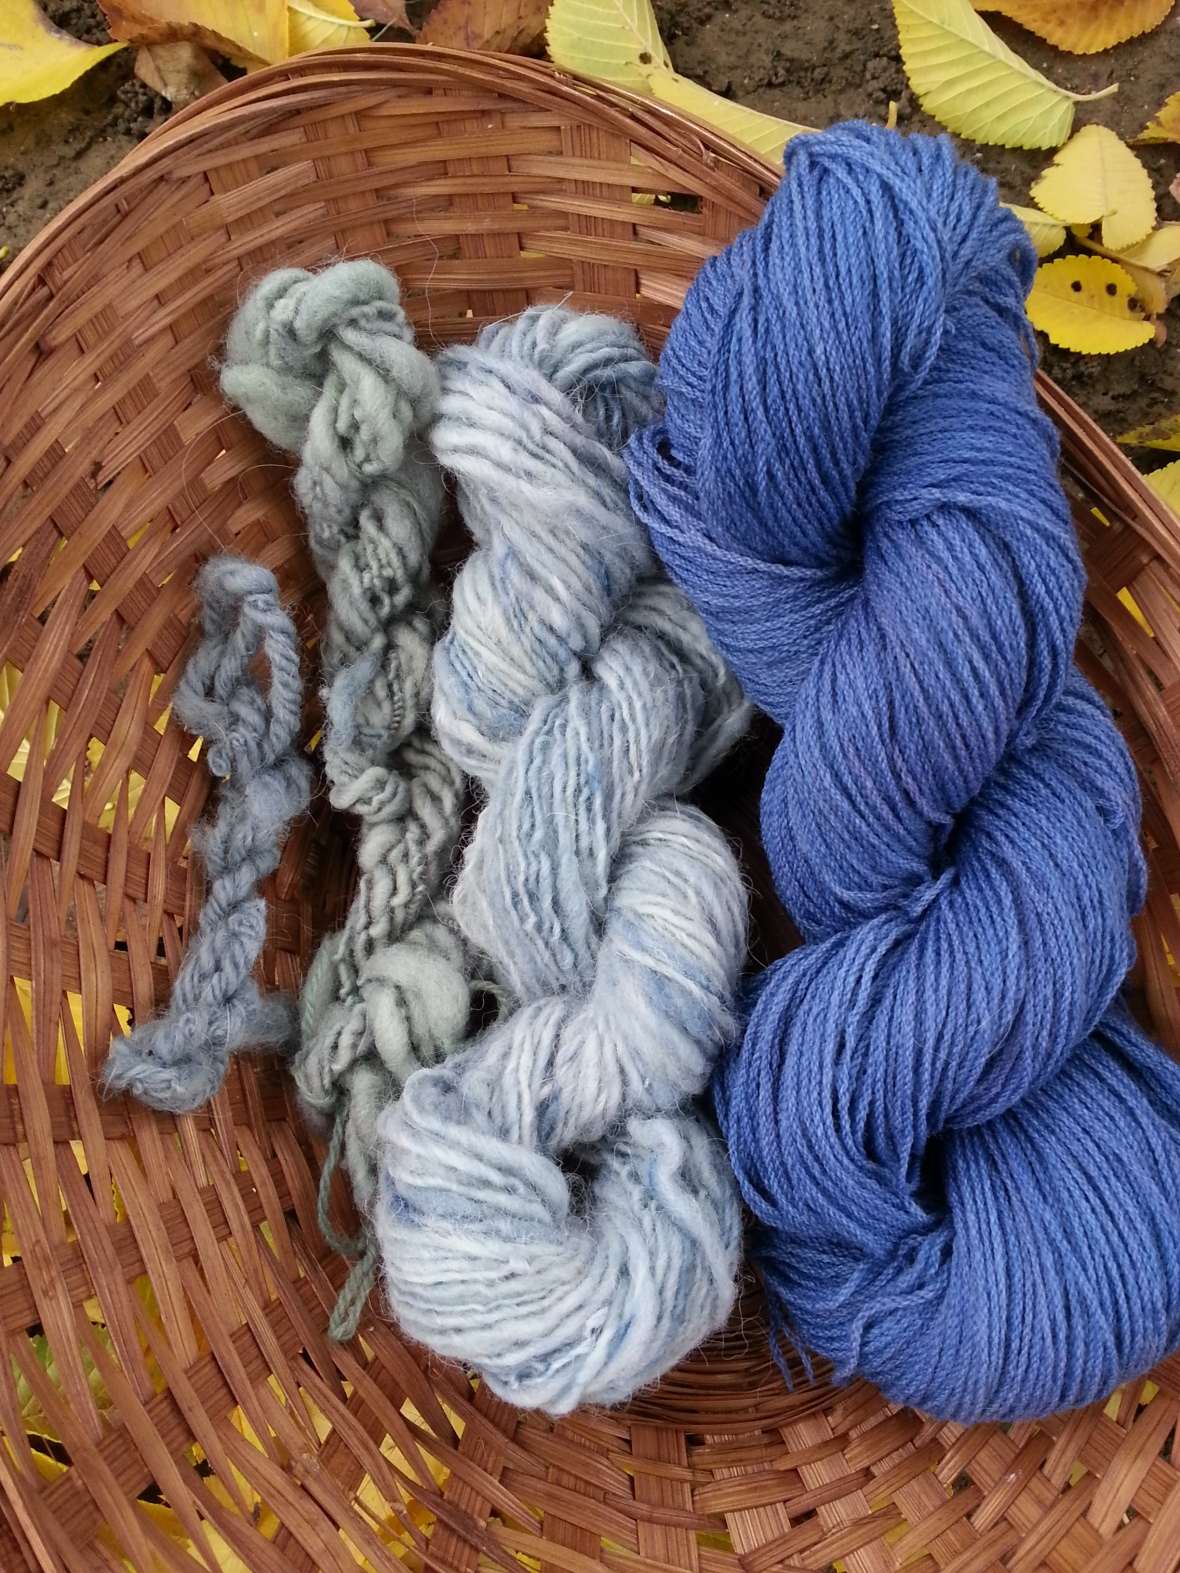
As lovely as they are, my hand spun yarns do not absorb dye that well. They took on pale, grey blue hues. But my second-hand yarn became a rich, almost periwinkle blue. The difference was striking once I made them into hanks and set them in a basket.

handspun blue yarn skeins

Fast forward several years, to the summer of 2017.

green toe up socksI had started a pair of socks using the free Universal Toe-Up Sock Formula from Knitty, casting on to a very long, size 1 circular needle to knit them both at the same time. I was hoping to use up some forest green wool blend sock yarn I originally intended for another project. But I realized my socks would be quite short with only the green yarn. So I decided to add the blue yarn in as stripes to make them longer.

Let me pause here to say that I have knit 4 pairs of toe-up socks, and I still find them REALLY HARD to make. The needles are so small, it feels like they take forever even when they are going quickly. I struggle with yarn amount, pattern selection, loose stitches, and foot fit—basically everything. The fact that I love to improvise doesn’t always help.

But I just keep trying! This time, I decided to concentrate on getting a nice snug fit. What could possibly go wrong?

I thought I had the whole project wrapped up when I got these off the needles in January 2018. But then I tried to put the socks on and they Would. Not. Fit.

Turns out, when I did the bind off, I made it far too tight. And instead of redoing them straight away, I let them sit there for a few more months.

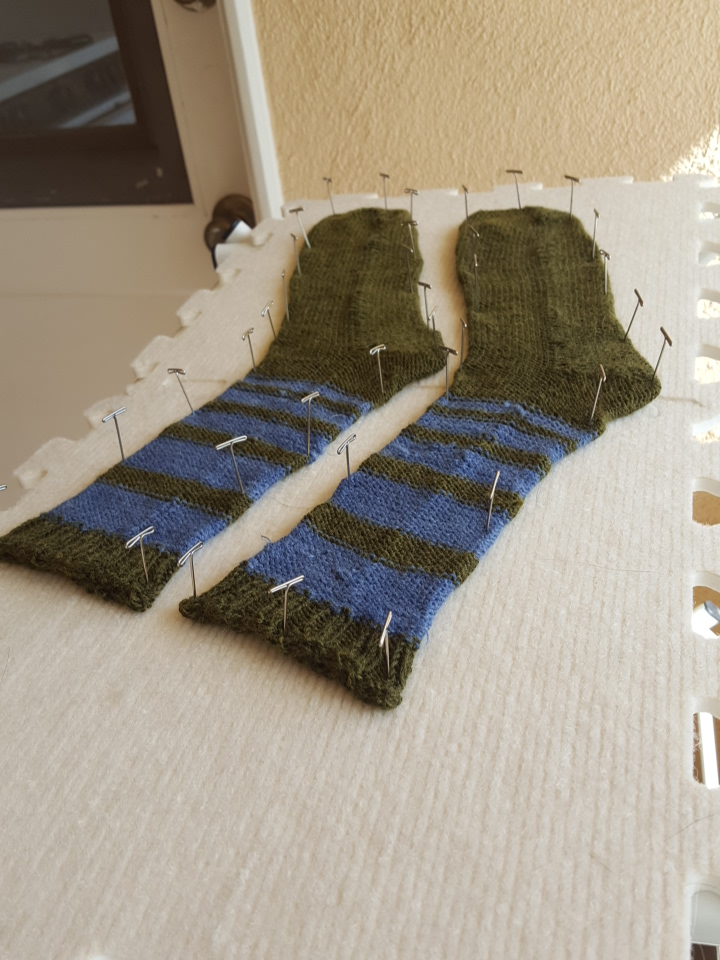
Which brings us to April 2018: Finished striped socks!

striped knit socks green and blue hand dyed

I am perfectly content with these socks, but I’ll be the first to admit their flaws. They have yarn carried up over the stripes on the outside (didn’t pre-plan the stripes). There’s a gap in the join of the circular knitting  (I am a loose knitter). And sadly, the second-hand, blue-dyed yarn is prone to breakage.

blue striped socksblue striped socks

But despite these issues, I still think there’s a lot to love about my socks!

For one, the color. Even after four years and a bit of fading, the blue yarn is a great color. I love the contrast with the forest green. It’s exactly what I had hoped it would look like. It’s a color combination I don’t often see, but really enjoy.

blue stripes close up

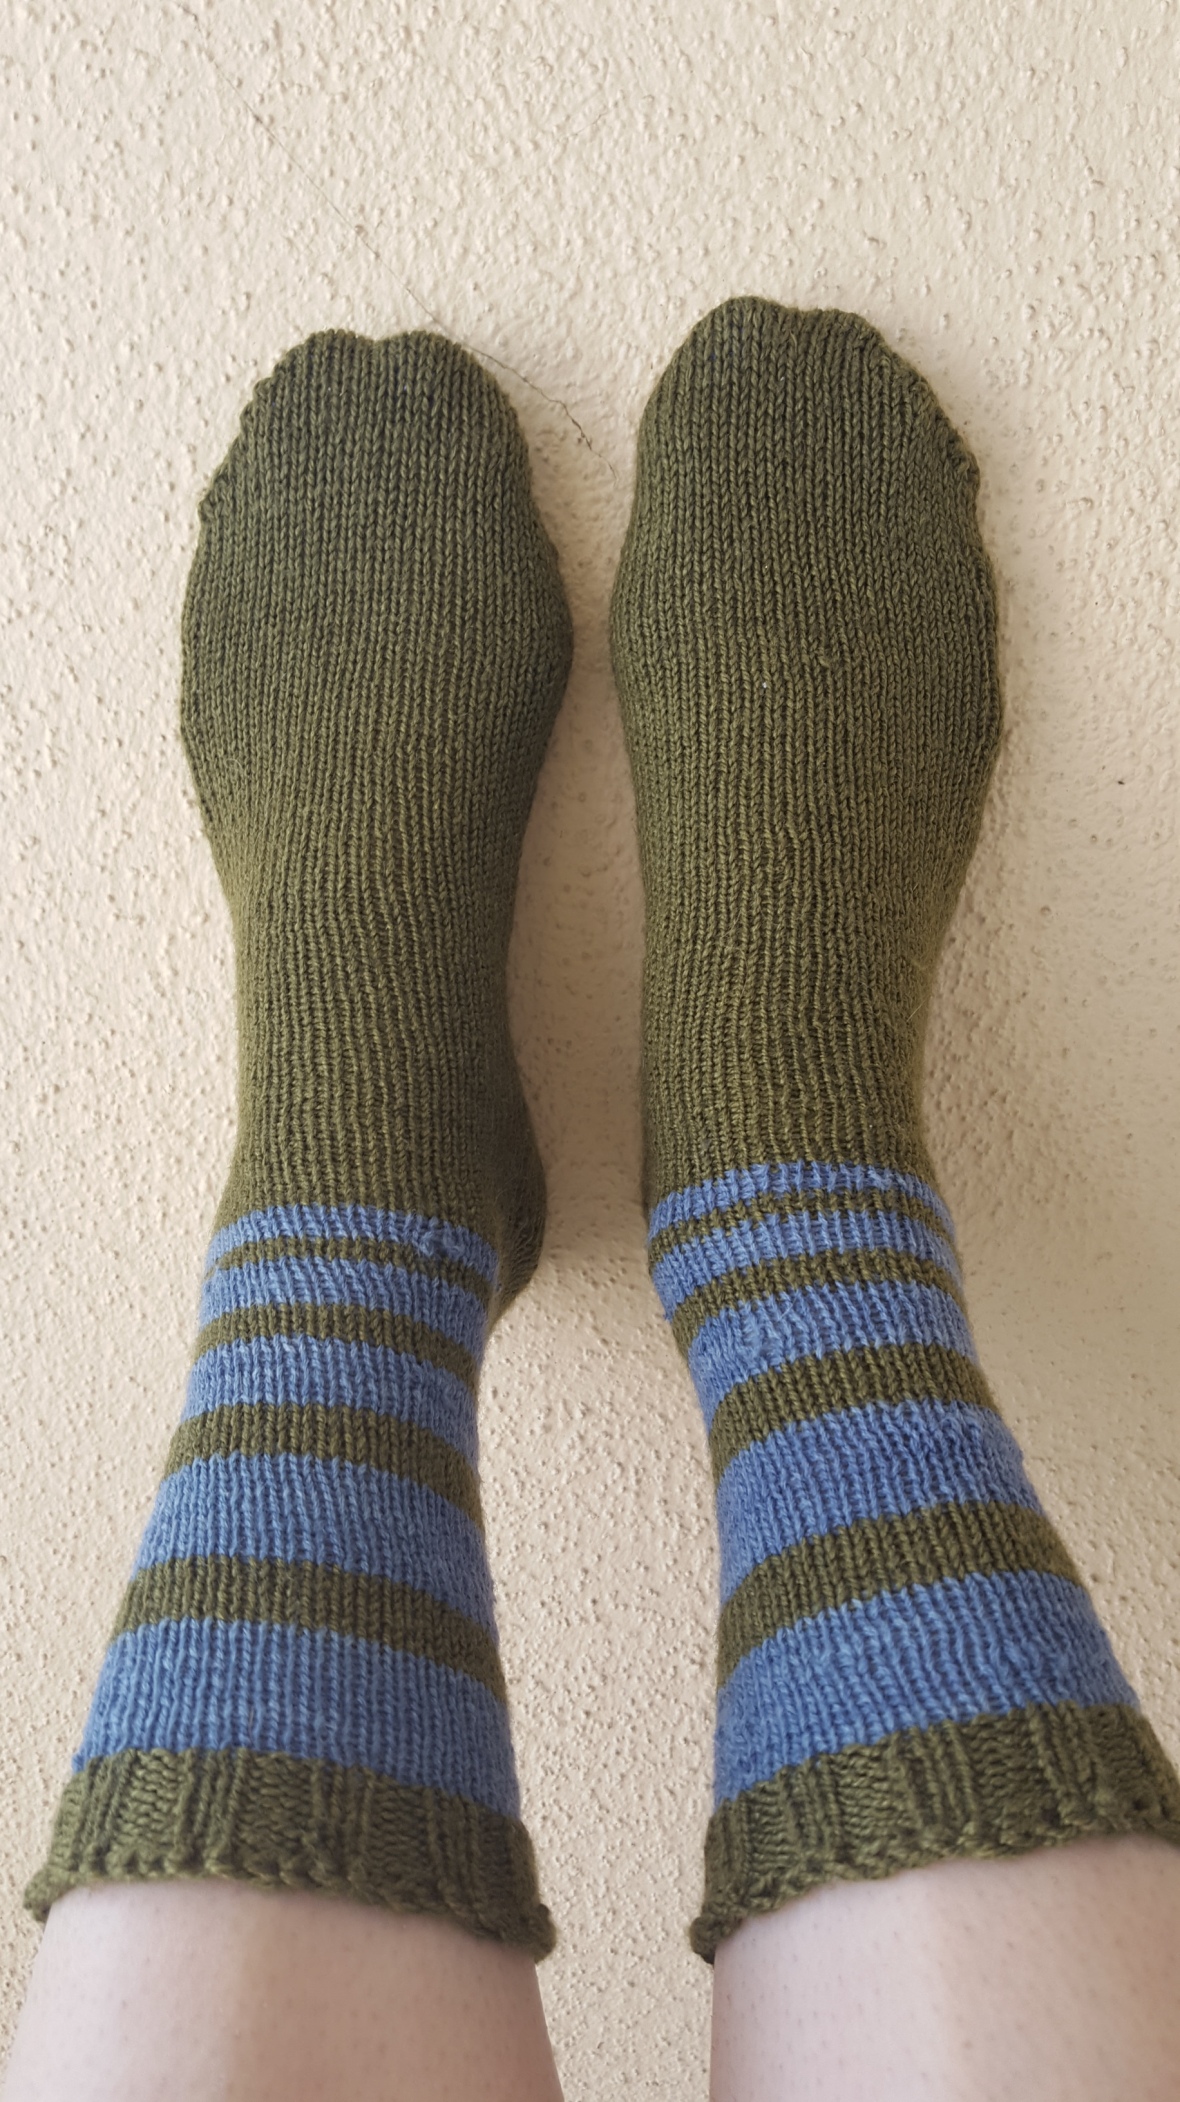
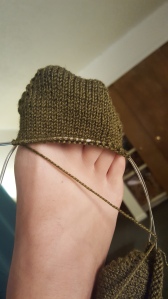
For another thing, once I re-did the bind off to make it more stretchy, they became a great fit! I have small, high-arched feet, and loose socks can be a real drag. I did my calculations right on these. Probably my best fitting knit sock to date. They even fit well before blocking, as shown here:sock on one foot

Finally, I expect to get a few good wears out of these socks before the warm spring weather really kicks in! In fact, I am wearing them right now.

blue and green striped socks

Hope you enjoyed seeing another blue dye project. Here’s to many more!

Botanical Knits & Crafts, Original Knitting Patterns, Uncategorized

Nature Inspired Wedding Pillows

If I came to your nuptials in the last 2 years, you got a hand-knit pillow inspired by nature as a wedding gift.


Pillows are underrated knit gifts. They’re nice for the knitter, because they knit up quicker than a garment, use up stash yarn with ease, and require no sizing other than a gauge that will work with your choice of pillow form. And they’re nice for the recipient, because they can be personalized and heartfelt while still being functional.

Since I already blogged about the Lovebirds Owl Pillow, I’ll focus on the two others.

Twinning Trees

2017-10-06 23.04.57

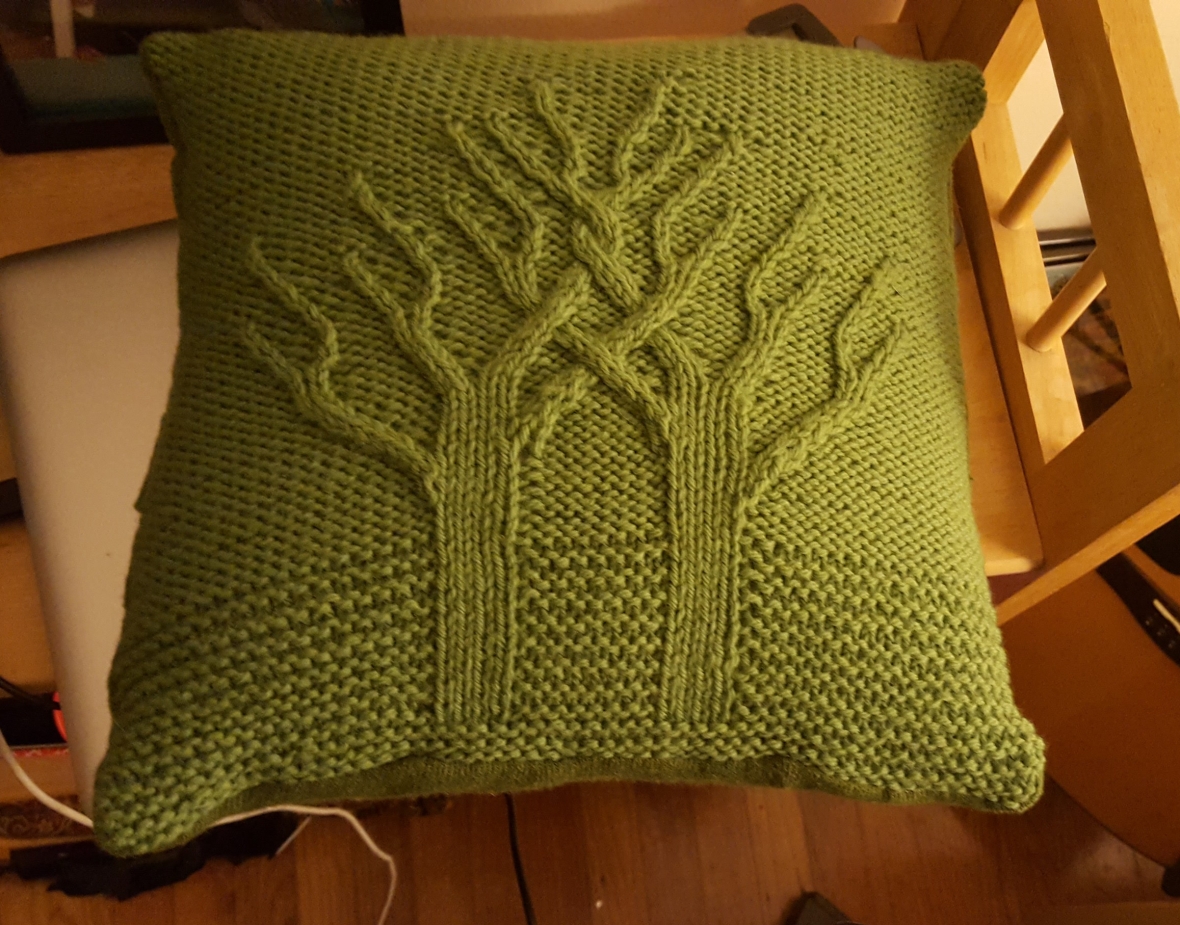
Pattern:  Twining Trees by Sarah Bradberry (Ravelry link)

Yarn:  Cascade 220 wool, Spring Green (leftover from my Mrs. Darcy cardigan project)

I had this beautiful pattern in my Ravelry queue for 5 years, just waiting for the right project! I love the intertwined cables— so fitting a gift for two people growing together.

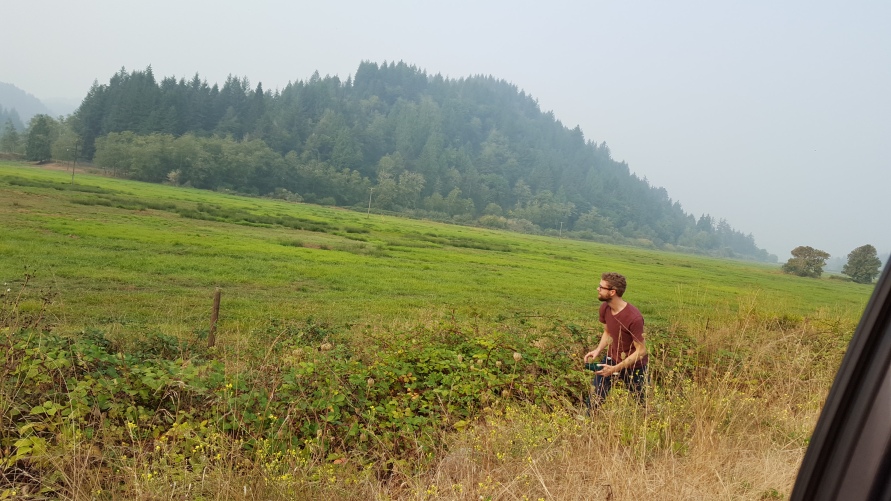
I made this for J + K’s wedding, which took place at a Northern California winery and was just as green and beautiful. But the actual inspiration for the pillow was a road trip through Oregon this summer, with plenty of passenger seat time to work though all those cables. Despite the wildfire smoke, we saw lush greens everywhere.


I have found that the best backing to a knit pillow is a repurposed sweater! This one was a green sweater tank in a matching shade. I pinned and cut two pieces to over on the reverse side, making it easy to slip it off the pillow form and wash it.


It’s a little tricky to sew through both pieces on my sewing machine, but the results are worth it.

2017-10-06 23.05.10

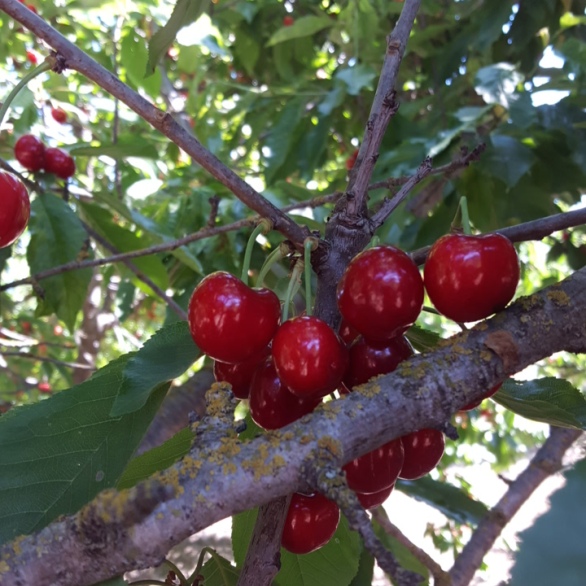
Bonus knit! J+K also requested quilt squares from guests for a wedding quilt, so of course I incorporated some knitting there too! My square was inspired by a summer afternoon of cherry picking that we had all recently enjoyed.


I used the “how to knit a flat circle” ravelry tutorial for this one, which I highly recommend.

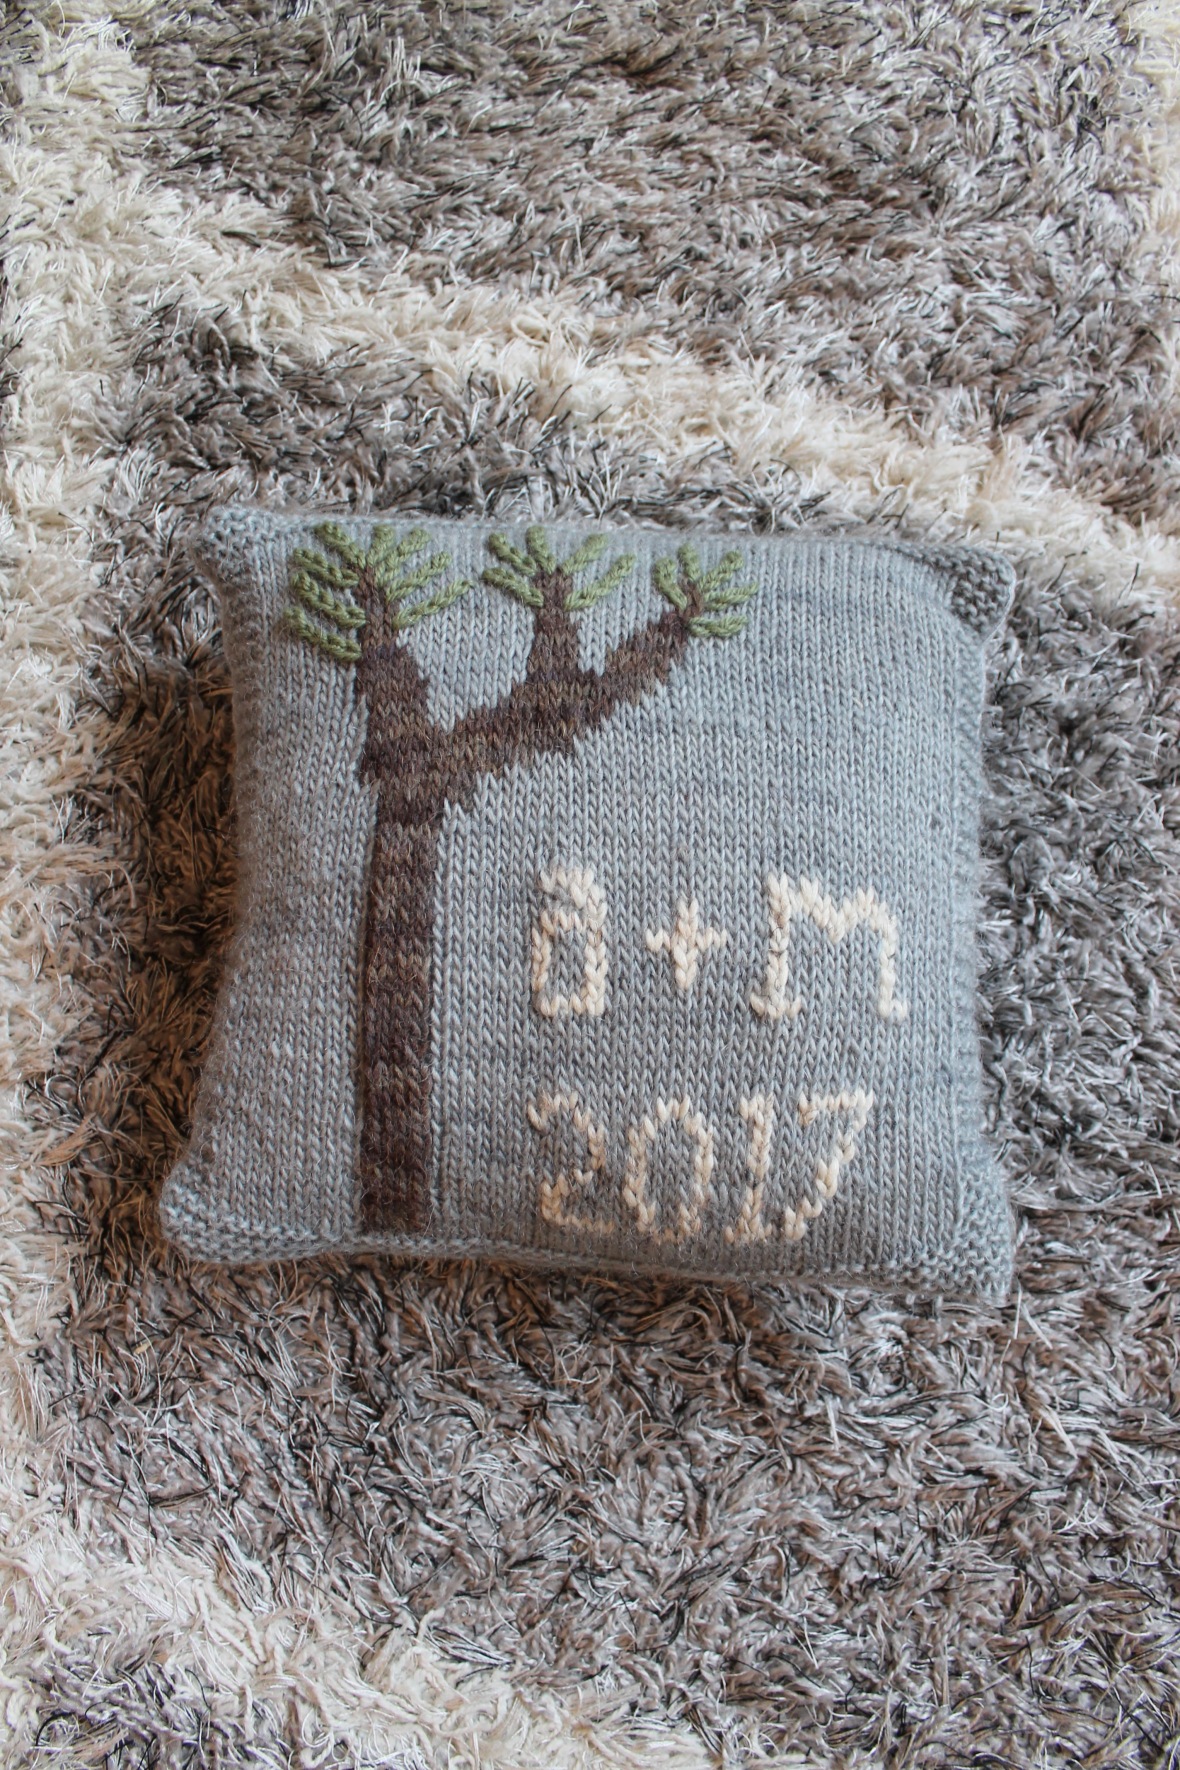
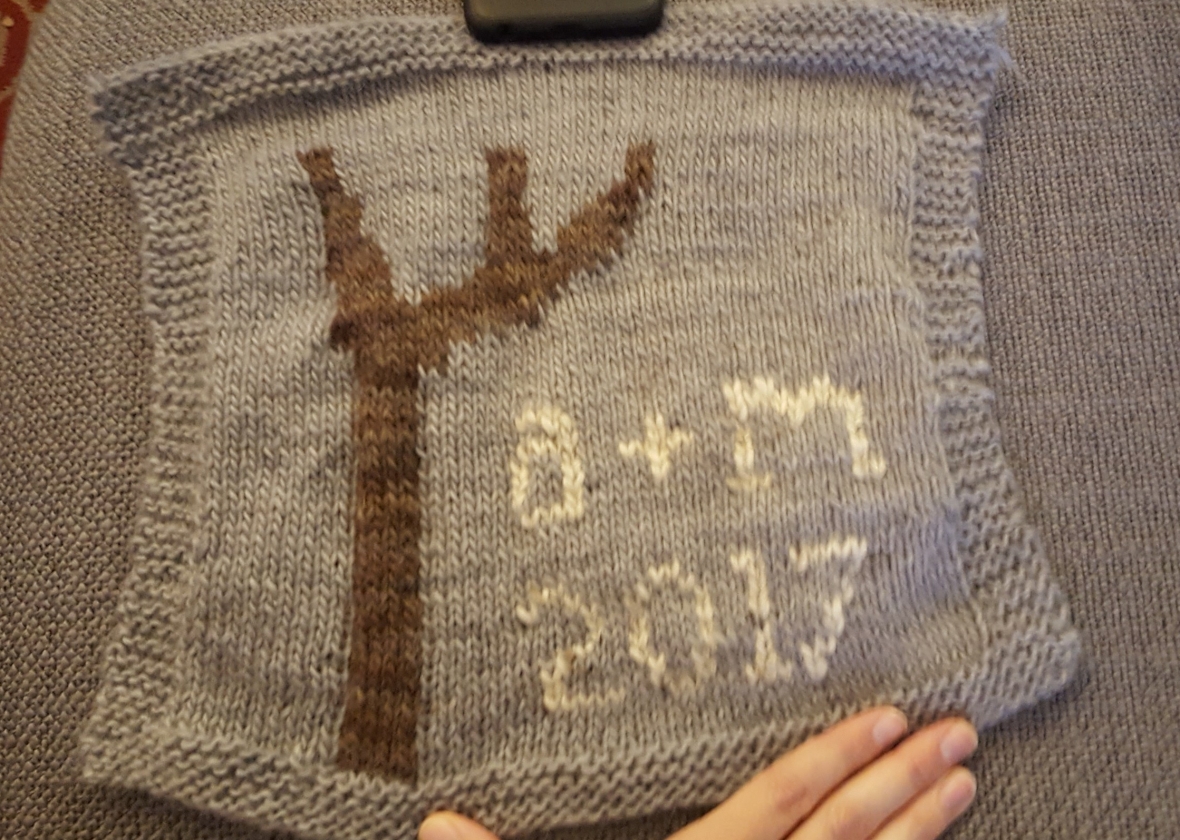
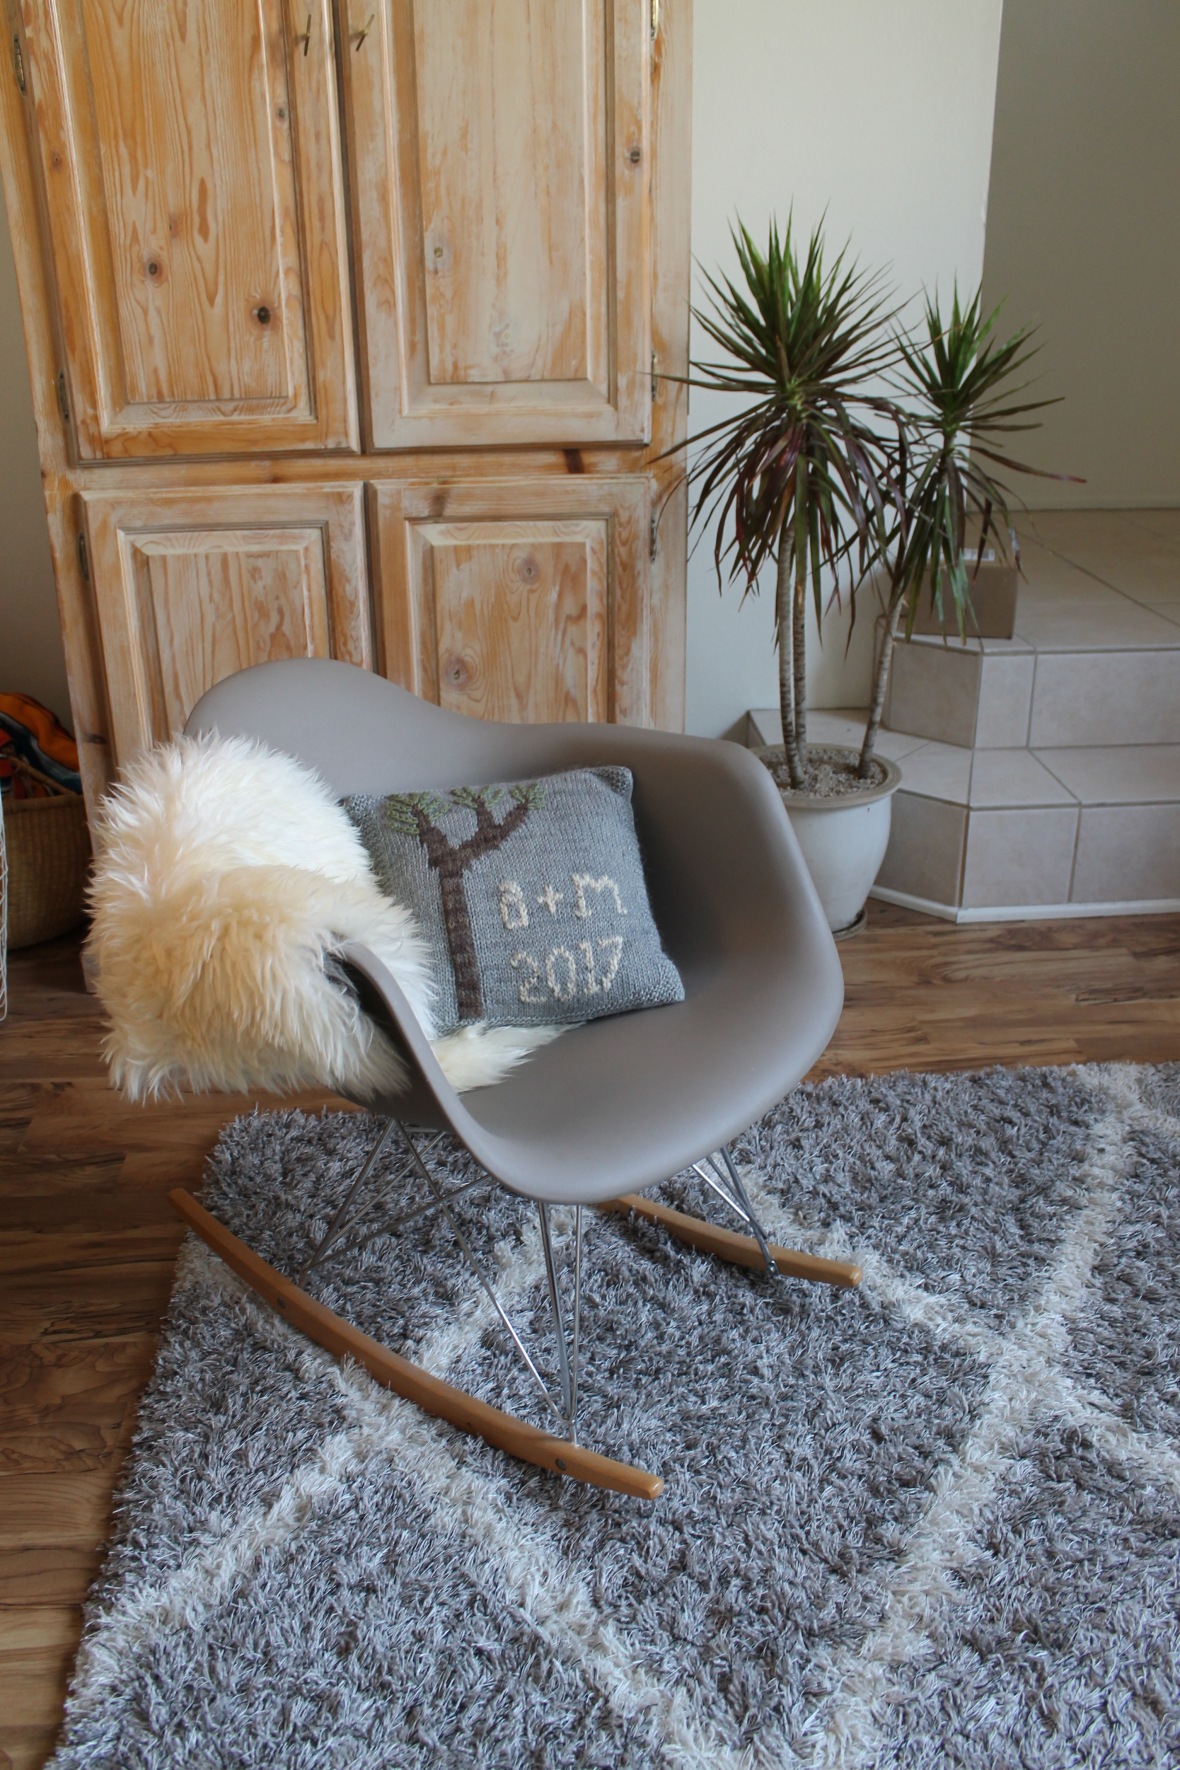
Joshua Tree

IMG_5208

Pattern: My original design!

Yarn: All stash yarns—gray wool/mohair blend from stash, brown wool from my Owl Mittens, green from my repurposed Argyle Wall Hanging, and beige from my Katniss Cowl.

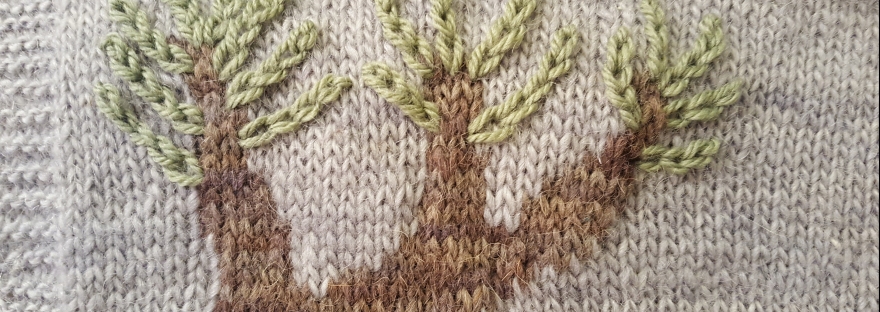
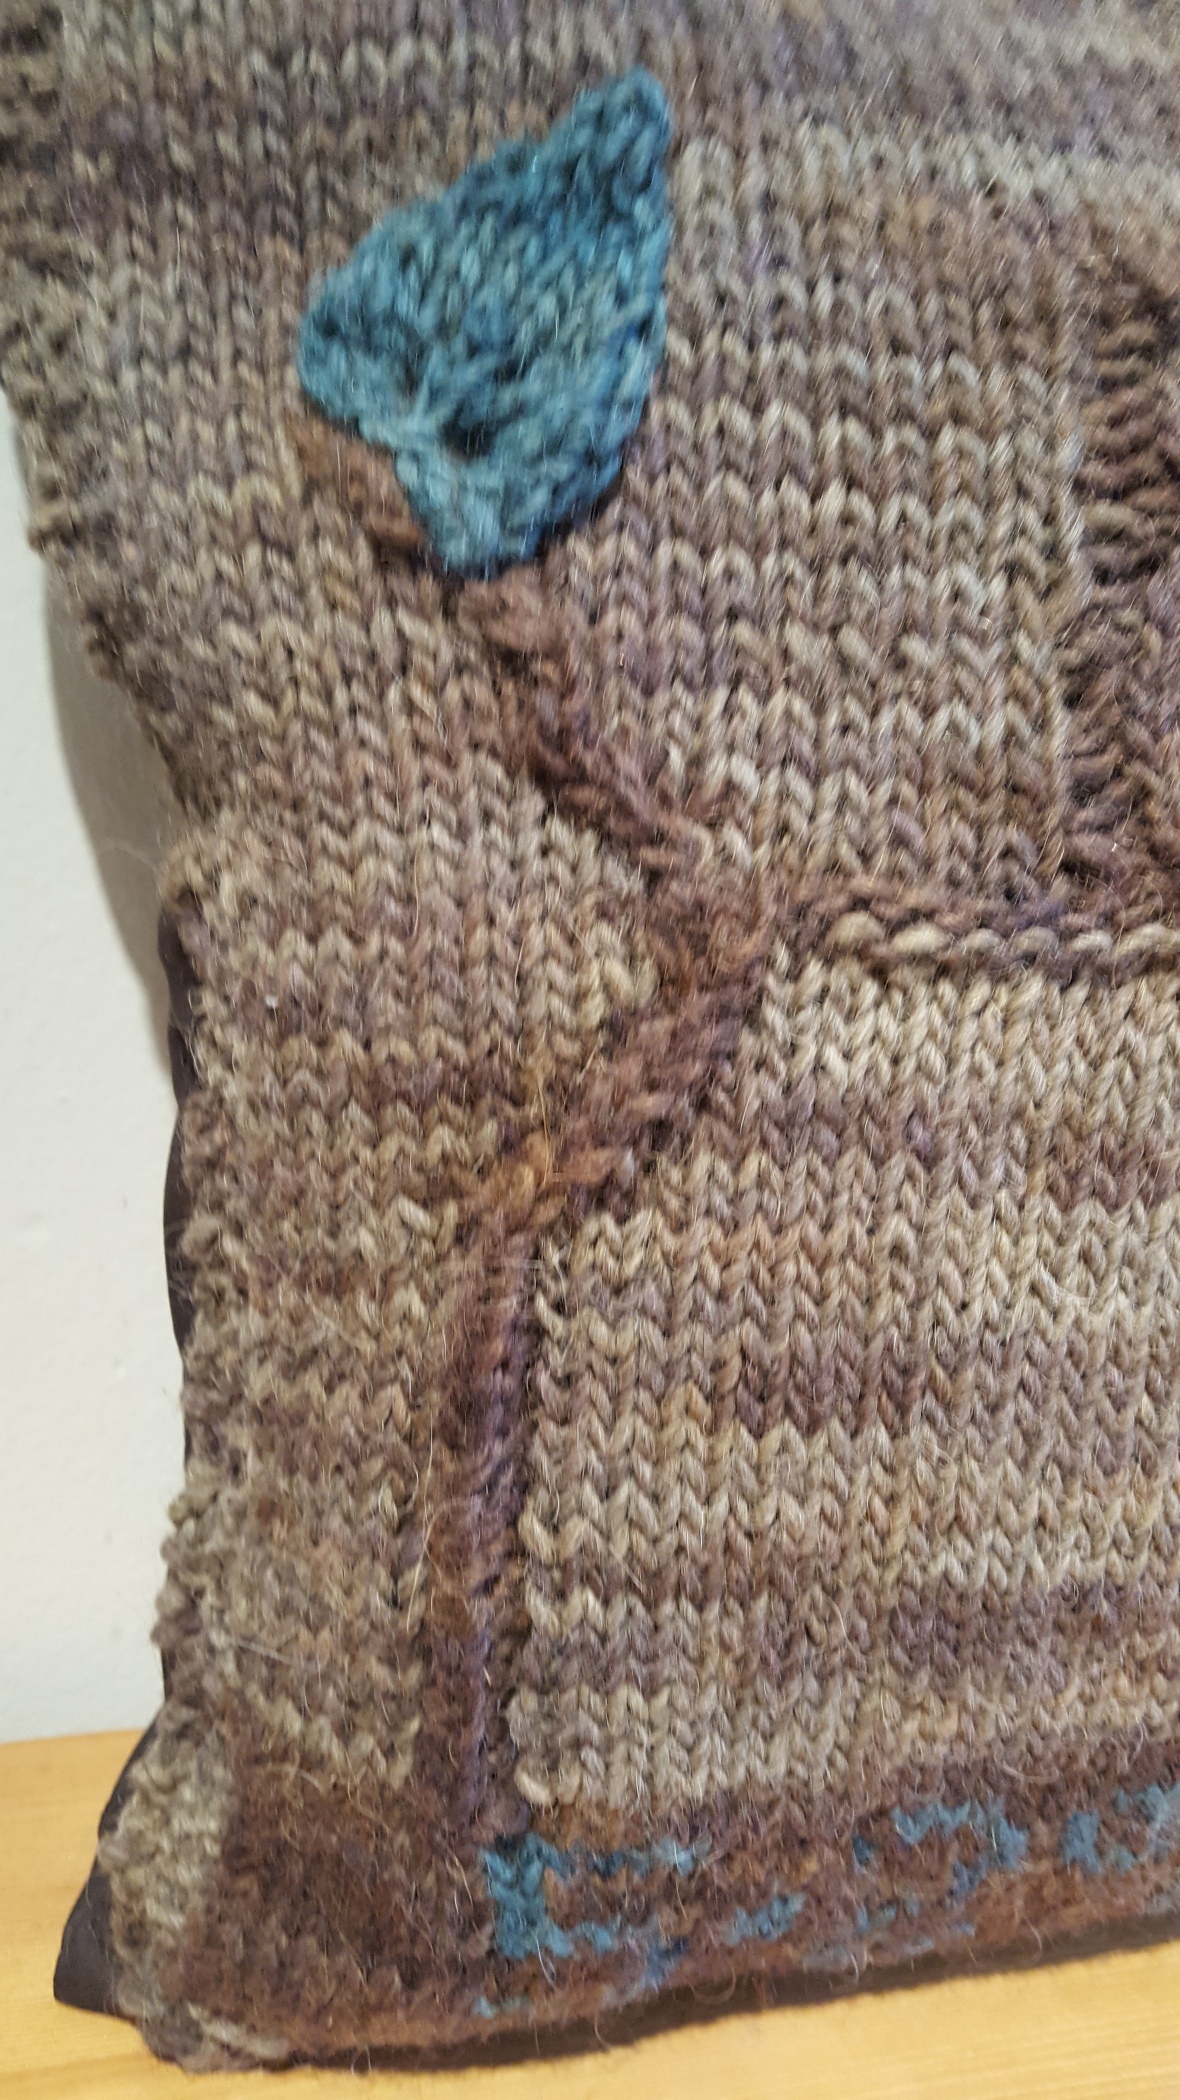
When I heard that A+M were getting married in Joshua Tree National Park, I knew what was going on their pillow! Only trouble was,  no such pattern existed! Cactus, sure, but no Joshua trees. I hadn’t been to the high desert for years, and couldn’t even remember if I’d seen one, so I looked at photos for inspiration to start. I eventually got to see the real thing! They were just as weird and majestic as I imagined—even more so at twilight.


I originally sketched a Joshua tree with many branches, but I had to scale it back to three for simplicity’s sake. I opted to keep the tree to one side, giving me room to add their initials and the year. If you make a pillow like this, take the time to sketch it out on a grid, to get an idea of the layout!

2017-11-21 22.13.13

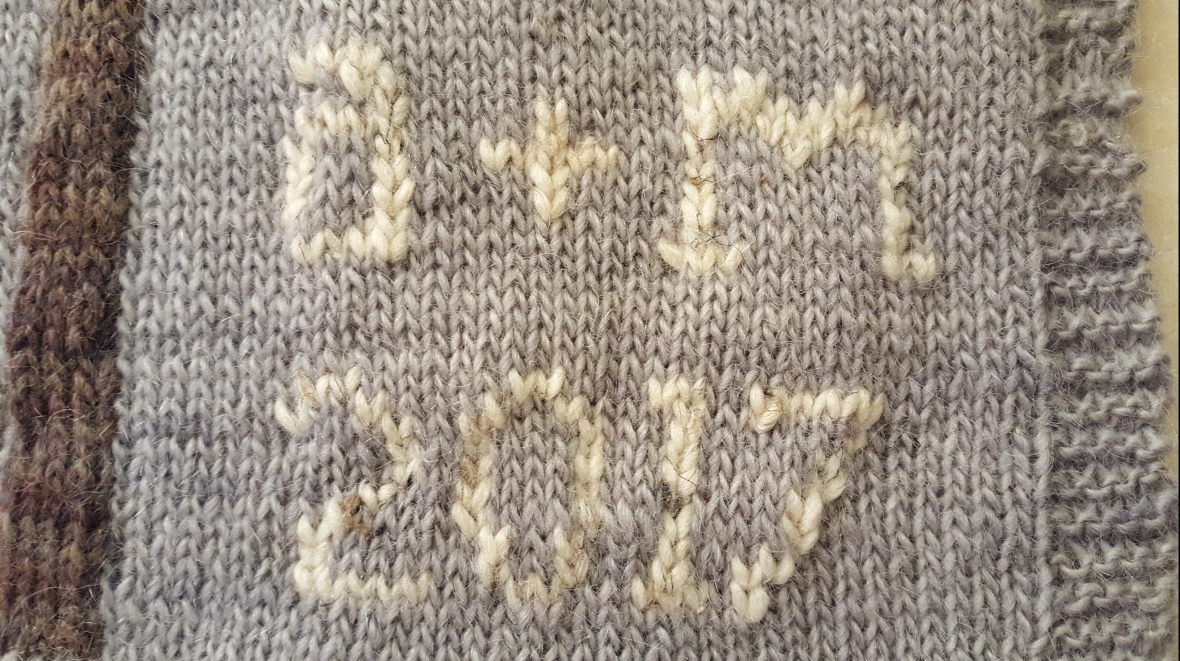
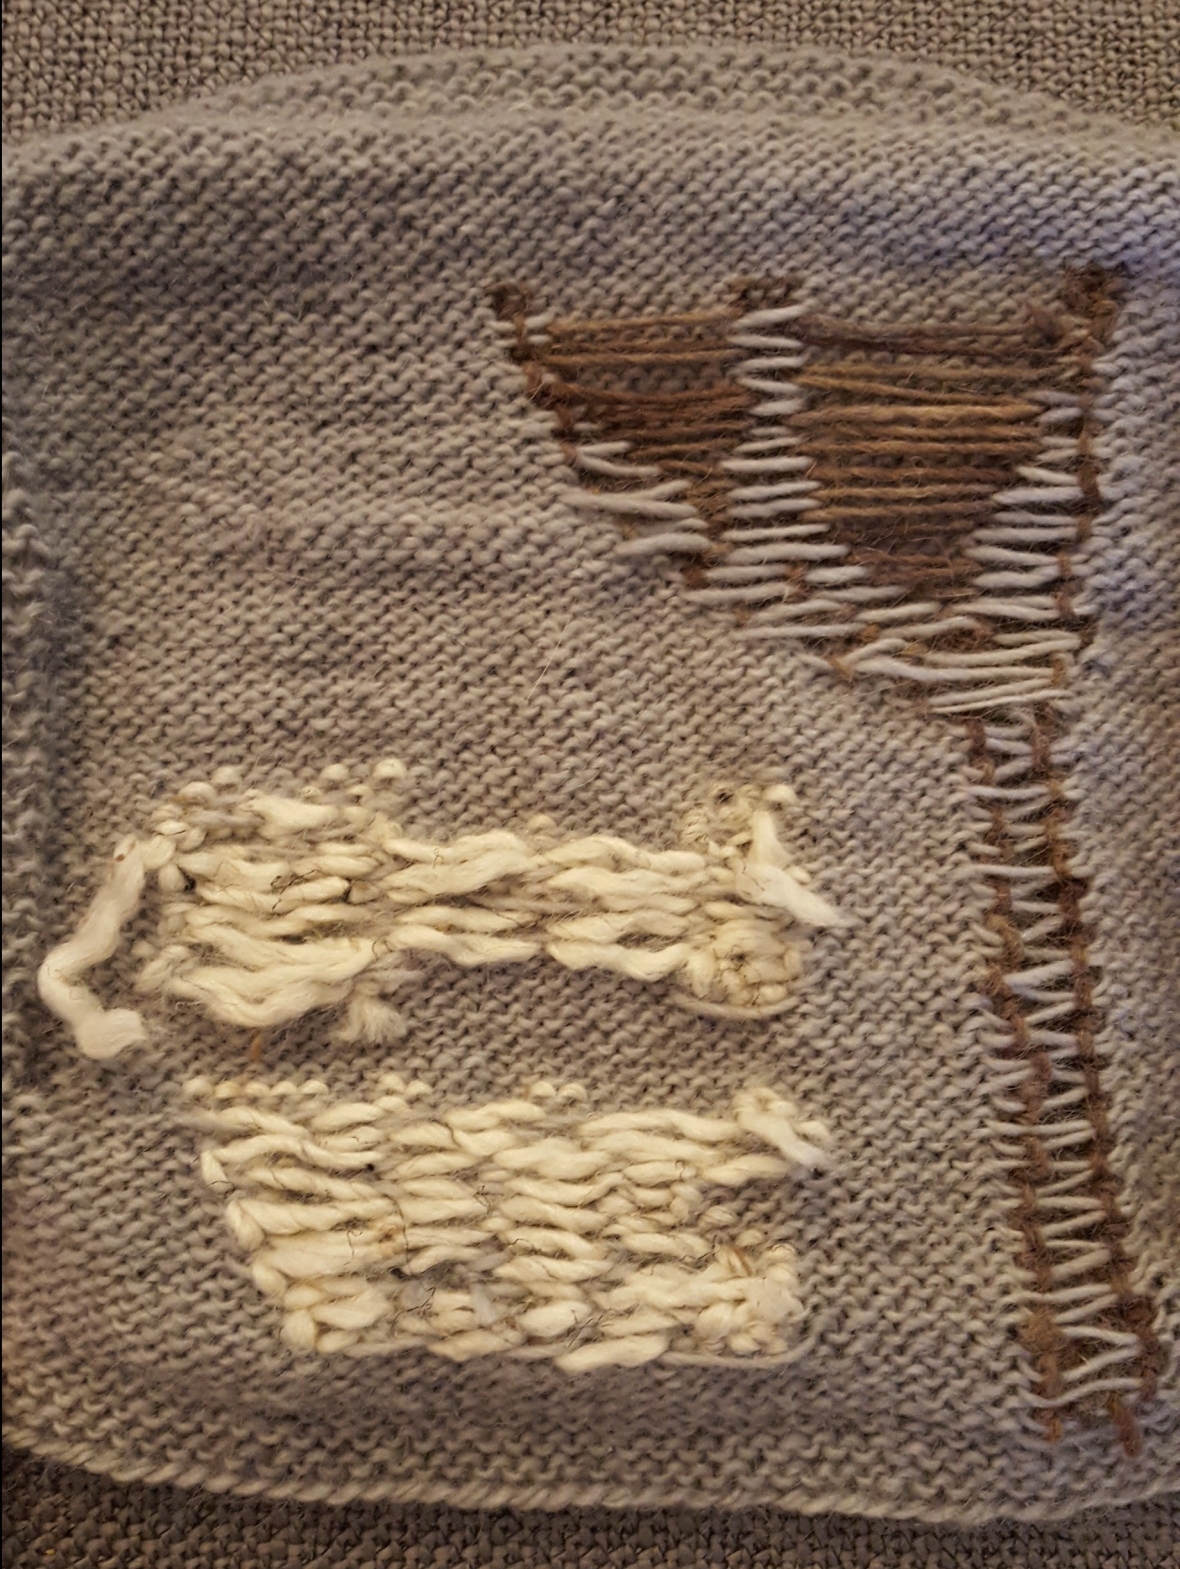
Intarsia knitting worked best for this kind of colorwork, although I also did some stranding between the branched and the letters & numbers. I know that many knitters shy away from colorwork, but pillows are a perfect test project! It doesn’t have to stretch over a body or a head, so you can practice getting the right tension. Here’s the front and back of the complete piece.

2017-11-19 10.04.142017-11-19 10.04.26

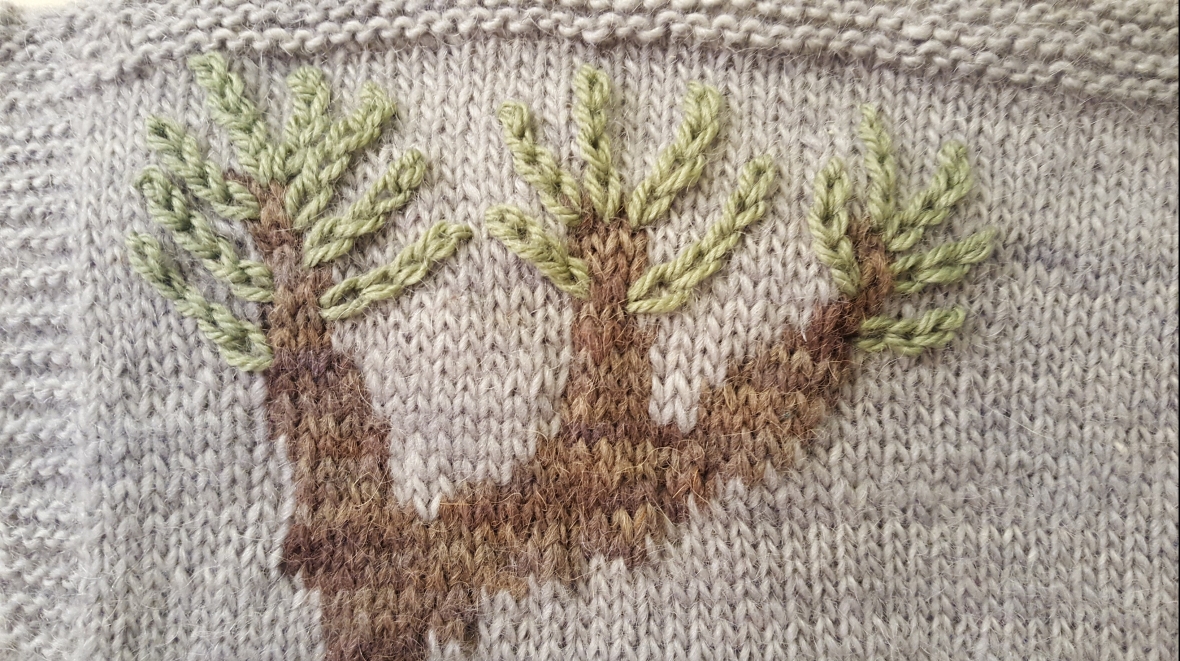
After poring over too many stitch dictionaries, I decided the easiest way to approximate the long pointy leaves was to do a crochet chain embroidery stitch on top of the completed work. That way, I could control the angle and give the tree a three-dimensional look. I followed a simple video tutorial (here) since crochet is not my forte.

2017-11-21 22.13.08

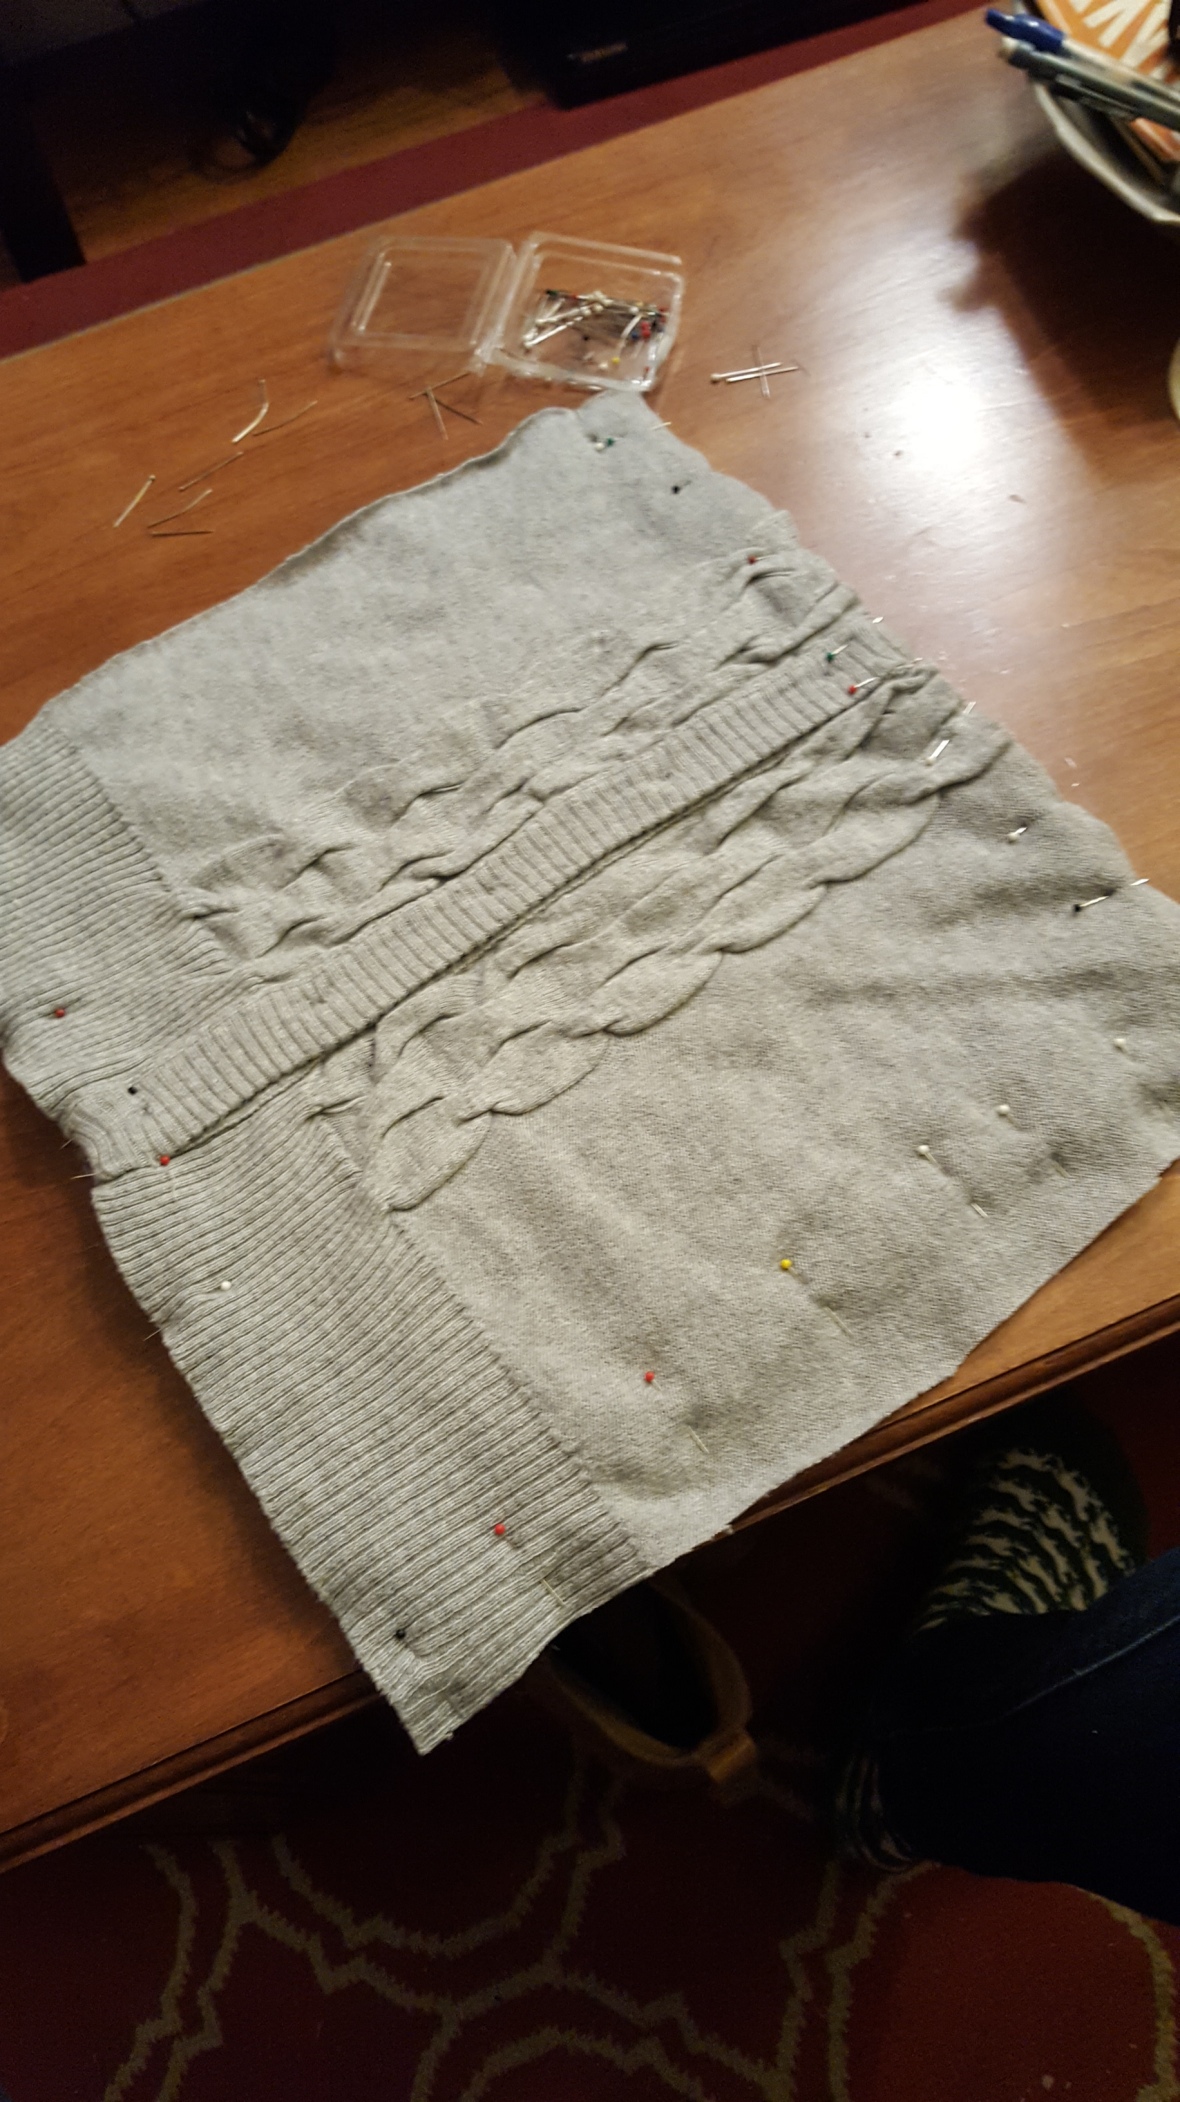
And of course, I used a gray sweater as a backing. This time, I chose a cardigan, so I could incorporate the buttons for easy removal.

2017-11-21 22.43.00I am quite happy with the way this pillow turned out. The muted color palate captured the feel of the high desert, and it matched A + M’s home decor!

IMG_5207

Activity Knits & Crafts, Botanical Knits & Crafts, Costumes, Quick Knits & Crafts

Knitting for bikes, crafting for sheep

Ever wanted to knit a sweater for your bicycle?

Have I got the project for ewe!
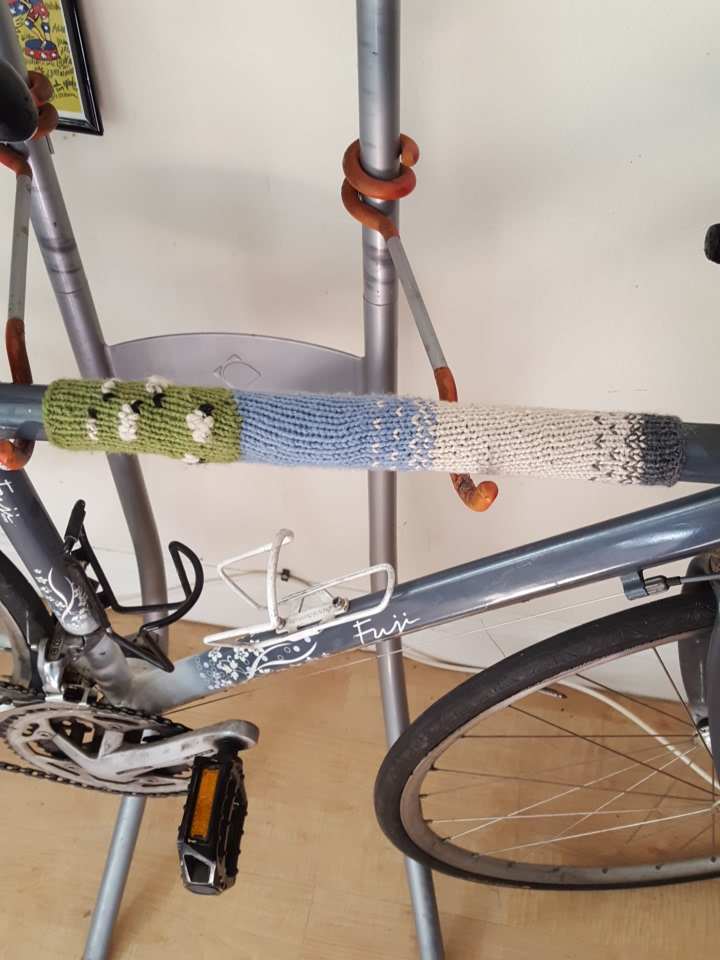
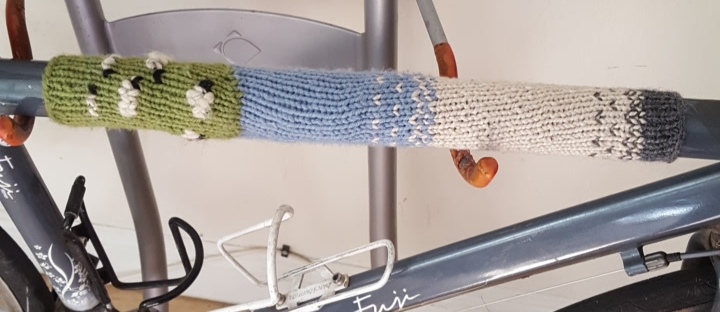
2017-05-06 16.36.30 Last weekend was Tour d’Davis, where my flock and I celebrated this costumed bicycle tour of town with our “yarnbombed” bikes. I am particularly proud of creating this countryside scene for my top tube, complete with sheep grazing on the hillside and a matching pouch for my cellphone. The entire thing is my own design. I call this cozy pattern Pastoral.
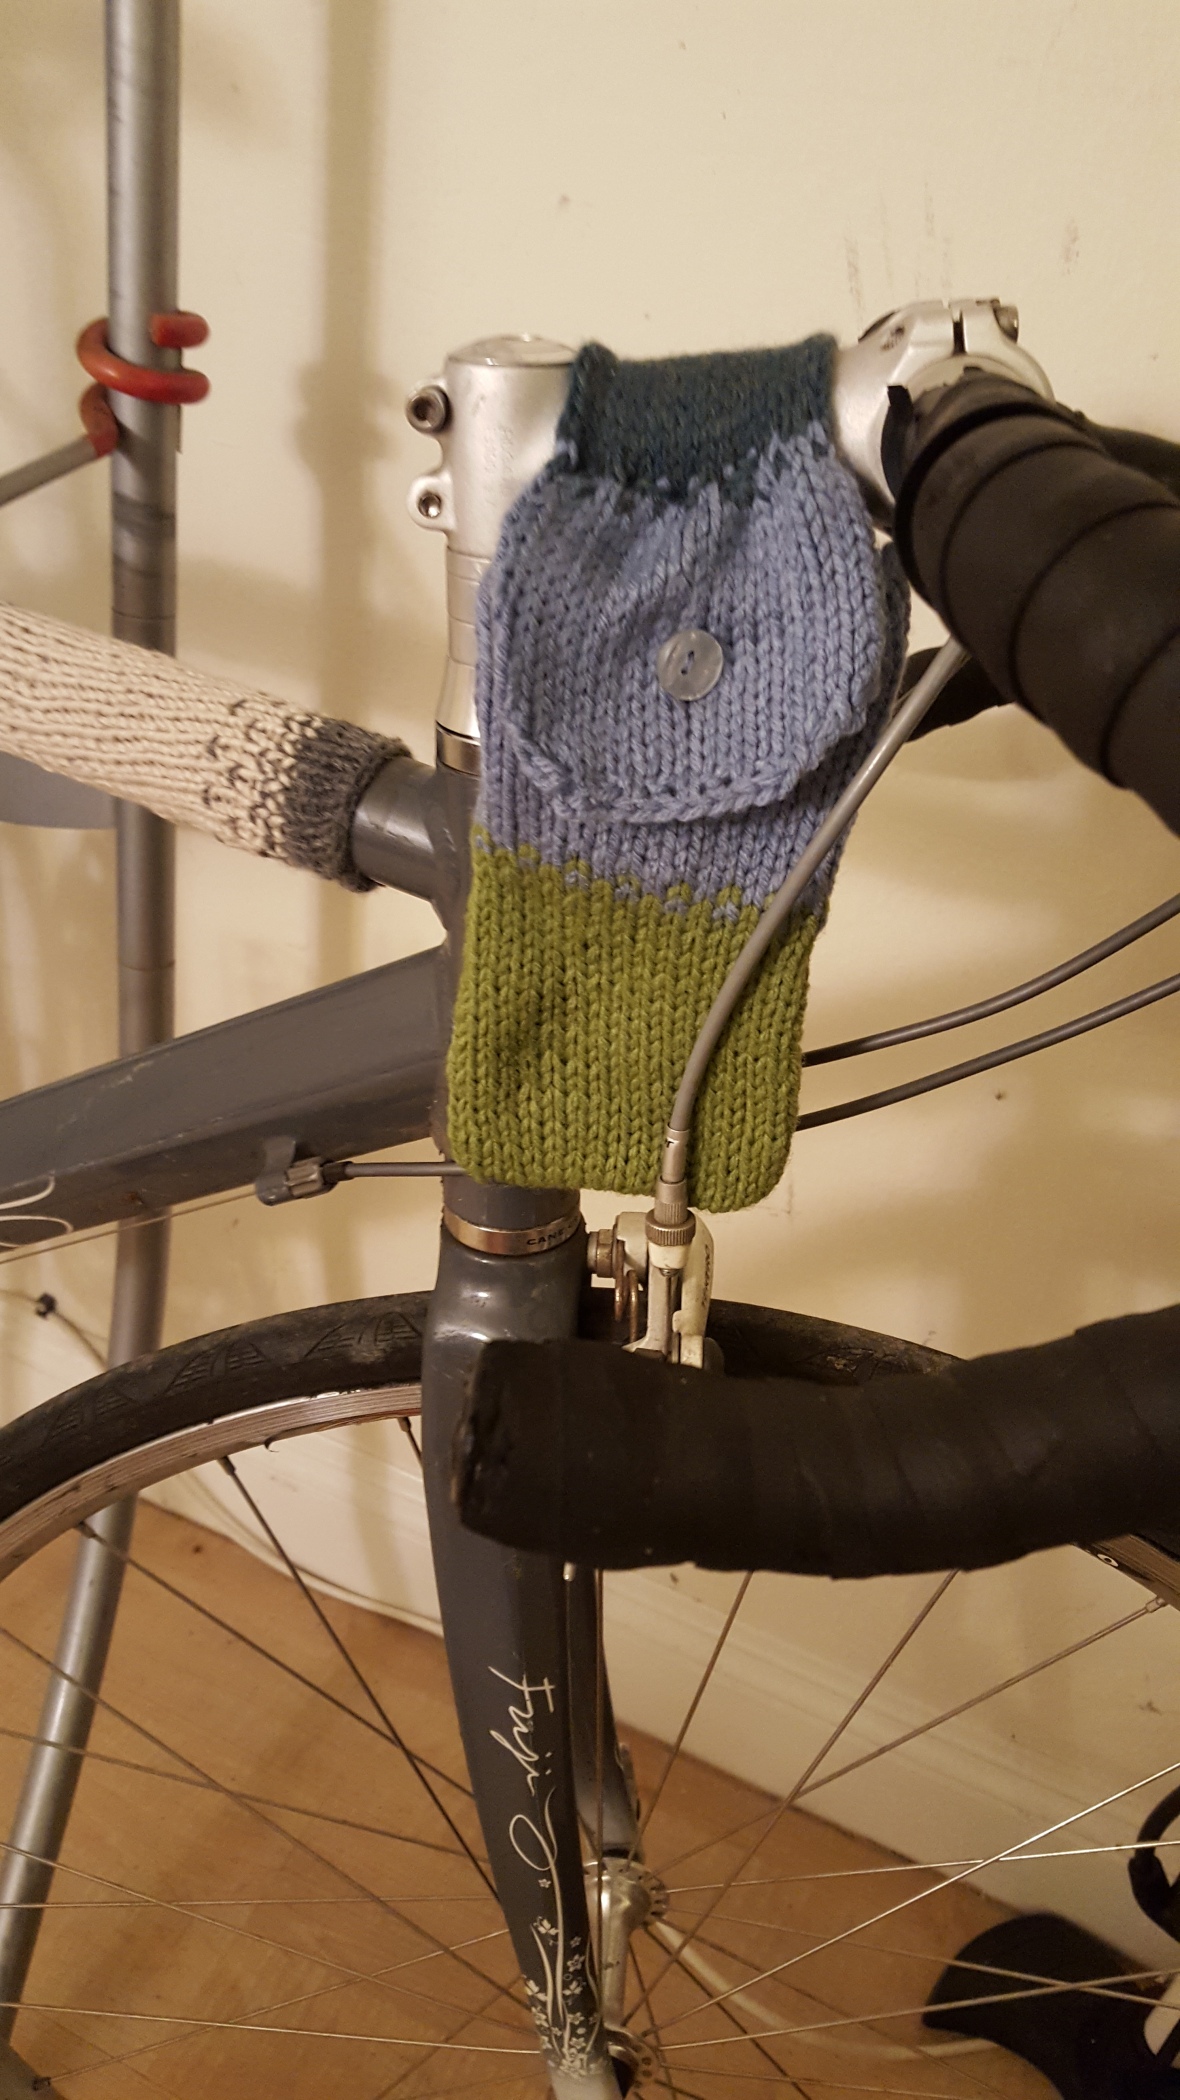
2017-04-27 22.29.24If you want to do this project on your own bicycle, you’re in luck—it has a very low baaaa-r to entry. All yarn used here was leftover from other projects:

Materials: Scrap yarn, knitting needles, yarn sewing needle (or crochet hook), measuring tape, binder clips or clothes pins, and imagination!

Instructions: Measure your top tube width and length, then check your knitting gauge for an exact fit. You can also eyeball it for an approximate fit that works pretty well too. Cast on in the most creative colors you can find! Stockinette stitch works well. When binding off, leaving a long tail so that you can sew it around the top tube. Use the binder clips or clothespins to hold the knitting in place as you sew up the seam. Don’t worry too much about the neatness of the seam, or weaving in ends, as neither are that visible.
2017-04-27 20.16.43

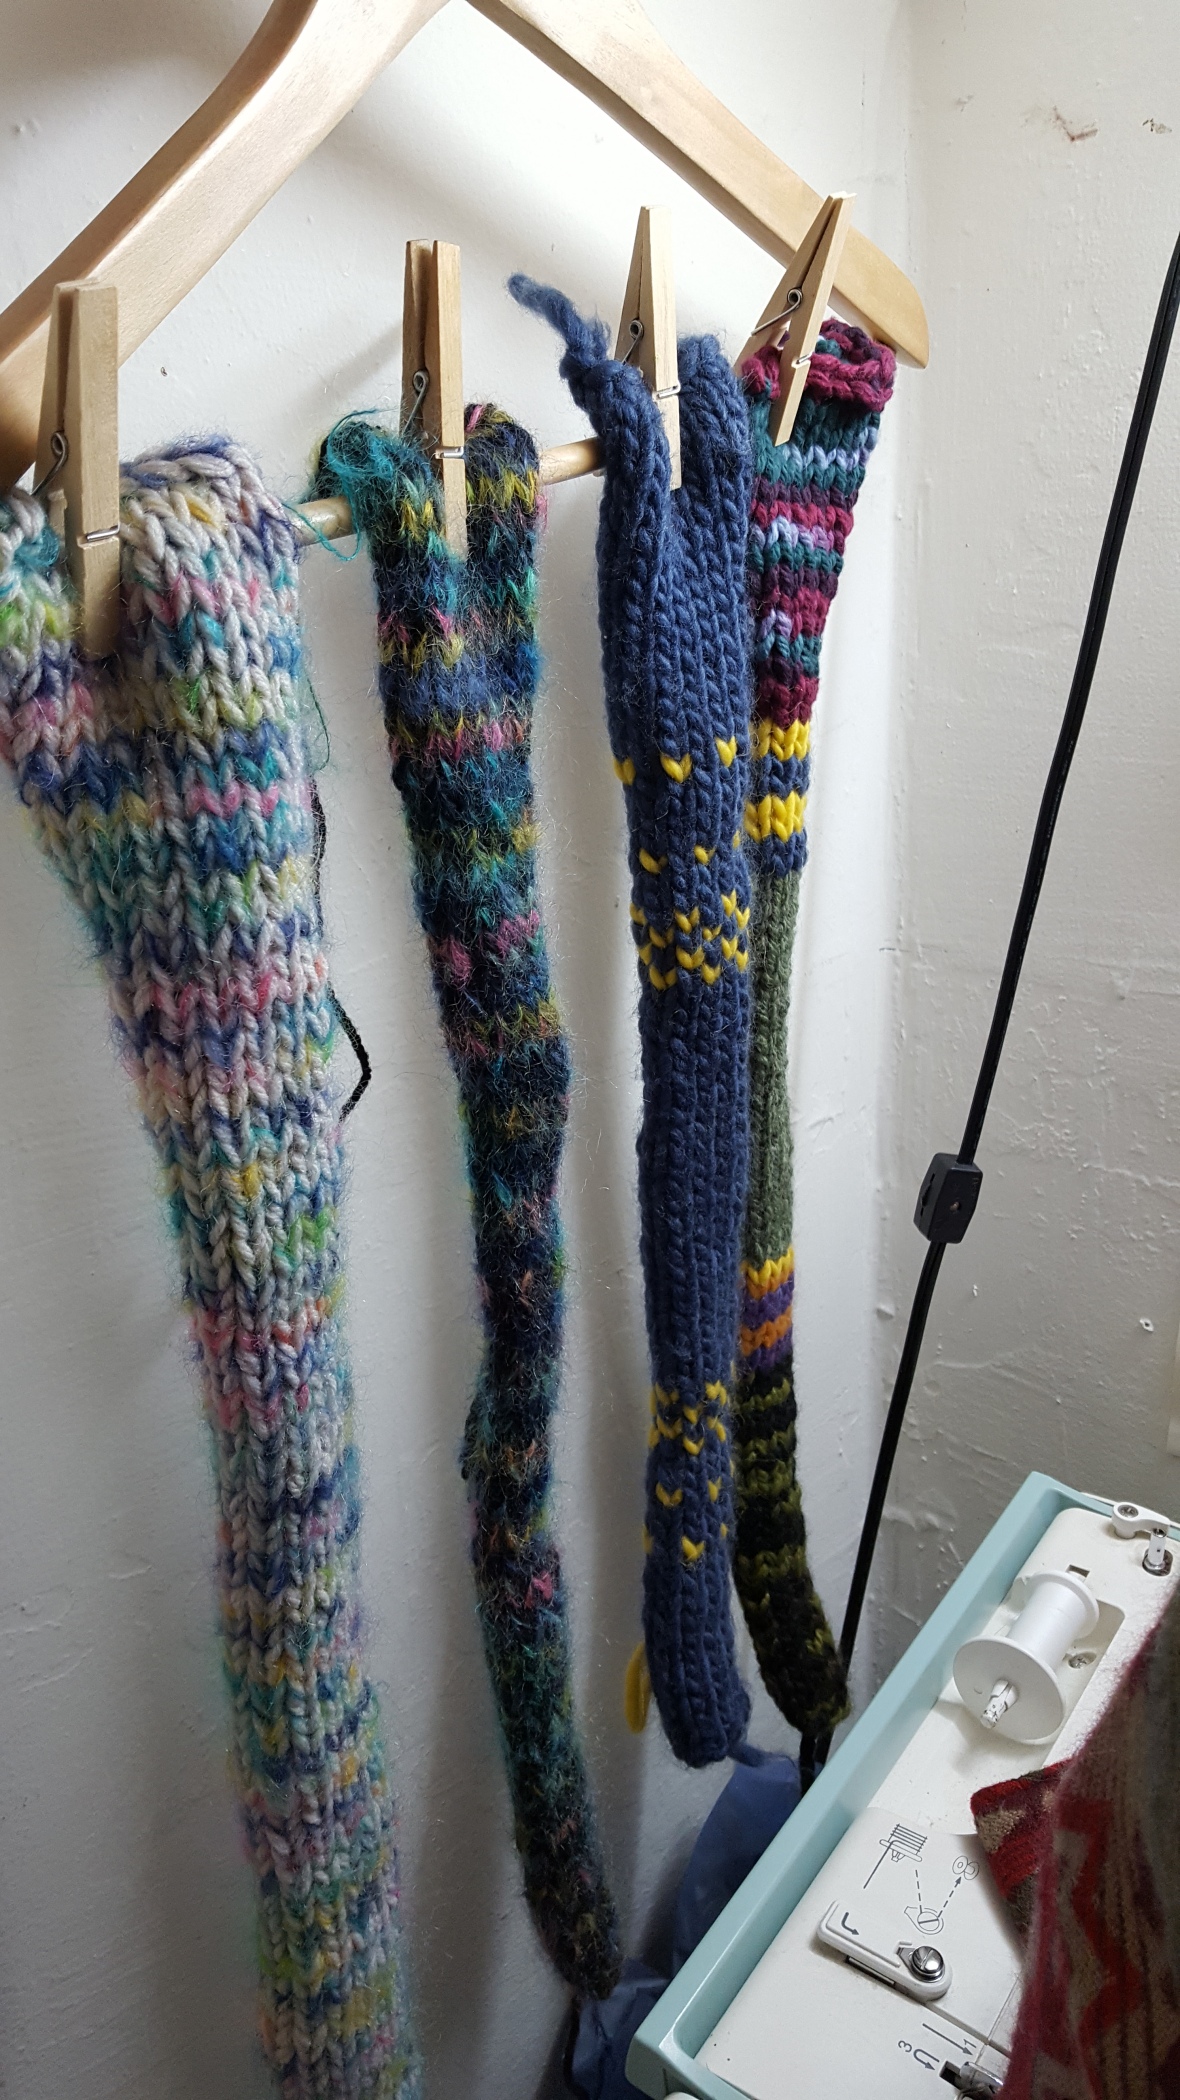
Colorways and patterns of the bicycle cozies above, from left to right: Unicorn, Dark Unicorn, UCD, and Co-Op Stripe (not pictured: Captain Picard, a red and black pattern). Below is Rogue One, my first bicycle cozy.
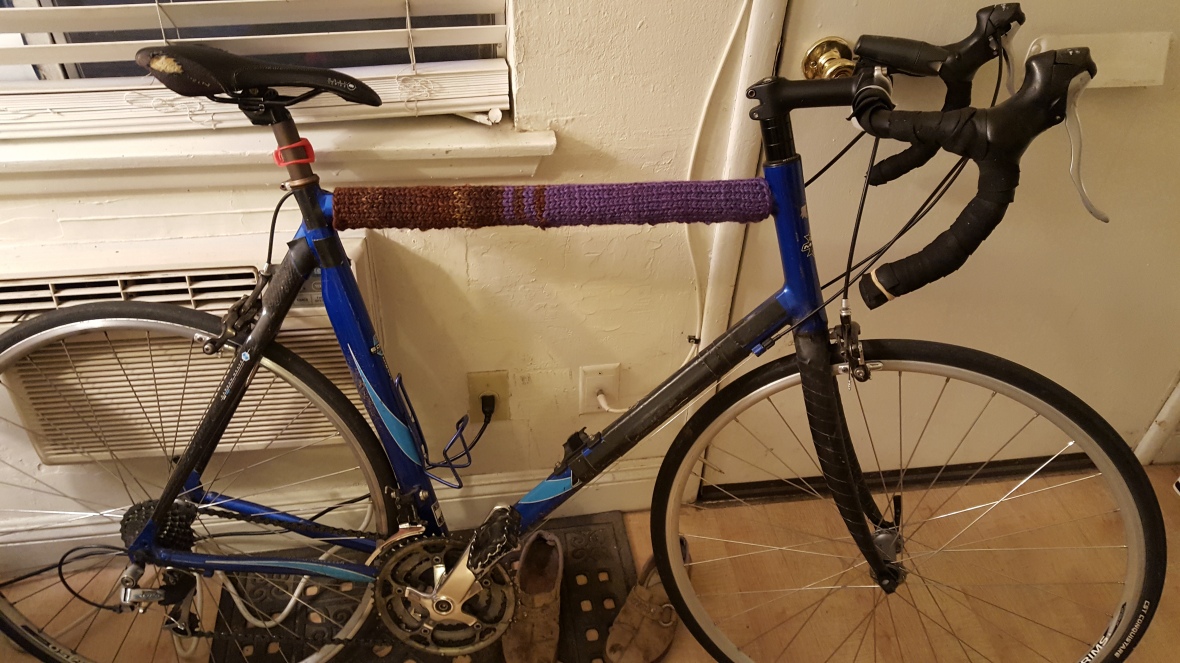
2017-04-16 19.53.42

Some of these cozies went to Team Sheep bicycles, but a few lucky cyclists on the tour got the extras!
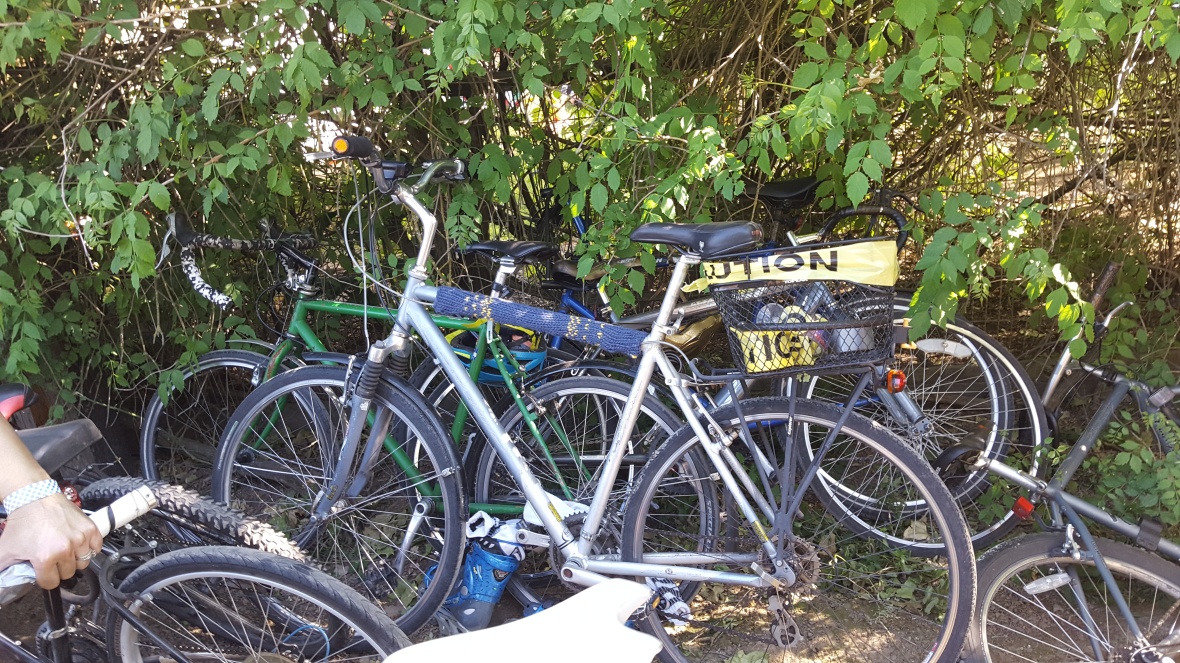
2017-04-29 15.59.15

Several of my fellow sheep team members likewise rocked their yarn creations throughout the day! Here’s a shot of most of our yarn creations before installation:
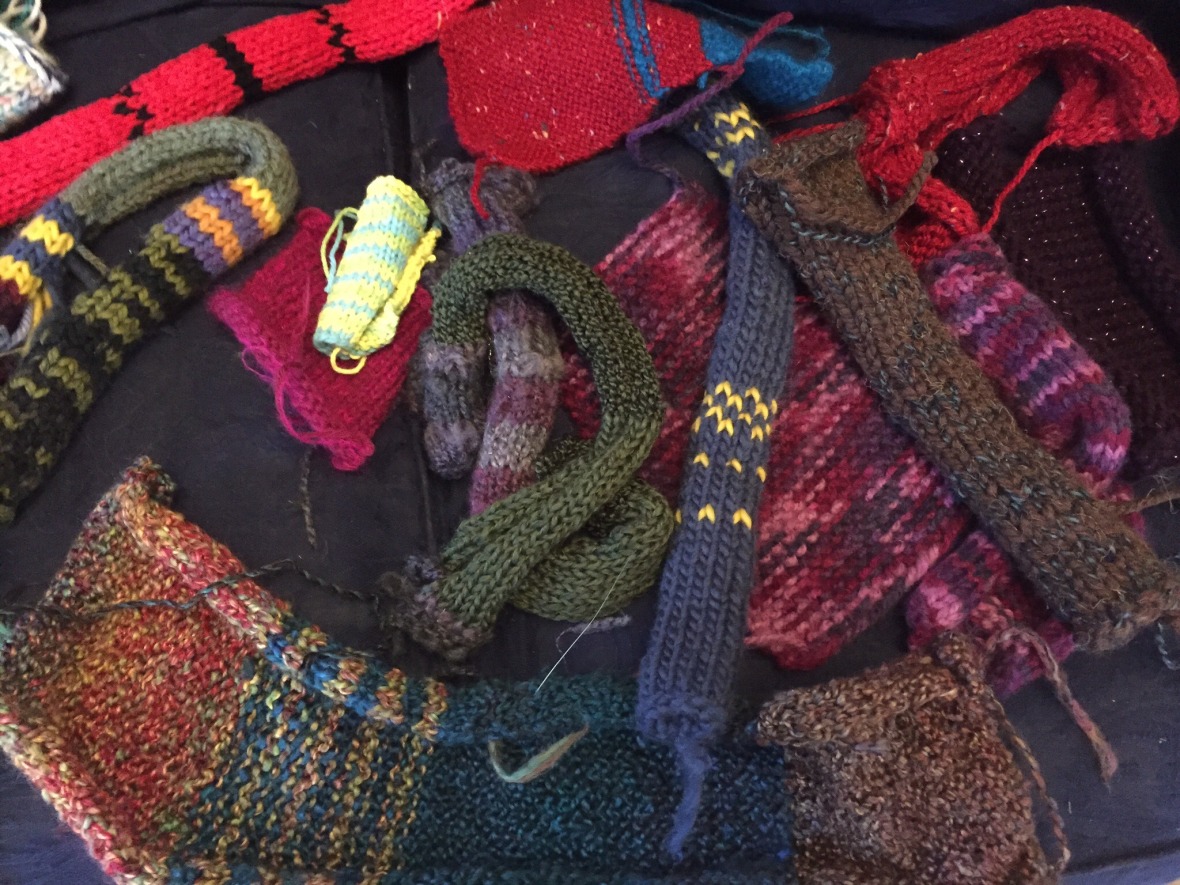
IMG_4862

Many of these were for bicycle decorating, but we also did some yarnbombing, aka public yarn art instillations at stops along the Tour:
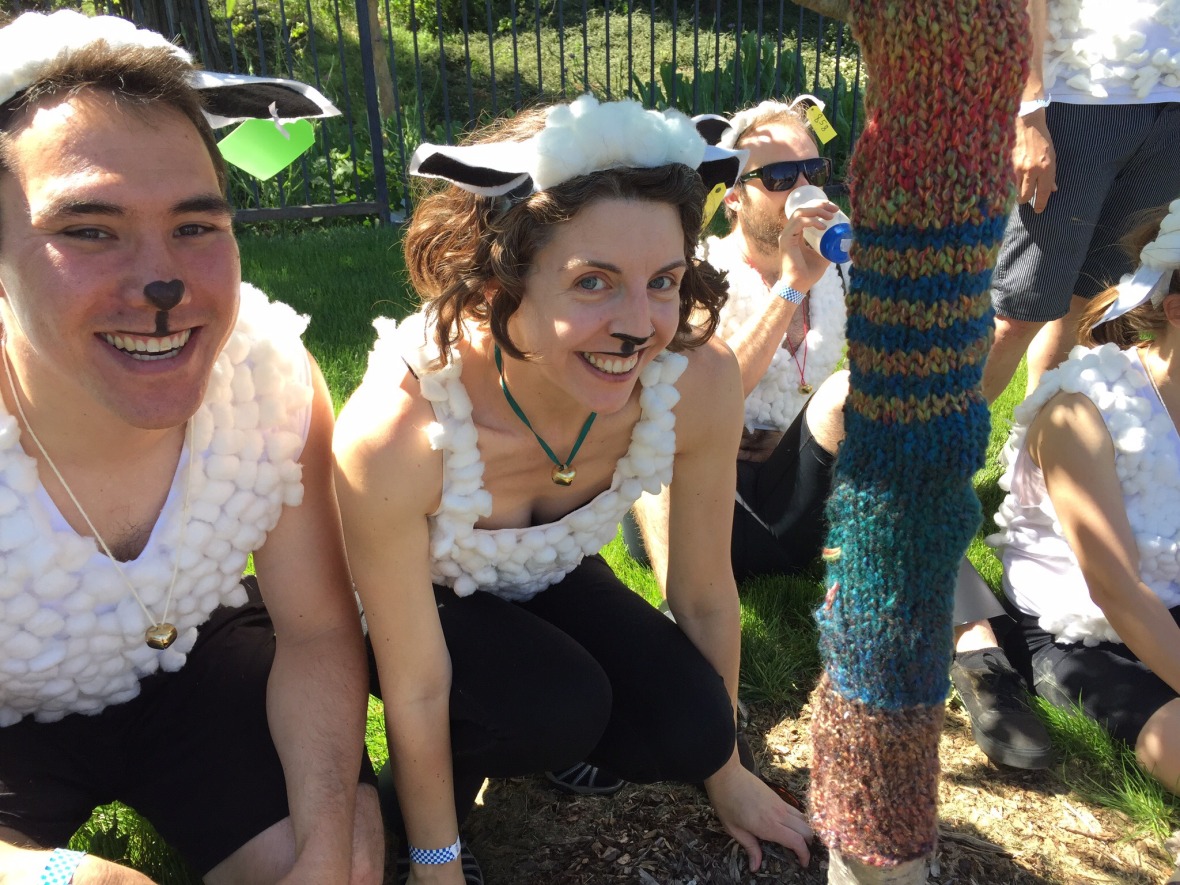
IMG_4897

Some on craft crew even did some more knitting and crocheting during the tour!
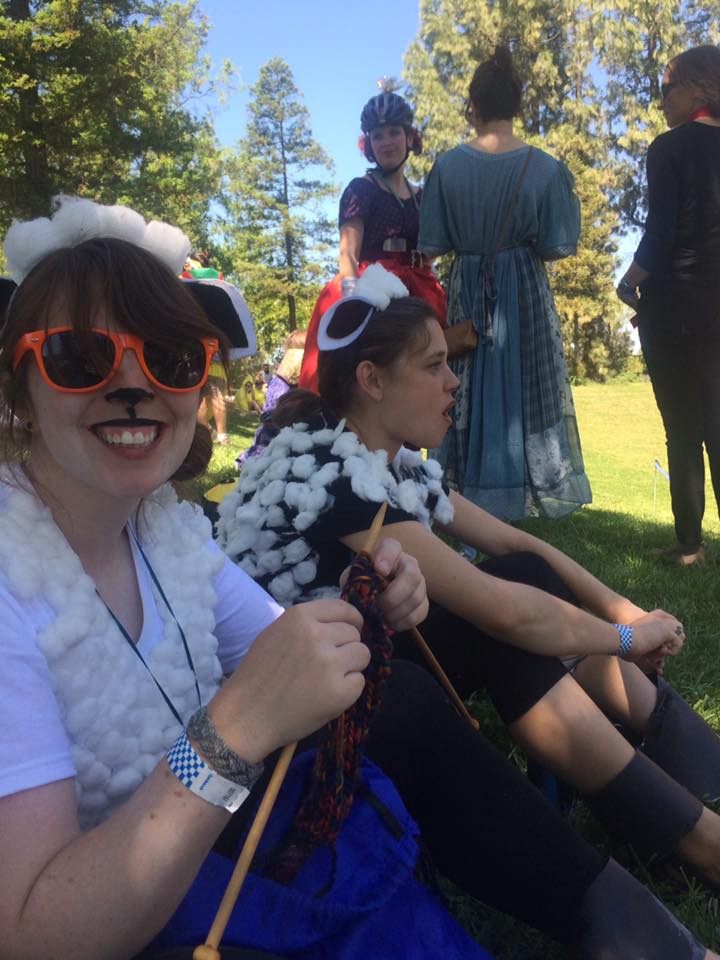
sheep3

So much goes into hosting our stop for the event, from the food and drink prep, to game design, to structure set up— I wish could capture all the creativity that goes on behind the scenes. But since I was on craft crew, I mainly have photos of our costumes and other sheep-themed decorations.
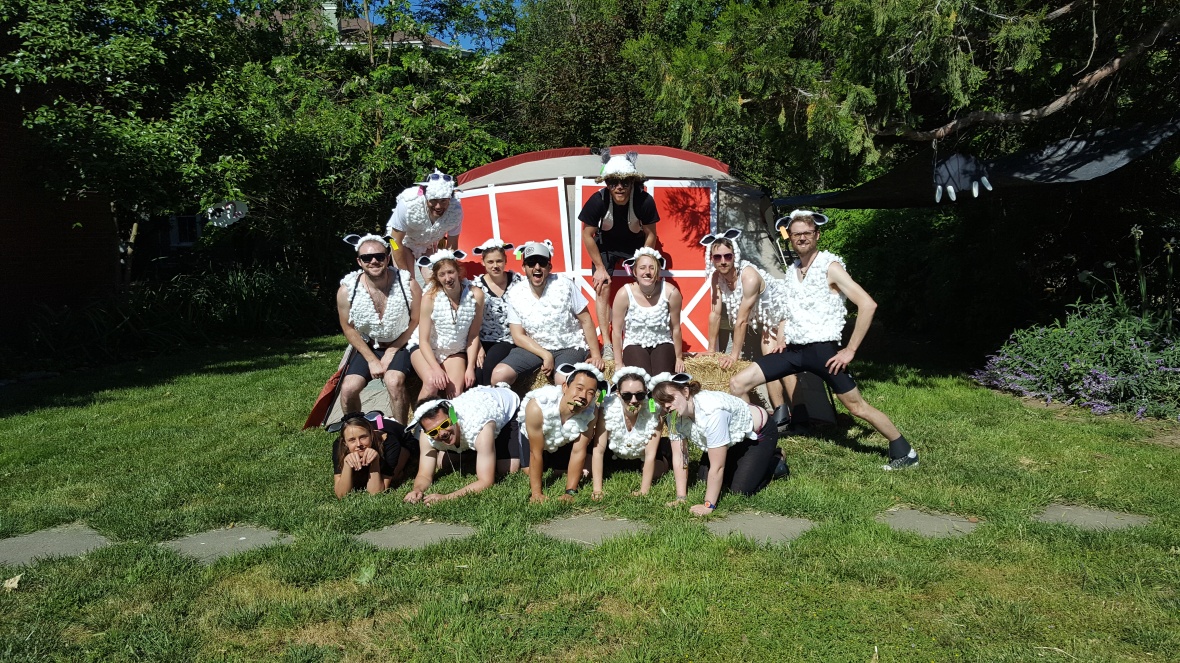
2017-04-29 09.52.02

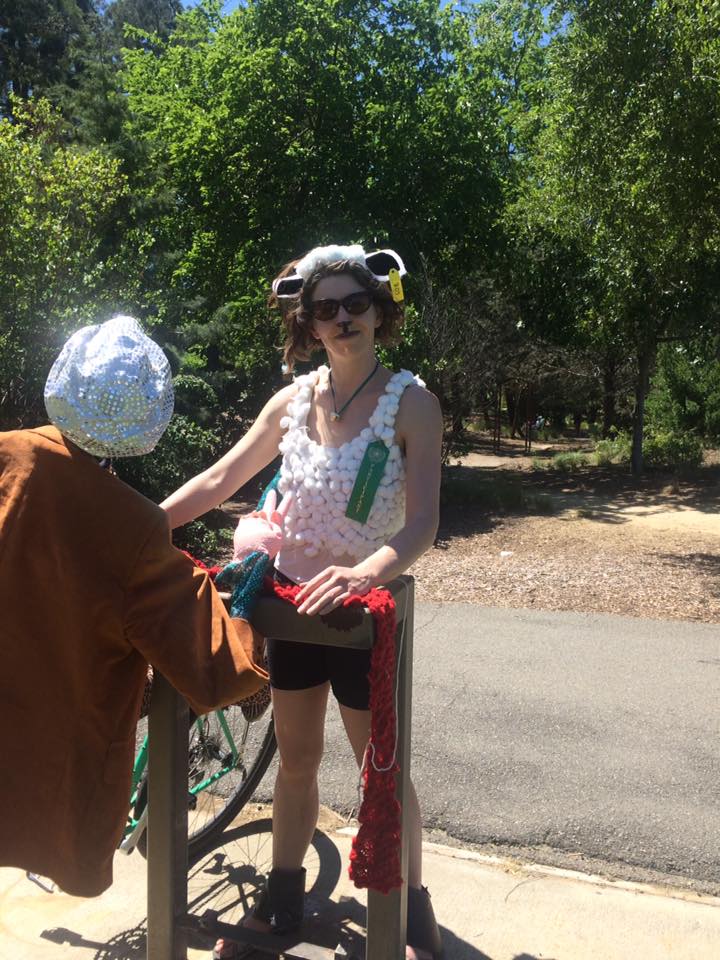
If you want to be a cheap sheep, be a cotton ball sheep! We hot glued cotton balls onto T-shirts for the main part of our costume.

Materials: white T-shirts, cotton balls, hot glue guns and hot glue, cardboard to place in between shirt layers.
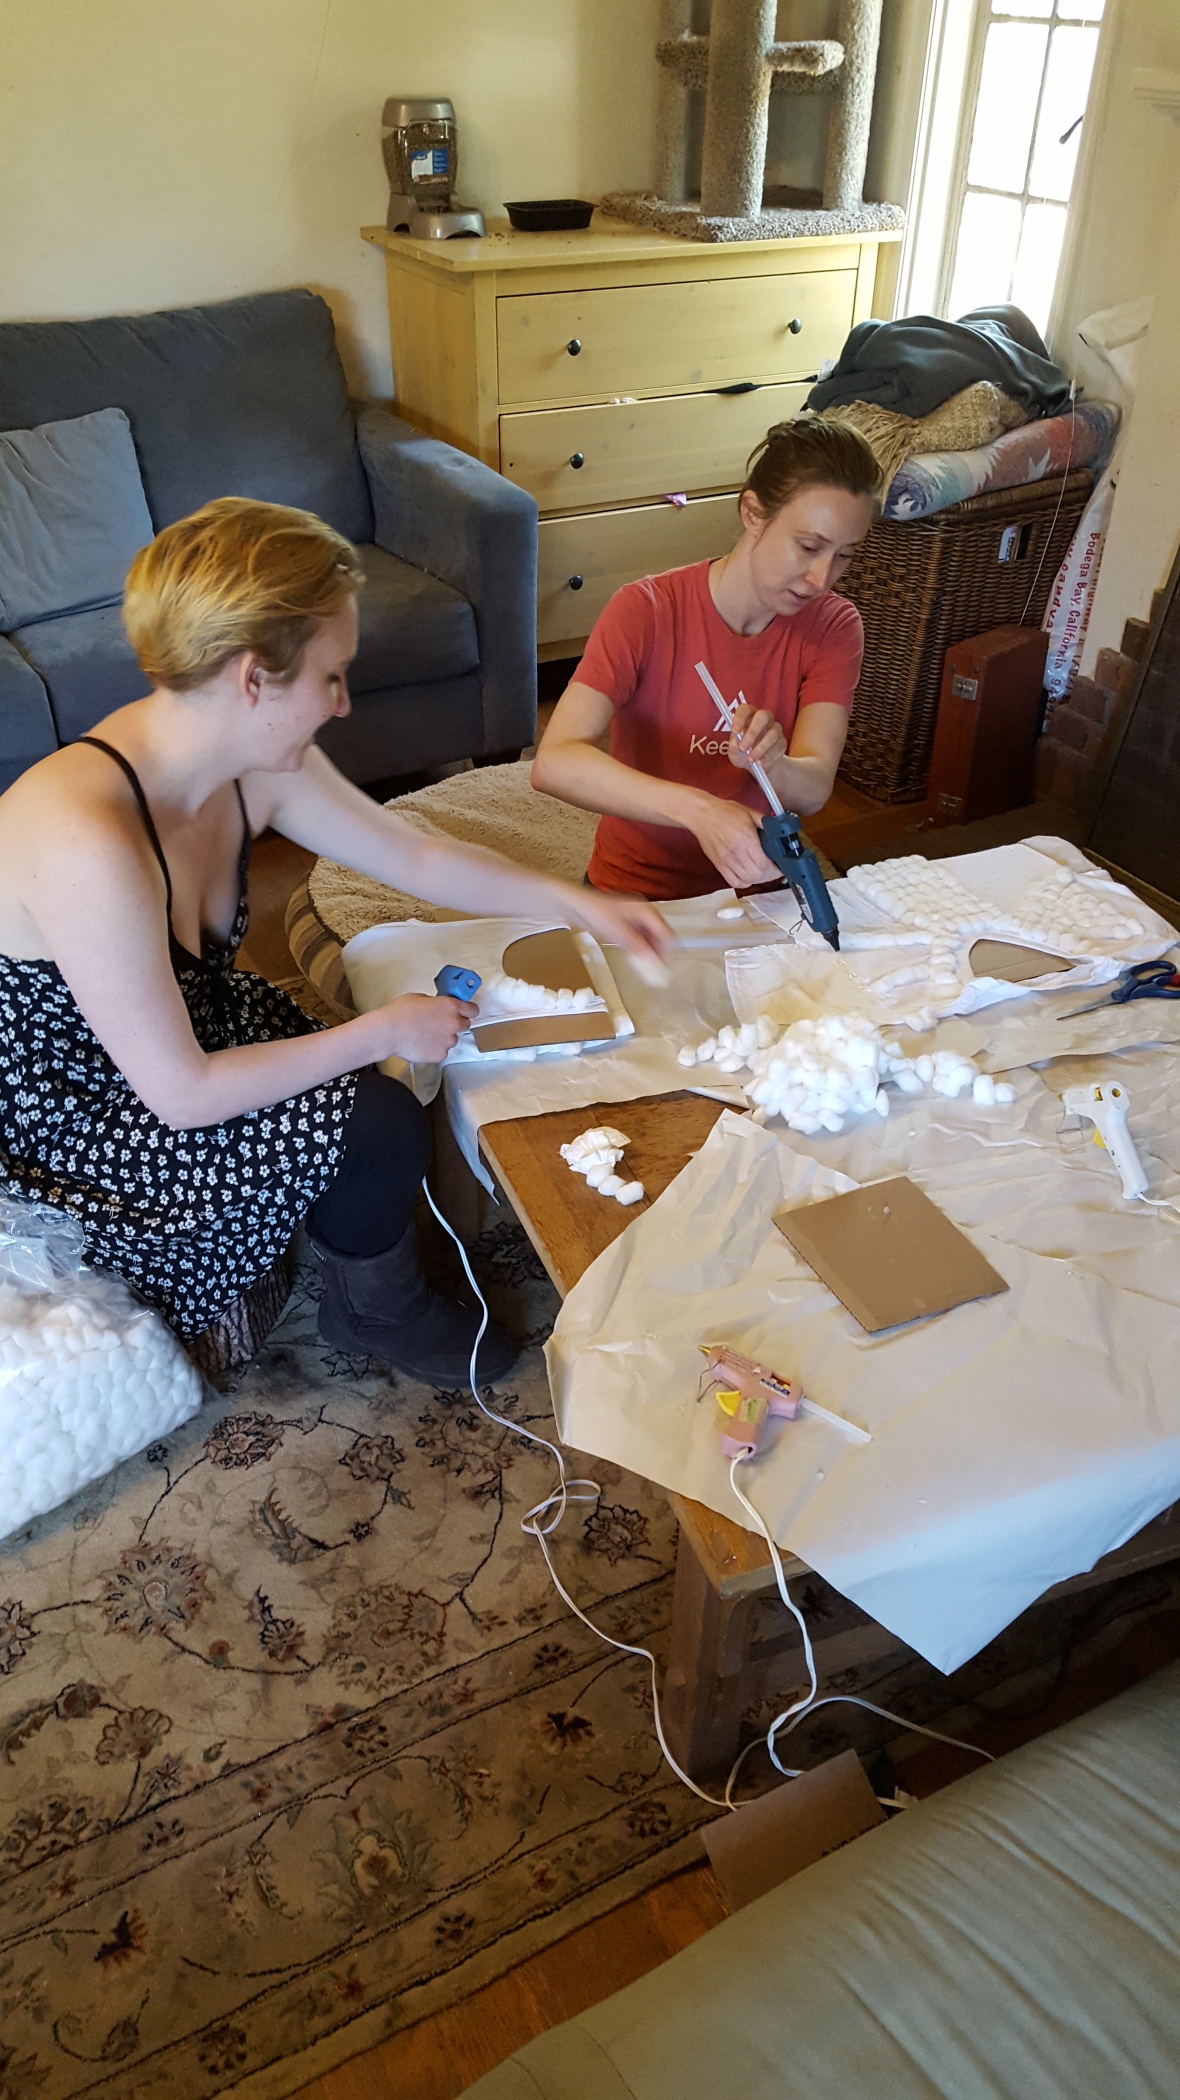
2017-03-31 13.22.41

Instructions: Glue cotton balls to your shirt! You can do them in neat rows or in a more natural fashion. Just don’t burn your fingers. Also, be patient, it takes an hour or more.
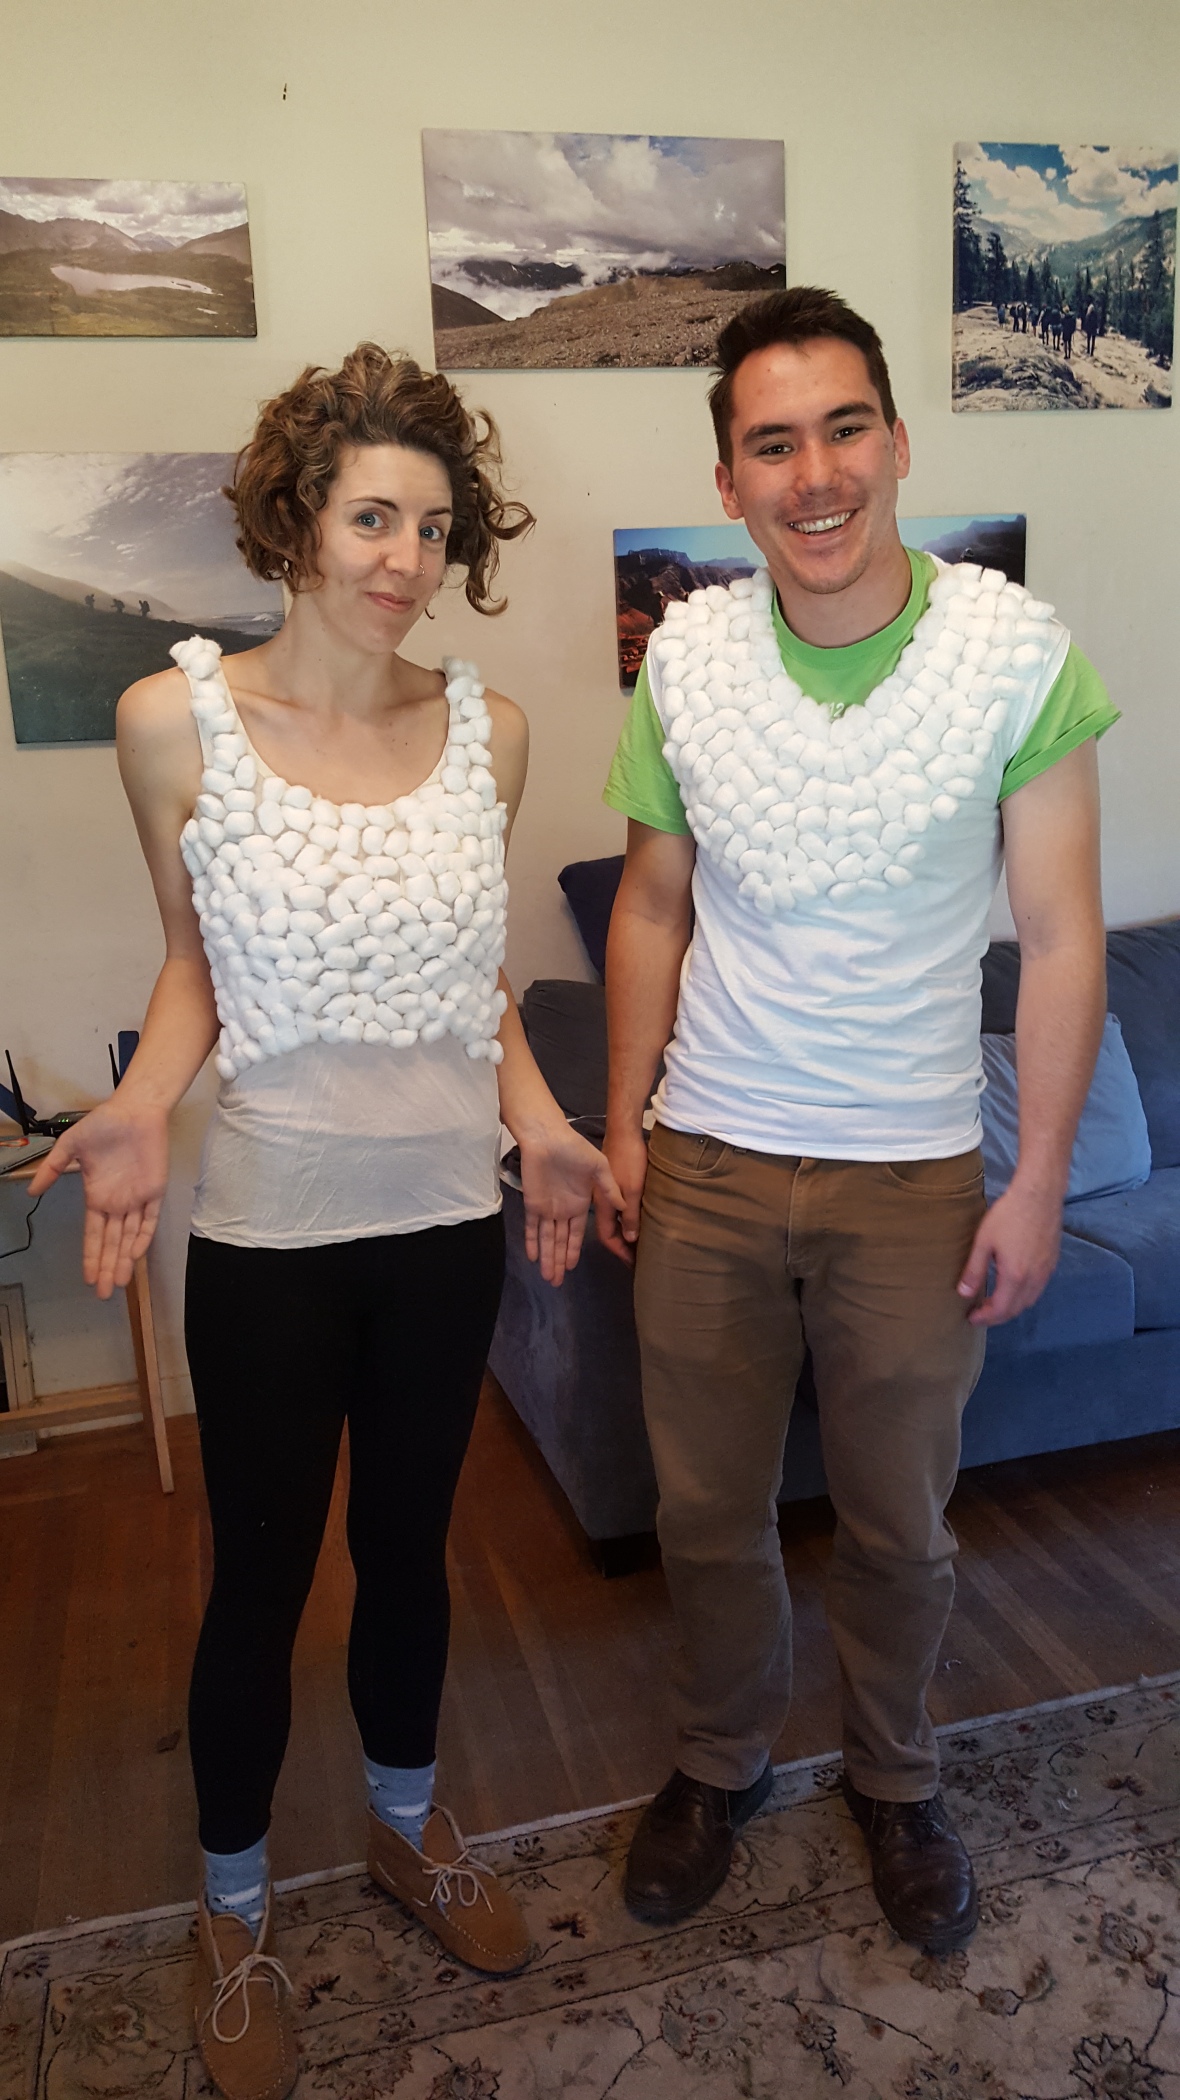
2017-03-31 13.23.09-1

When you have finished a shirt, it’s time for sheepy accessories:
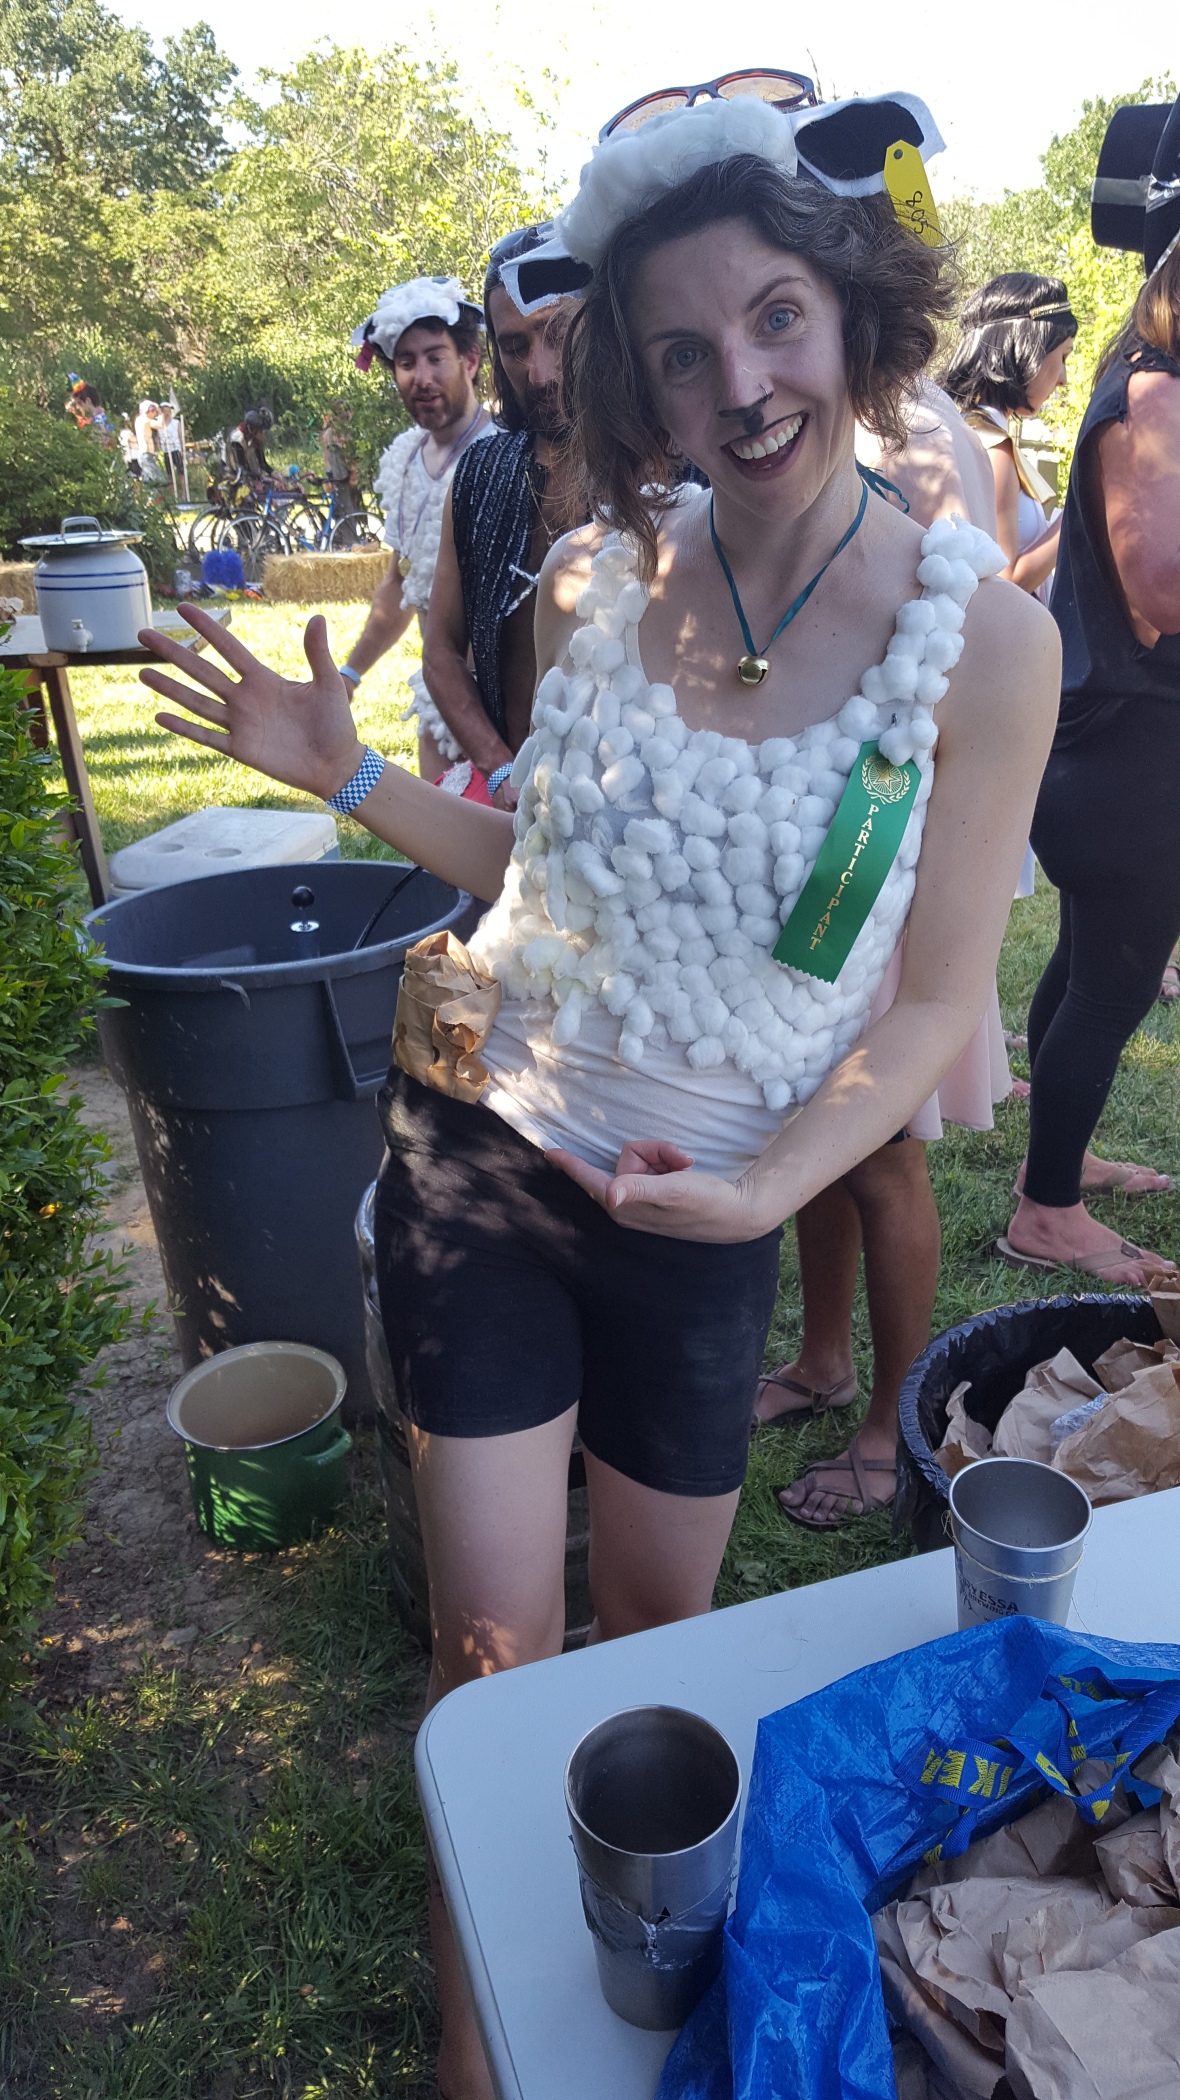
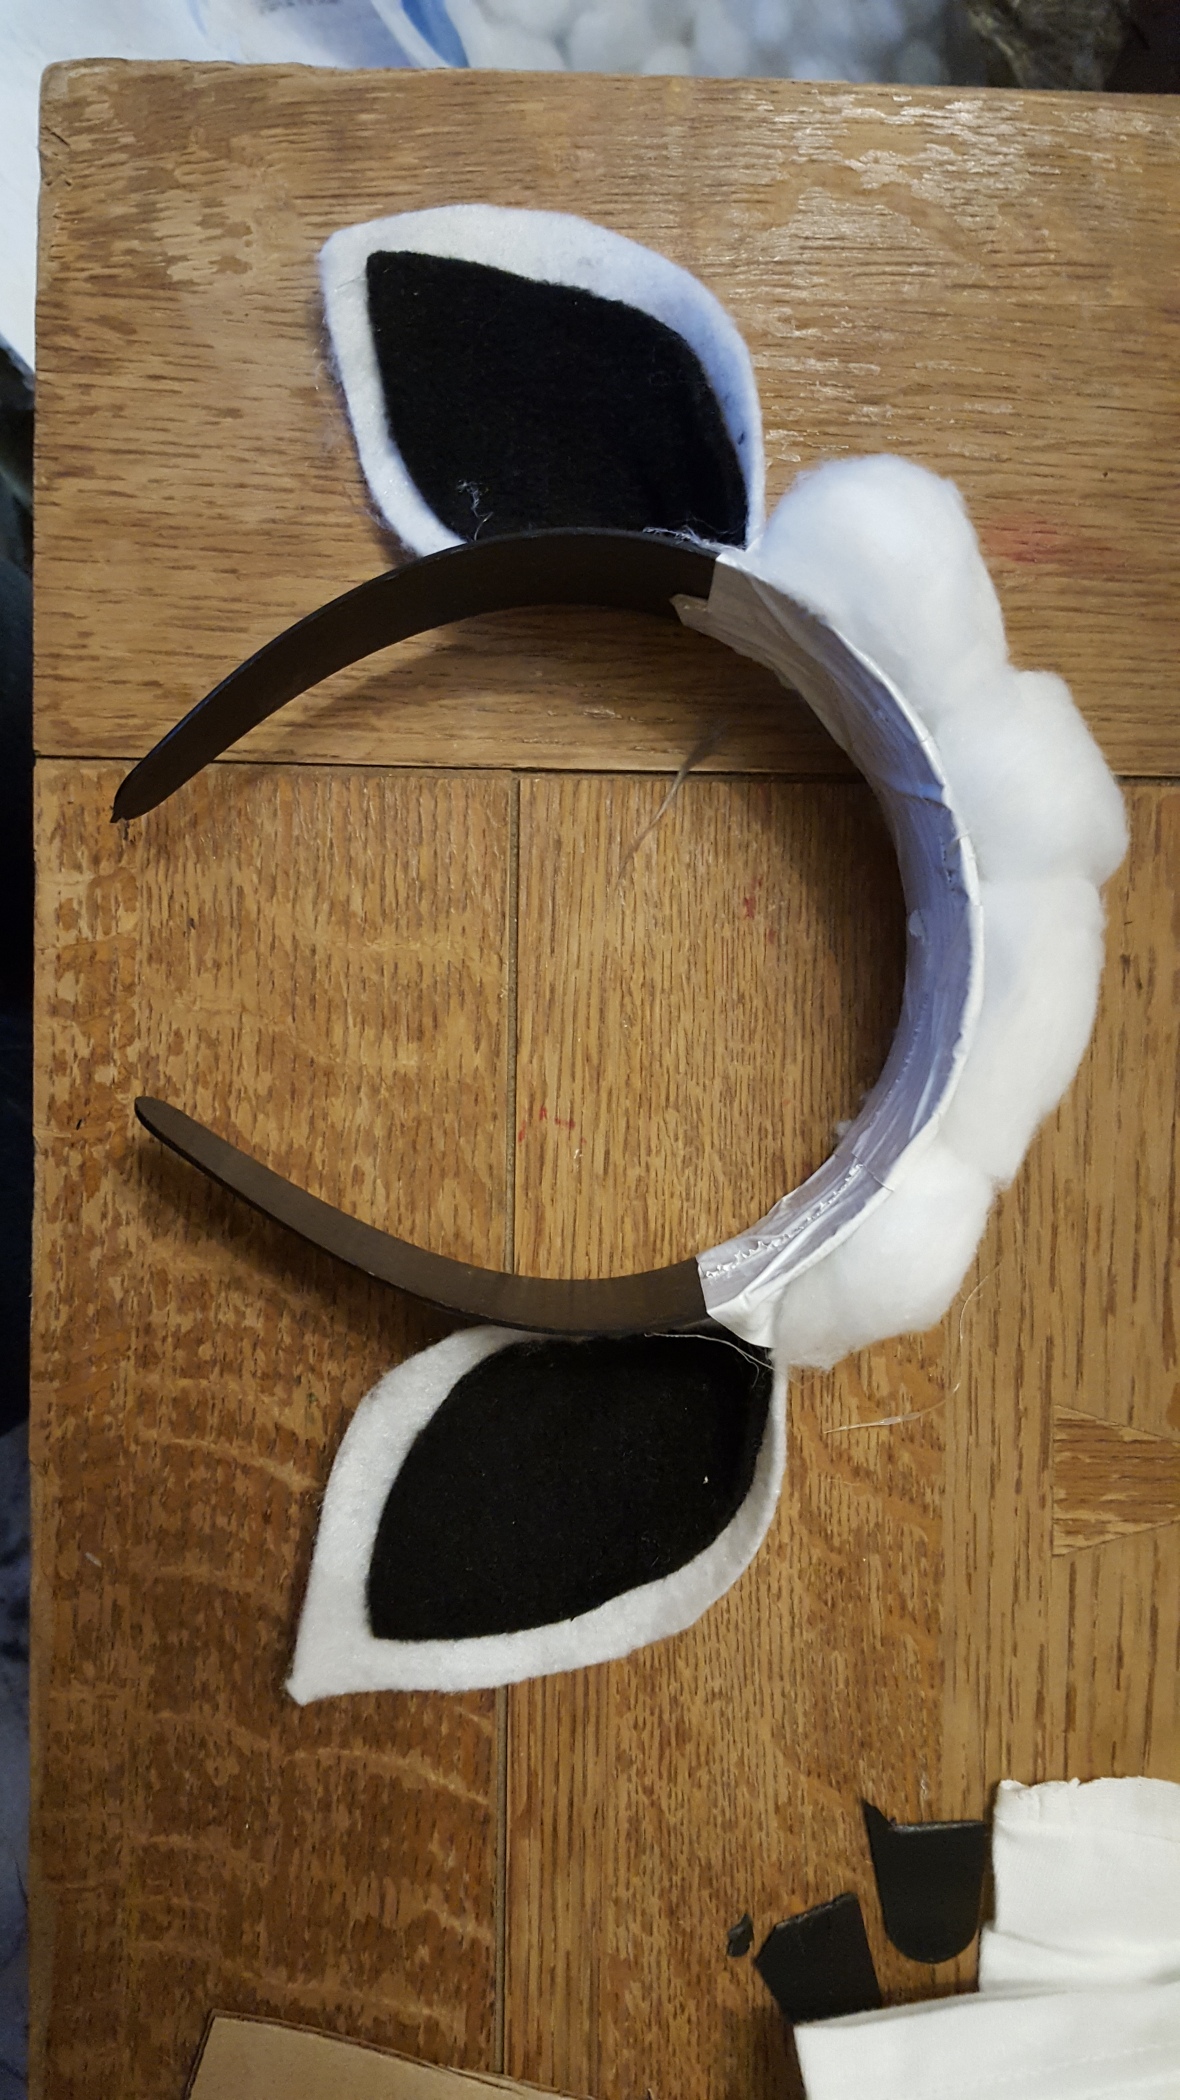
2017-04-29 16.19.21We searched through DIY sheep ear tutorials on the internet to come up with a simple head piece. Not baa-d, right?

Materials: Wide plastic headbands, white and black felt, white duct tape, cotton balls, and hot glue.

Instructions: The best order of operations is to hot glue the ear felts together, pinch at base, tape the ears to the headband, then hot glue cotton balls on the top. If you’re making a lot of these, cut ear templates out of cardboard first!
2017-04-14 19.42.11

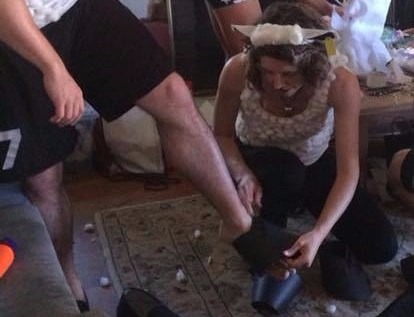
I didn’t get great photos of all the other costume details, but you can see in my photo that we had bell necklaces, sheep face makeup (black eyeliner), and ear tags (paper gift tags cut down to size and hot glued on). I also made black poster board hooves at the last minute, which didn’t last that long on the bicycles!sheep1
All the white duct tape also had another important use: it went towards the creation of the red and white barn doors! 2017-04-29 14.59.18
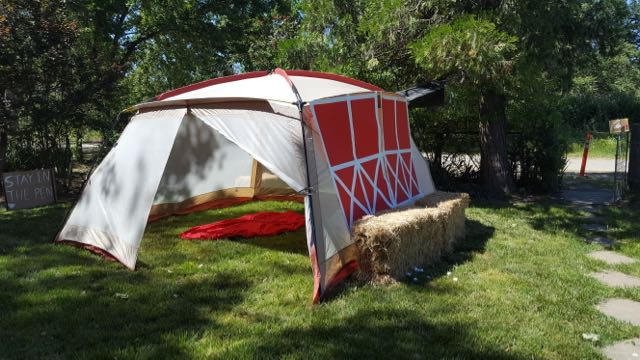
Materials: four red poster boards, one roll of white duct tape, and a buddy.

Instructions: Lay out the boards so they overlap. Tape together horizontally and then vertically, using a friend to help hold the tape straight. Outline the entire door in white tape. Add the Xs at the bottom last.
sheep2

I hope this inspires many a bicycle cozy and sheep costume! (And if you need even more sheep patterns, check out the Baa-ble hat I made last winter.)
 

Holiday Knits & Crafts, Quick Knits & Crafts

Winter knits

It is cold! The perfect weather for knitting. Here are a few projects I have finished in the last few months.

Baa-ble Hat (minus the bobble)

2016-11-26-21-28-12

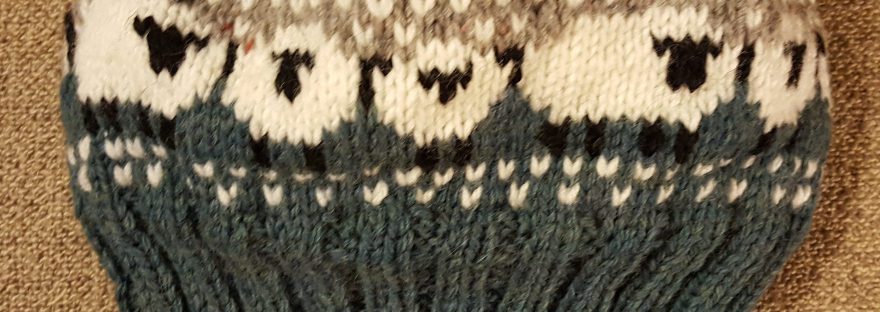
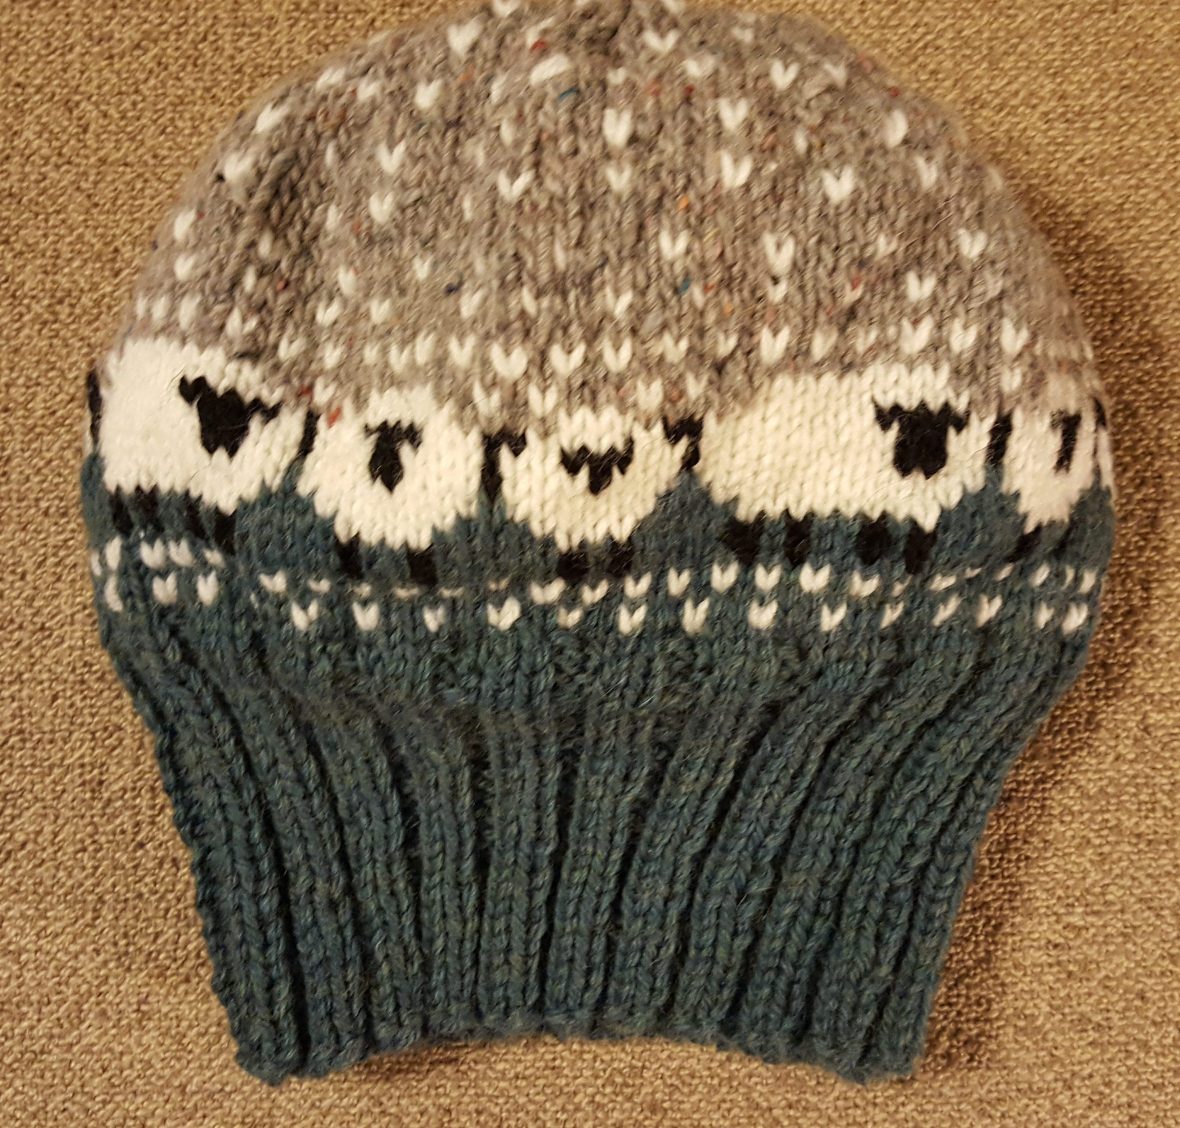
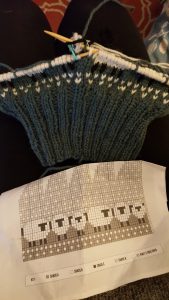
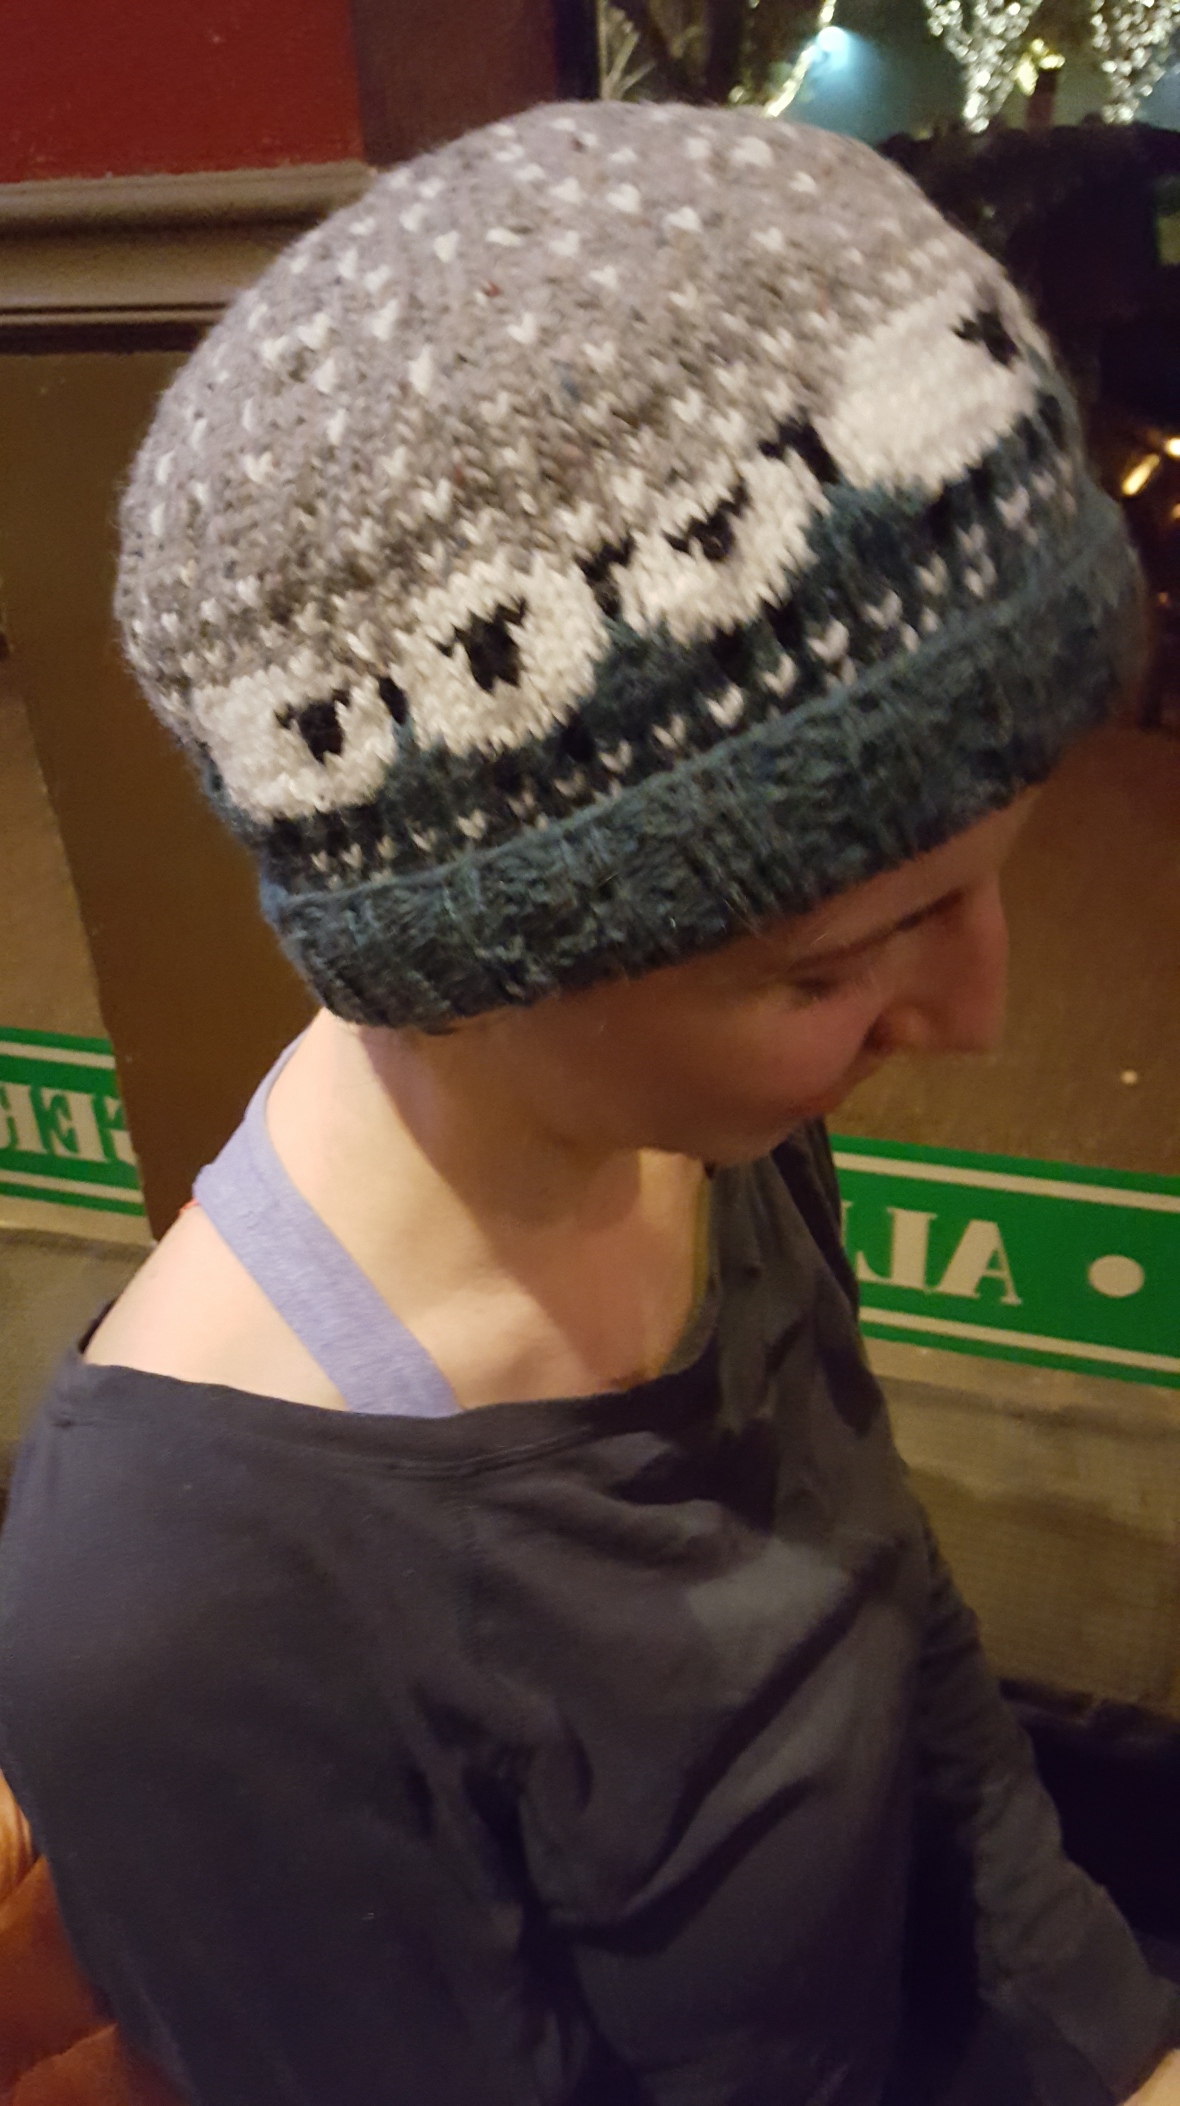
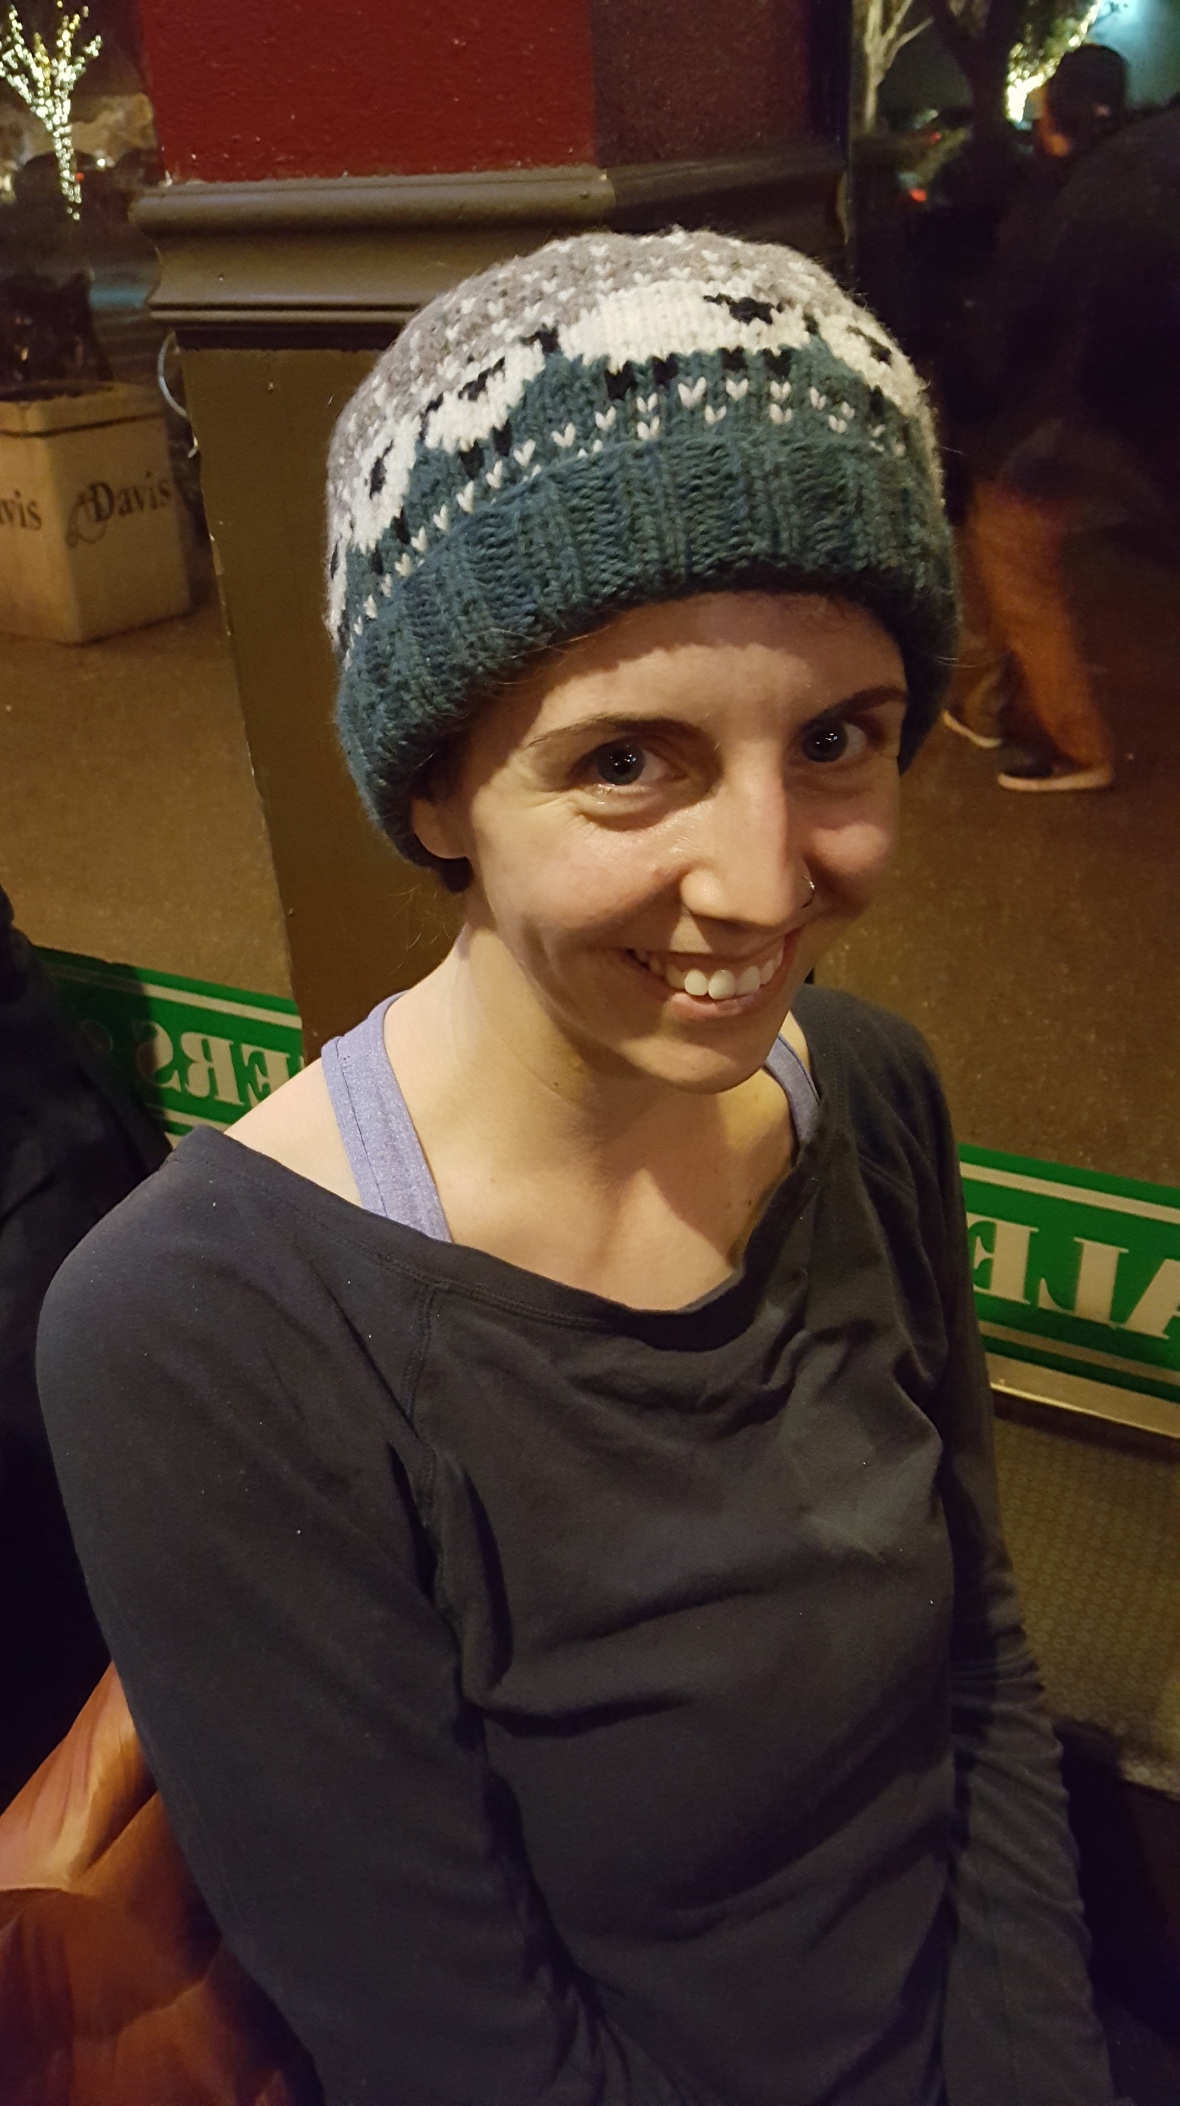
I’ve been eyeing this sheepy pattern for a long time, and I finally made it. In fact I’ve had this pattern so long that when I got it, it was a free pattern, but now it costs about $4. My version included very few modifications besides casting on 2 fewer stitches in the ribbing (added back in before the colorwork).

2016-08-12-10-47-072016-09-24-10-22-34

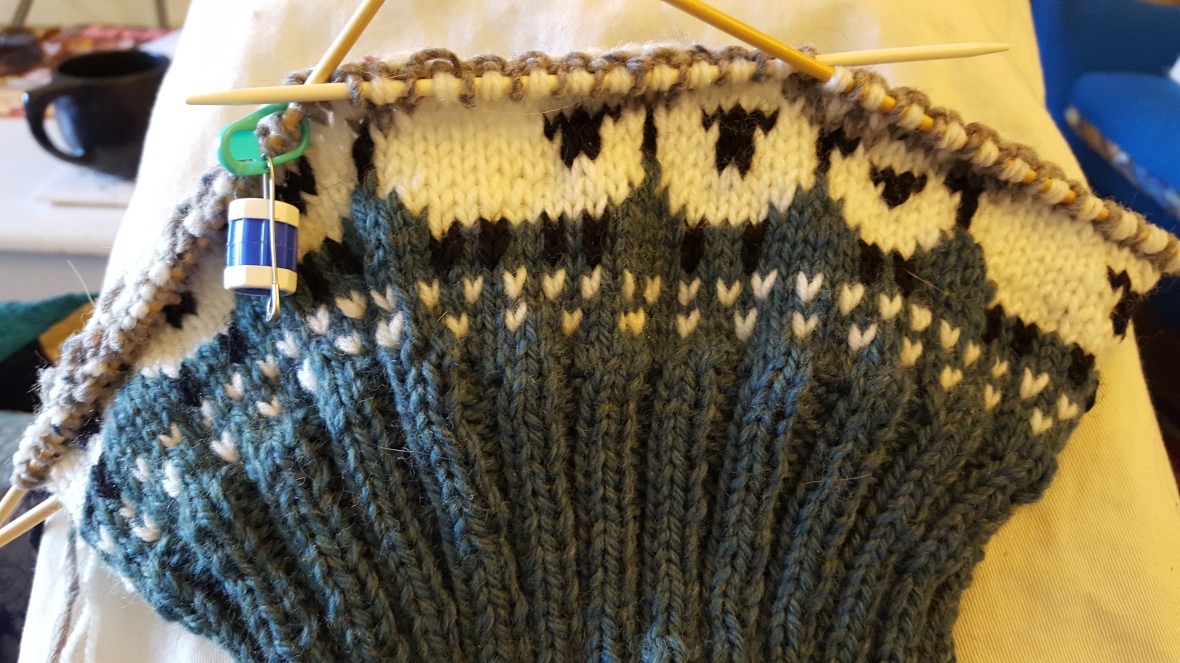
To get gauge, I used size 3 needles and worsted weight wool yarn for the green grass, gray sky, and black parts of the sheep, and white DK yarn held double for the white parts.

2016-09-25-12-00-48

The colorwork was pretty fun—I had to pay attention more, but It was also more rewarding to see the sheep emerge.

2016-12-22-22-18-19

I originally wanted this to be slightly loose and slouchy, but that’s just not the way the pattern was designed, and the tight, thick knit the pattern creates works best in its original shape.

2016-12-22-22-18-27

This is the warmest hat I own, and it has the added bonus of just barely fitting under my bike helmet.

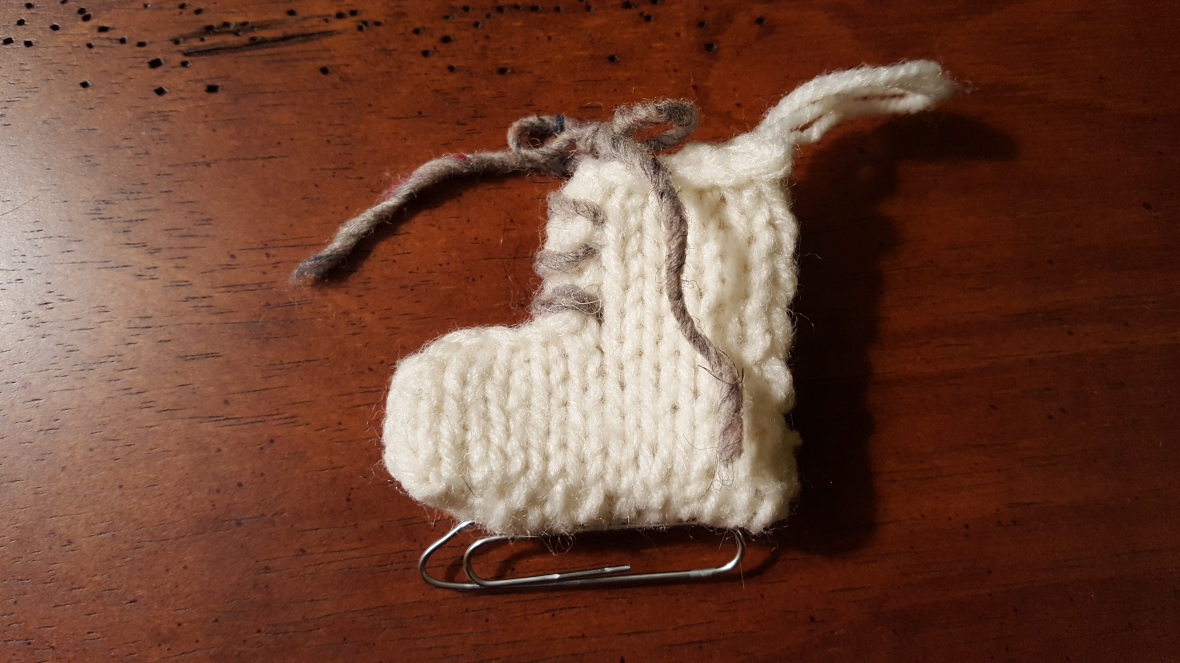
Ice skate ornament

2016-11-26-20-56-33

I happened to finish the sheep hat while I was at home for Thanksgiving, so naturally I used the leftover scraps to make an ornament for the Christmas tree. I liked the clever use of a paperclip for the blade in this pattern! I decided my version would have laces, and straight stitches were the easiest to add.

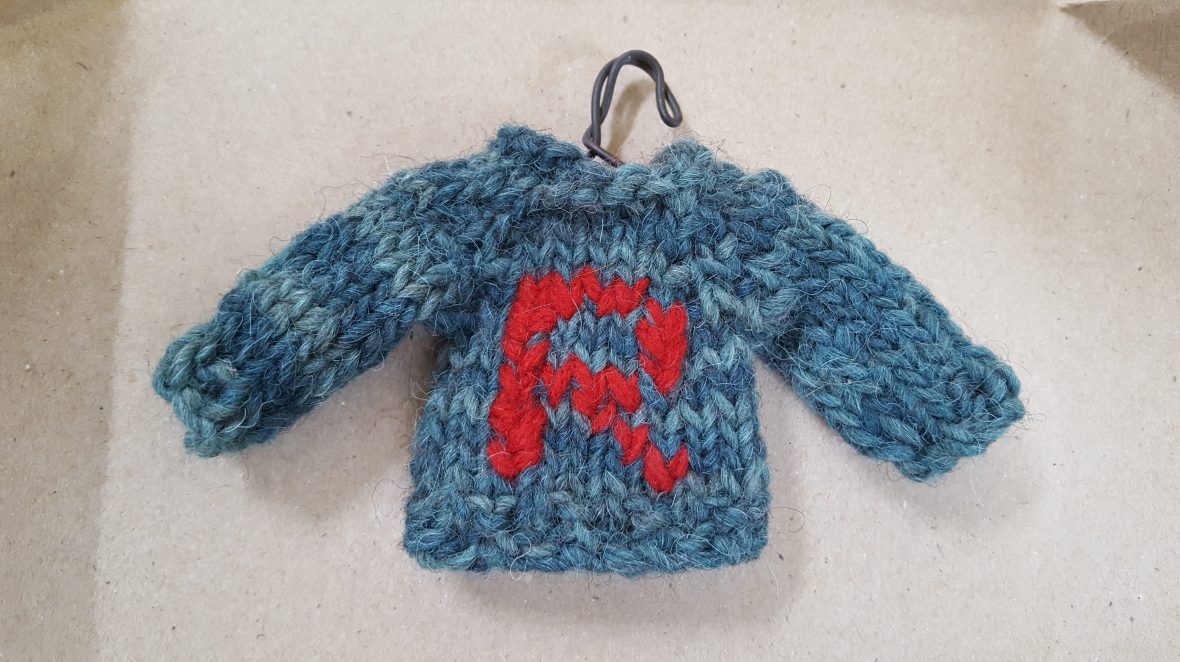
Tiny Sweater Ornament

2016-12-25-14-59-44

Once I made the ice skate, I was much more interested in knitting another ornament as a gift. I ended up deciding on this pattern because it looked like it wouldn’t take too long and the front of the sweater was customizable.

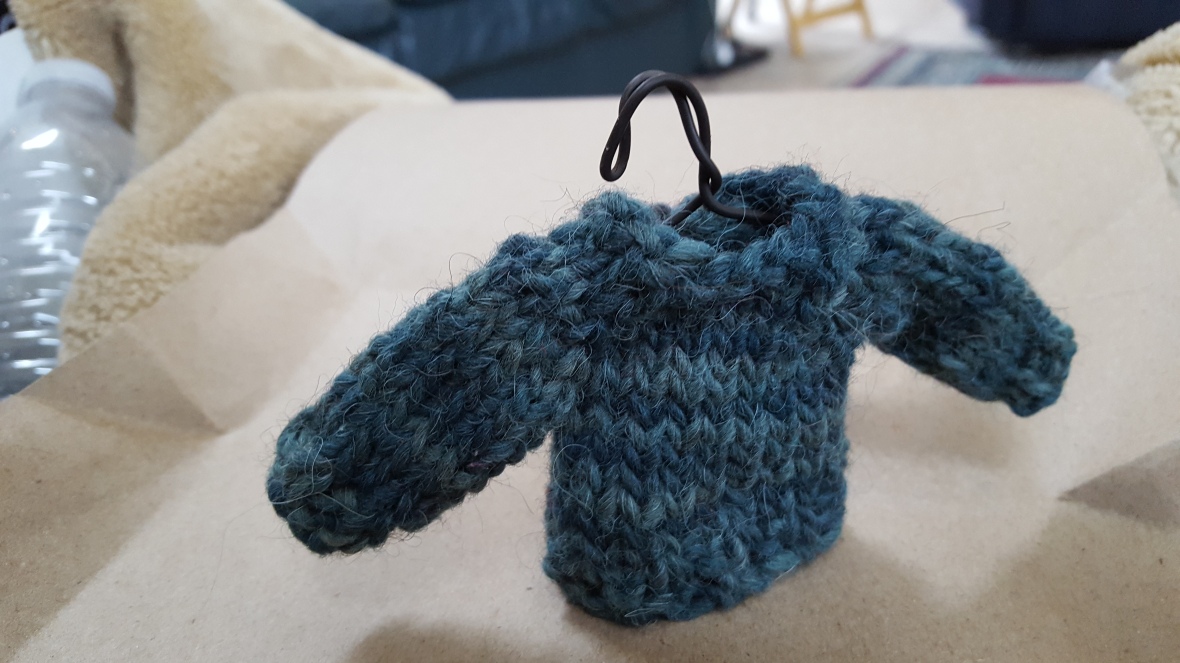
2016-12-25-15-00-12

I also liked the clever use of twisted wire to create a hanger in this pattern! Between the wire and the green wool, it stood up on its own.

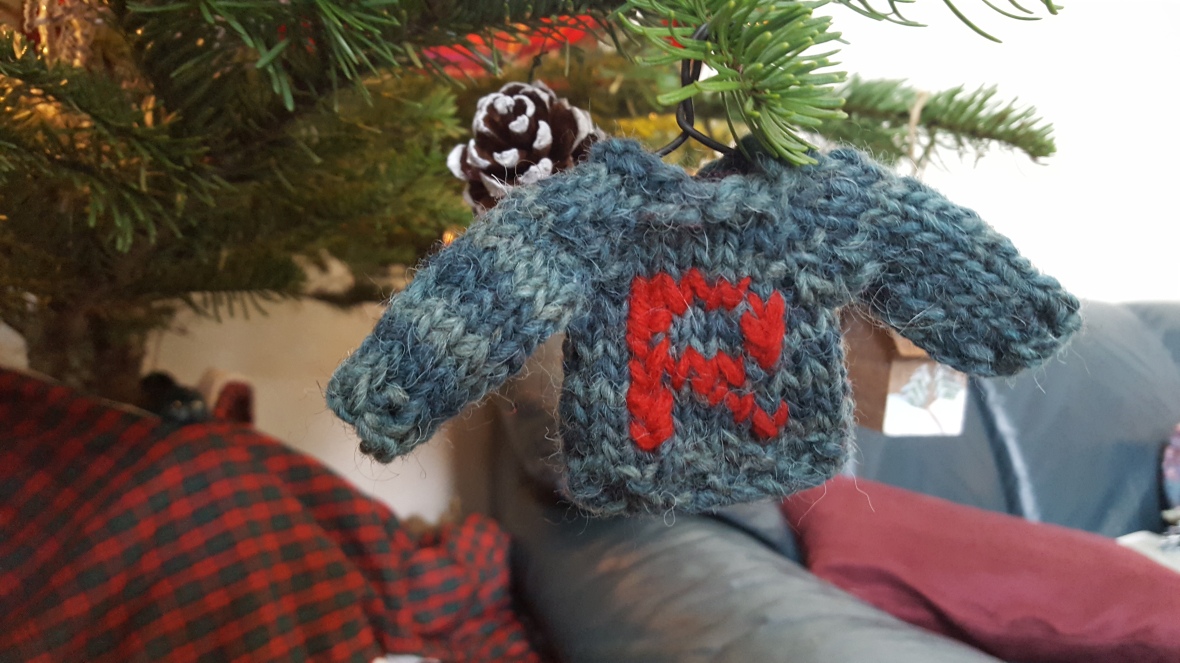
2016-12-25-15-00-37

But of course, in order to stand out against a green tree, it needed some red. I used a slightly shortened R pattern from this alphabet chart to do the duplicate stitching. I like this chart because it worlds well for small scale knits like this one.

I kept thinking of the Christmas jumpers Ron Weasley always got from his mom in the Harry Potter books when I was making this tiny sweater. As it turns out, there’s a free Weasley sweater pattern if anyone wants to give those a go!

Tweaks & Alterations

Mustard Color Miette Cardigan

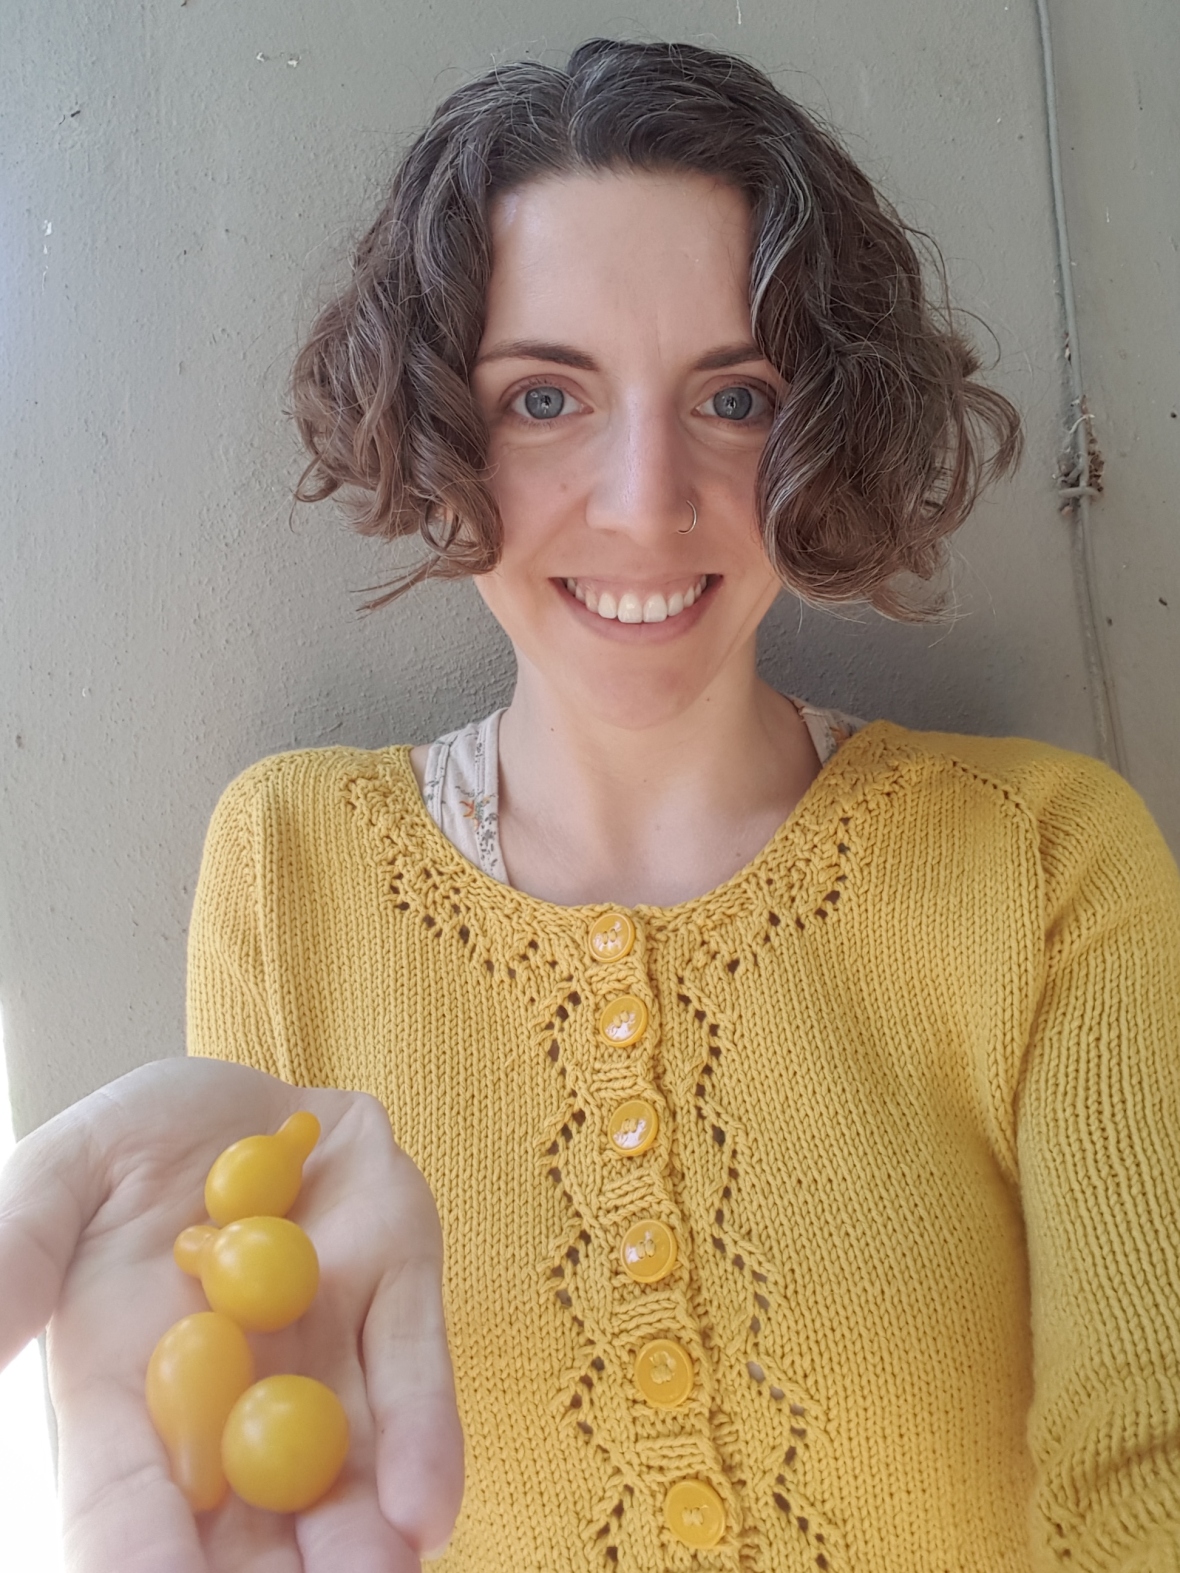
Last month, I finally finished the sweater I have been working on—just in time for Fall! Also, a near perfect color match for the yellow pear tomatoes in my garden. Always dress to match your produce, I say.

2016-08-29-12-13-51

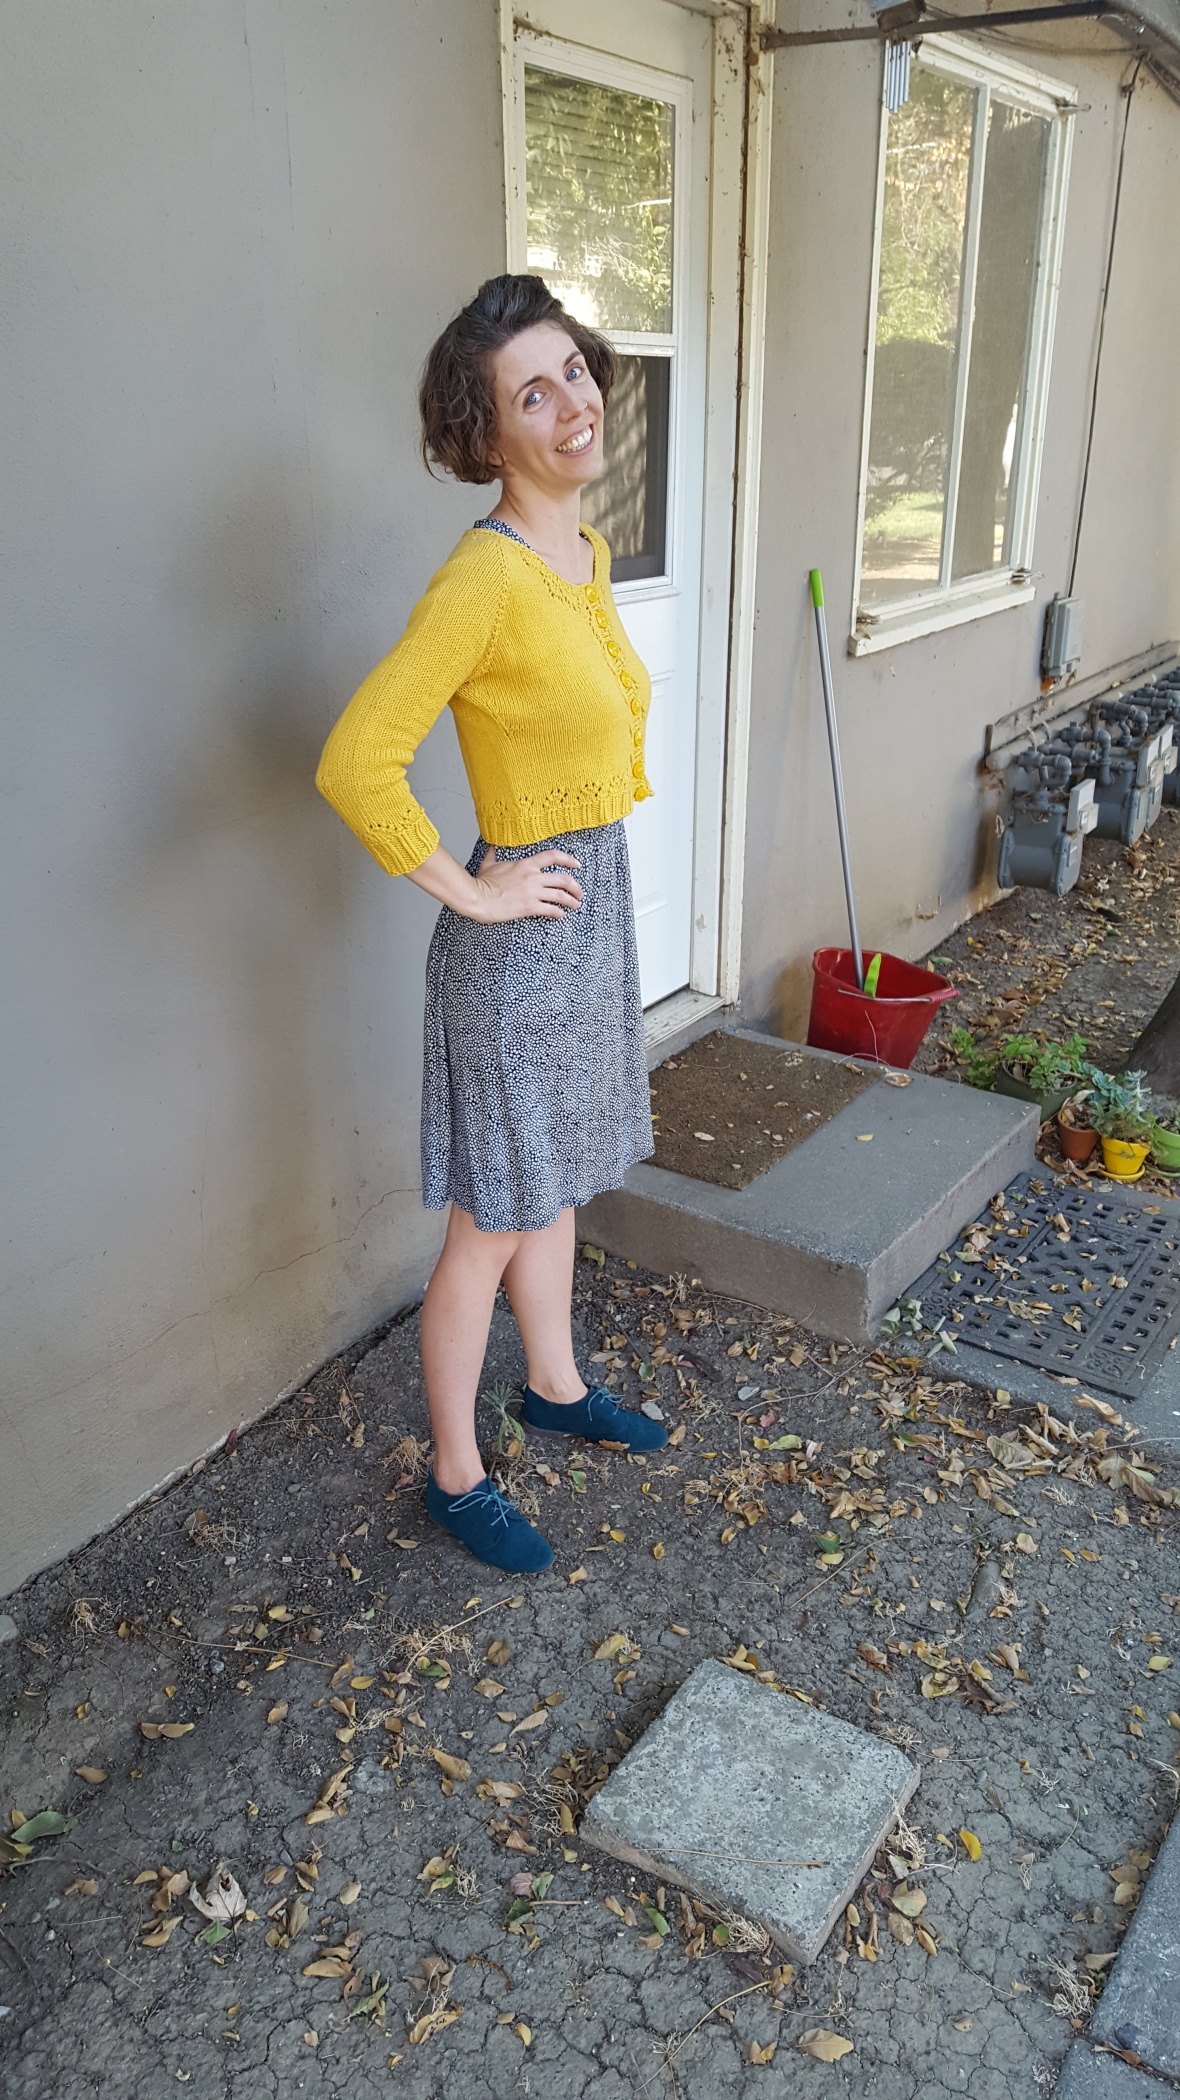
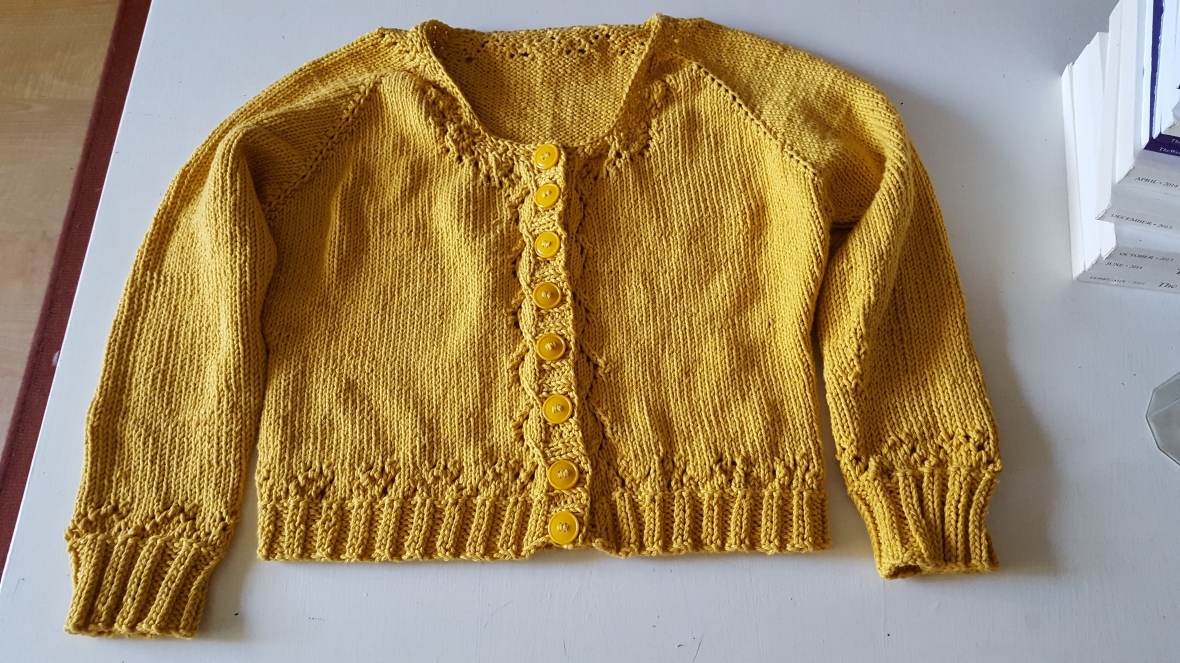
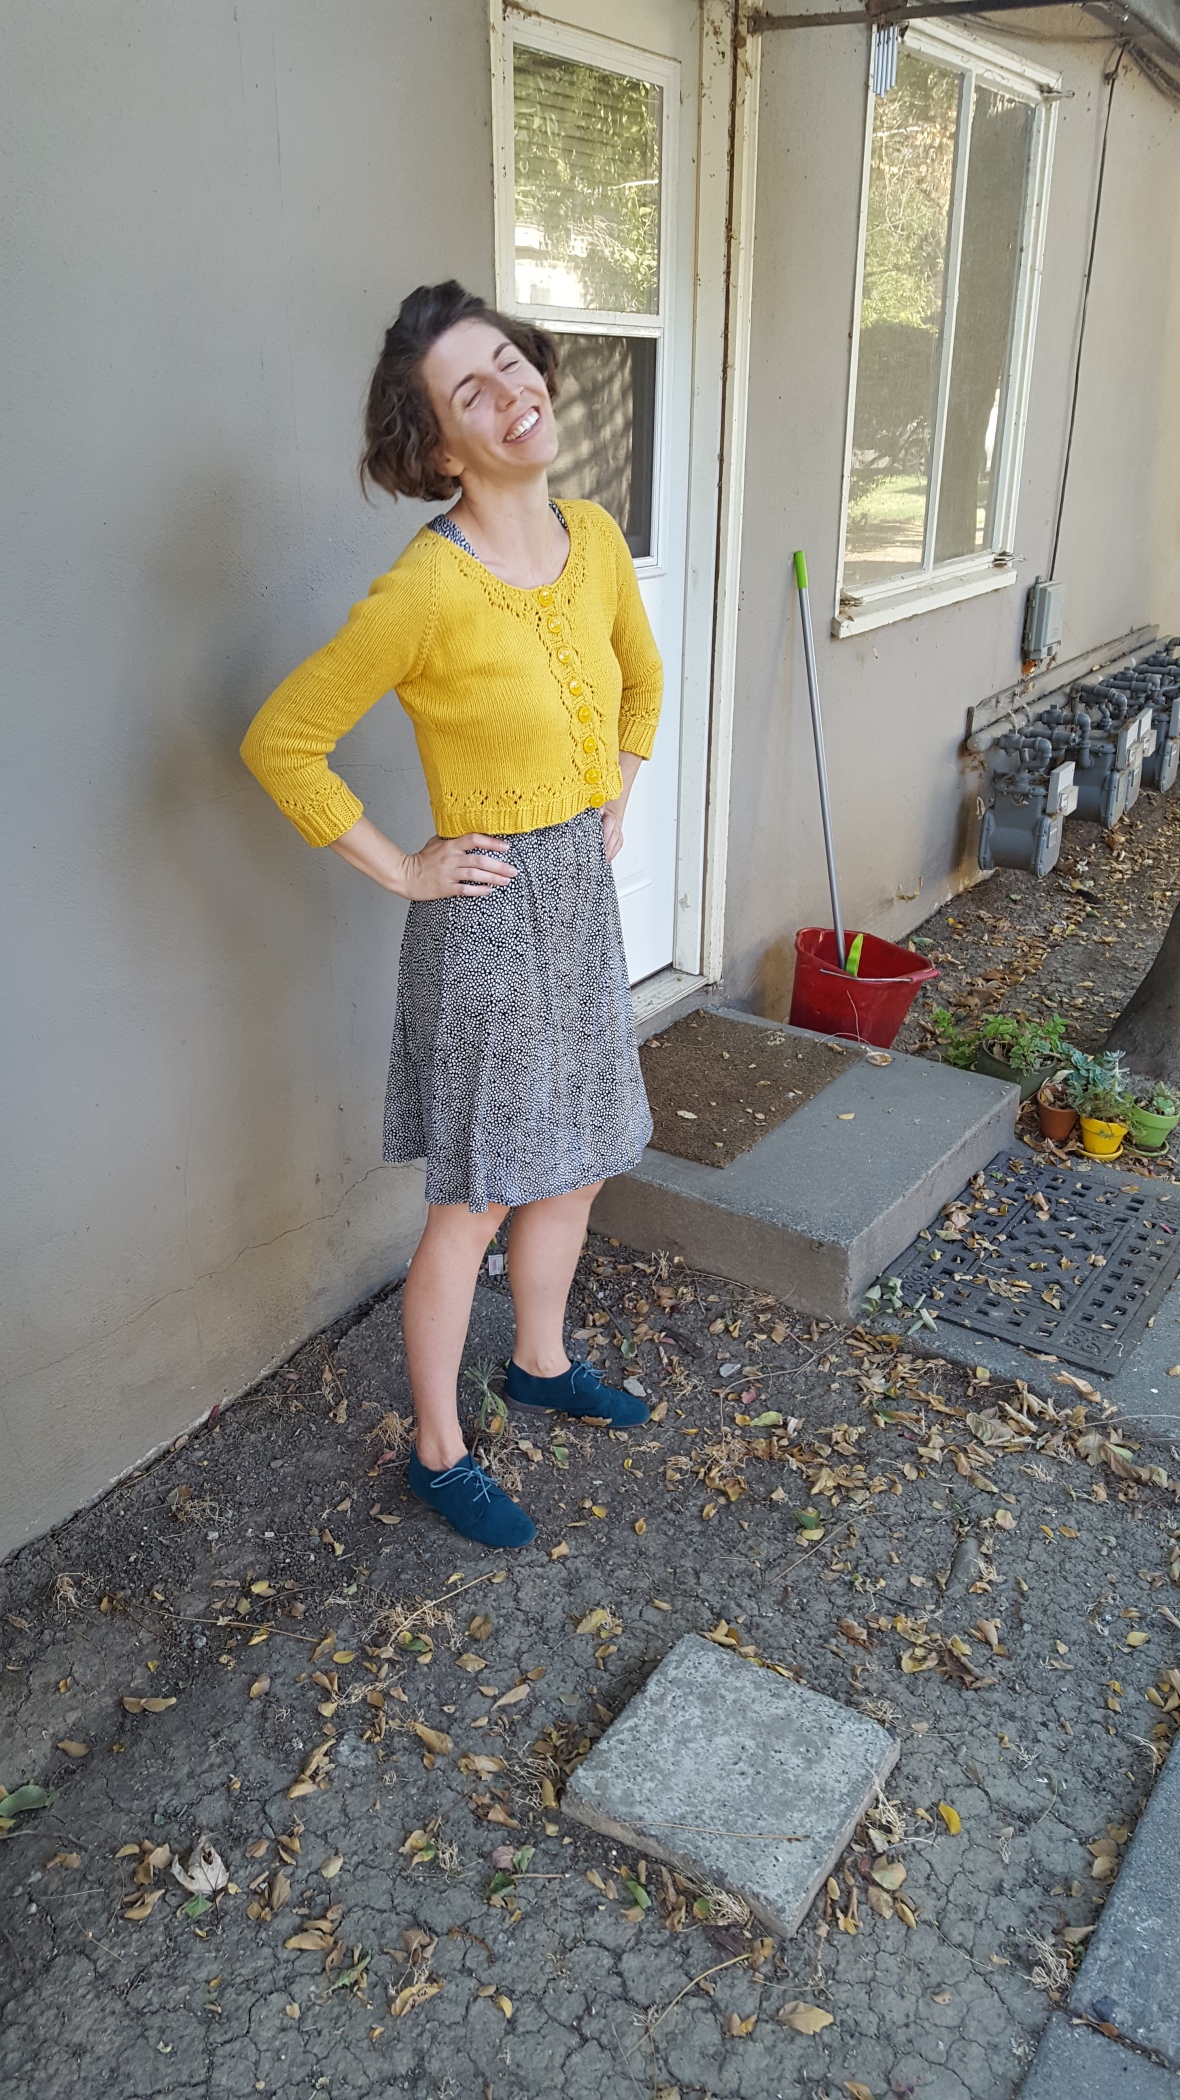
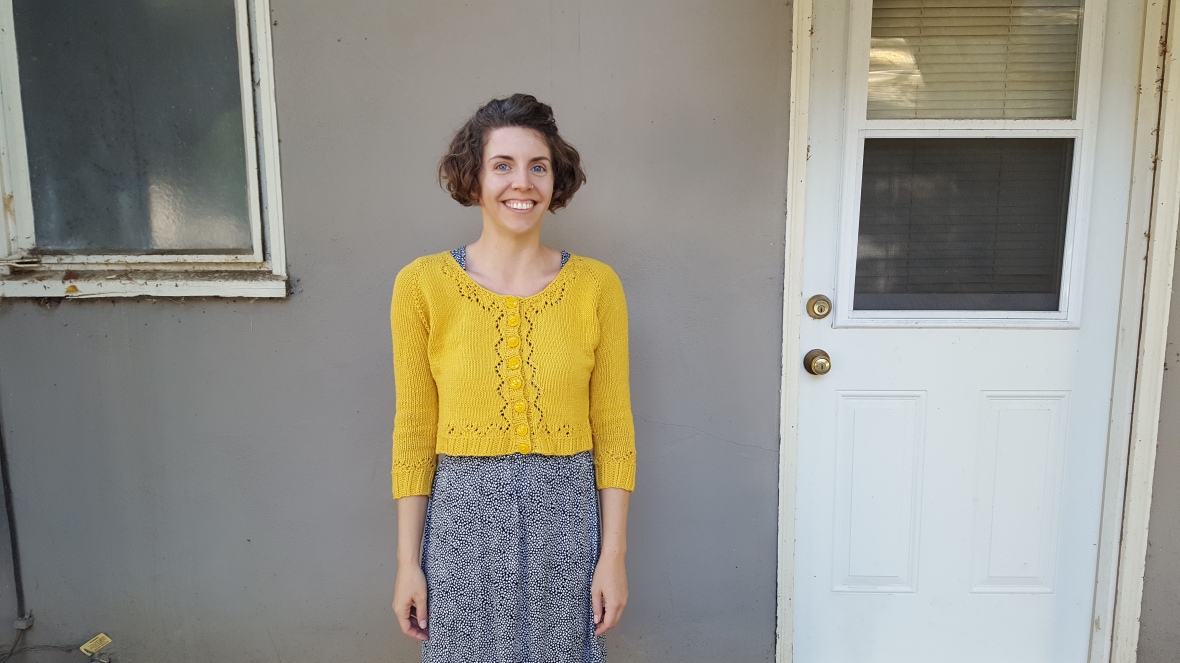
The pattern is Andi Satterlund‘s Miette, which is available as a free Ravelry download. It’s a cropped cardigan with 3/4 sleeves and eyelete edging along the button, neck, and wristbands. It looks really fantastic over dresses:

2016-09-08-17-25-38

For once I used the recommended yarn for a pattern: Cascade Yarns Sierra (in the gold colorway, a cotton.wool blend, which is of course now discontinued. Right from the start, I made a major modification: I used the directions for the 42″ large to get a 34″ small with  gauge of a little over 5 st per inch. I was nervous about this approach, but other ravelers made it work, and it was clearly the right call.

2015-09-25 18.23.522015-09-25 18.24.01

I made several other modifications so the cardigan would fit me better. 1)  I cast on five stitches at the armholes for my shoulders. My last cardigan was a bit snug on my shoulders.  I also did waist shaping at the sides instead of bust darts, with a decrease of sl1st, knit, knit, k2tog beneath each armpit every 4th row.  I did bust darts on my  first cardigan, but I have since realized I really didn’t need them. Finally, I added one repeat of rows 70-80 for length, because I have a long torso and I didn’t need this cardigan to be super cropped.

2016-08-20-17-13-30

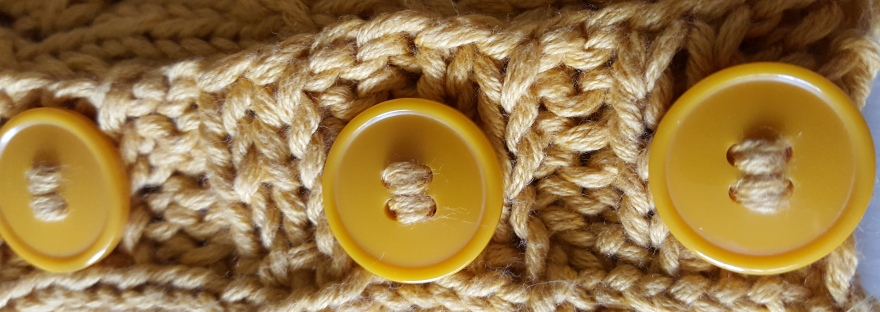
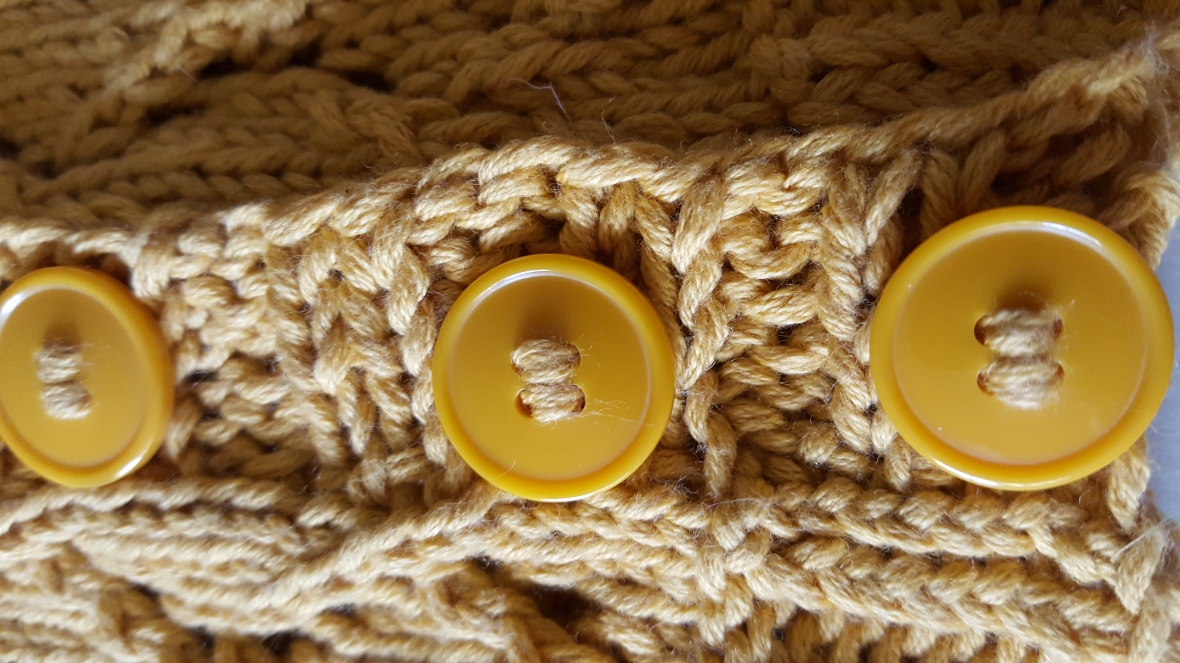
I was quite fortunate to find great buttons for this cardigan! They were 3/4” buttons instead of the recommended 5/8” but I wanted completely matching buttons, and these were the best ones. I used the same video tutorial to make sure they would be secure.

2016-08-22-10-03-02

After all of this work, it felt like the blocking took forever! I guess the cotton/wool blend yarn is not as fast to dry as some other yarns.

2016-08-22-10-02-49

I think this is my favorite sweater that I’ve made so far. And all though it took me a little over a year to finish, I got it done just in time for Autumn colors and cooler temperatures.
Here are more dorky photos of me wearing this great sweater:

2016-09-08-17-25-36

2016-09-08-17-25-18

I really like it.


Activity Knits & Crafts, Nerdy Knits & Crafts, Quick Knits & Crafts, Uncategorized

Harry Pottercraft!

In honor of Harry Potter’s birthday (July 31), the release of Harry Potter and the Cursed Child, and my recent trip to Harry Potter World, I’m doing a quick post on pottercrafts!

Deathly Hot: The Hallows Tank Top

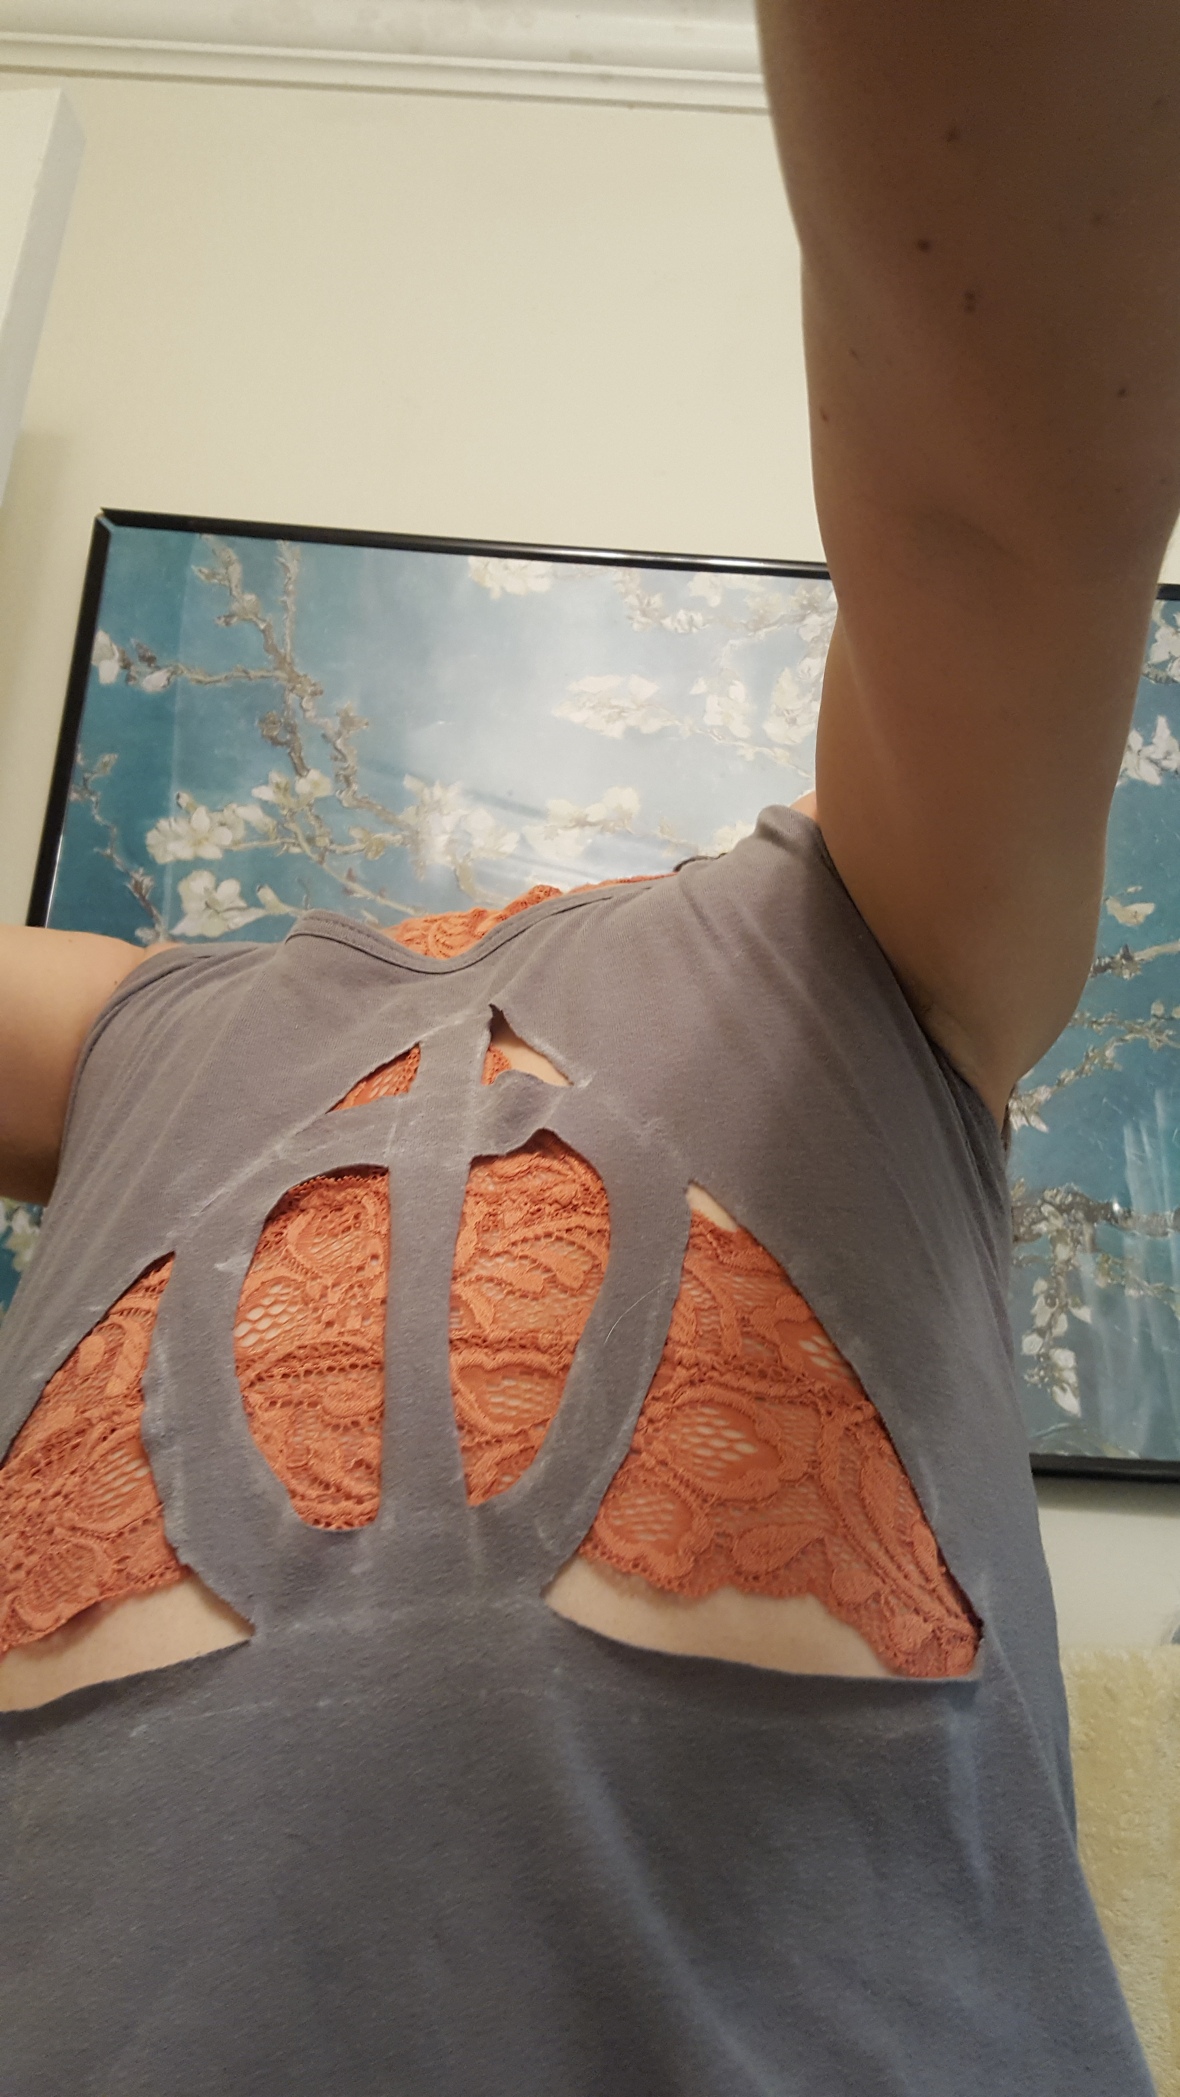
2016-07-22 12.42.52

Just before leaving for Los Angeles to visit the new Wizarding World of Harry Potter in Hollywood, I decided I needed a DIY top appropriate for the 100+ degree F weather of LA in July. Luckily (felix felicitously?), I found this great Deathly Hallows cutout tank tutorial on YouTube. I made my lines extra sharp by using an X-Acto Knife instead of scissors, but either will work. Just swish and flick!

2016-07-22 12.35.10

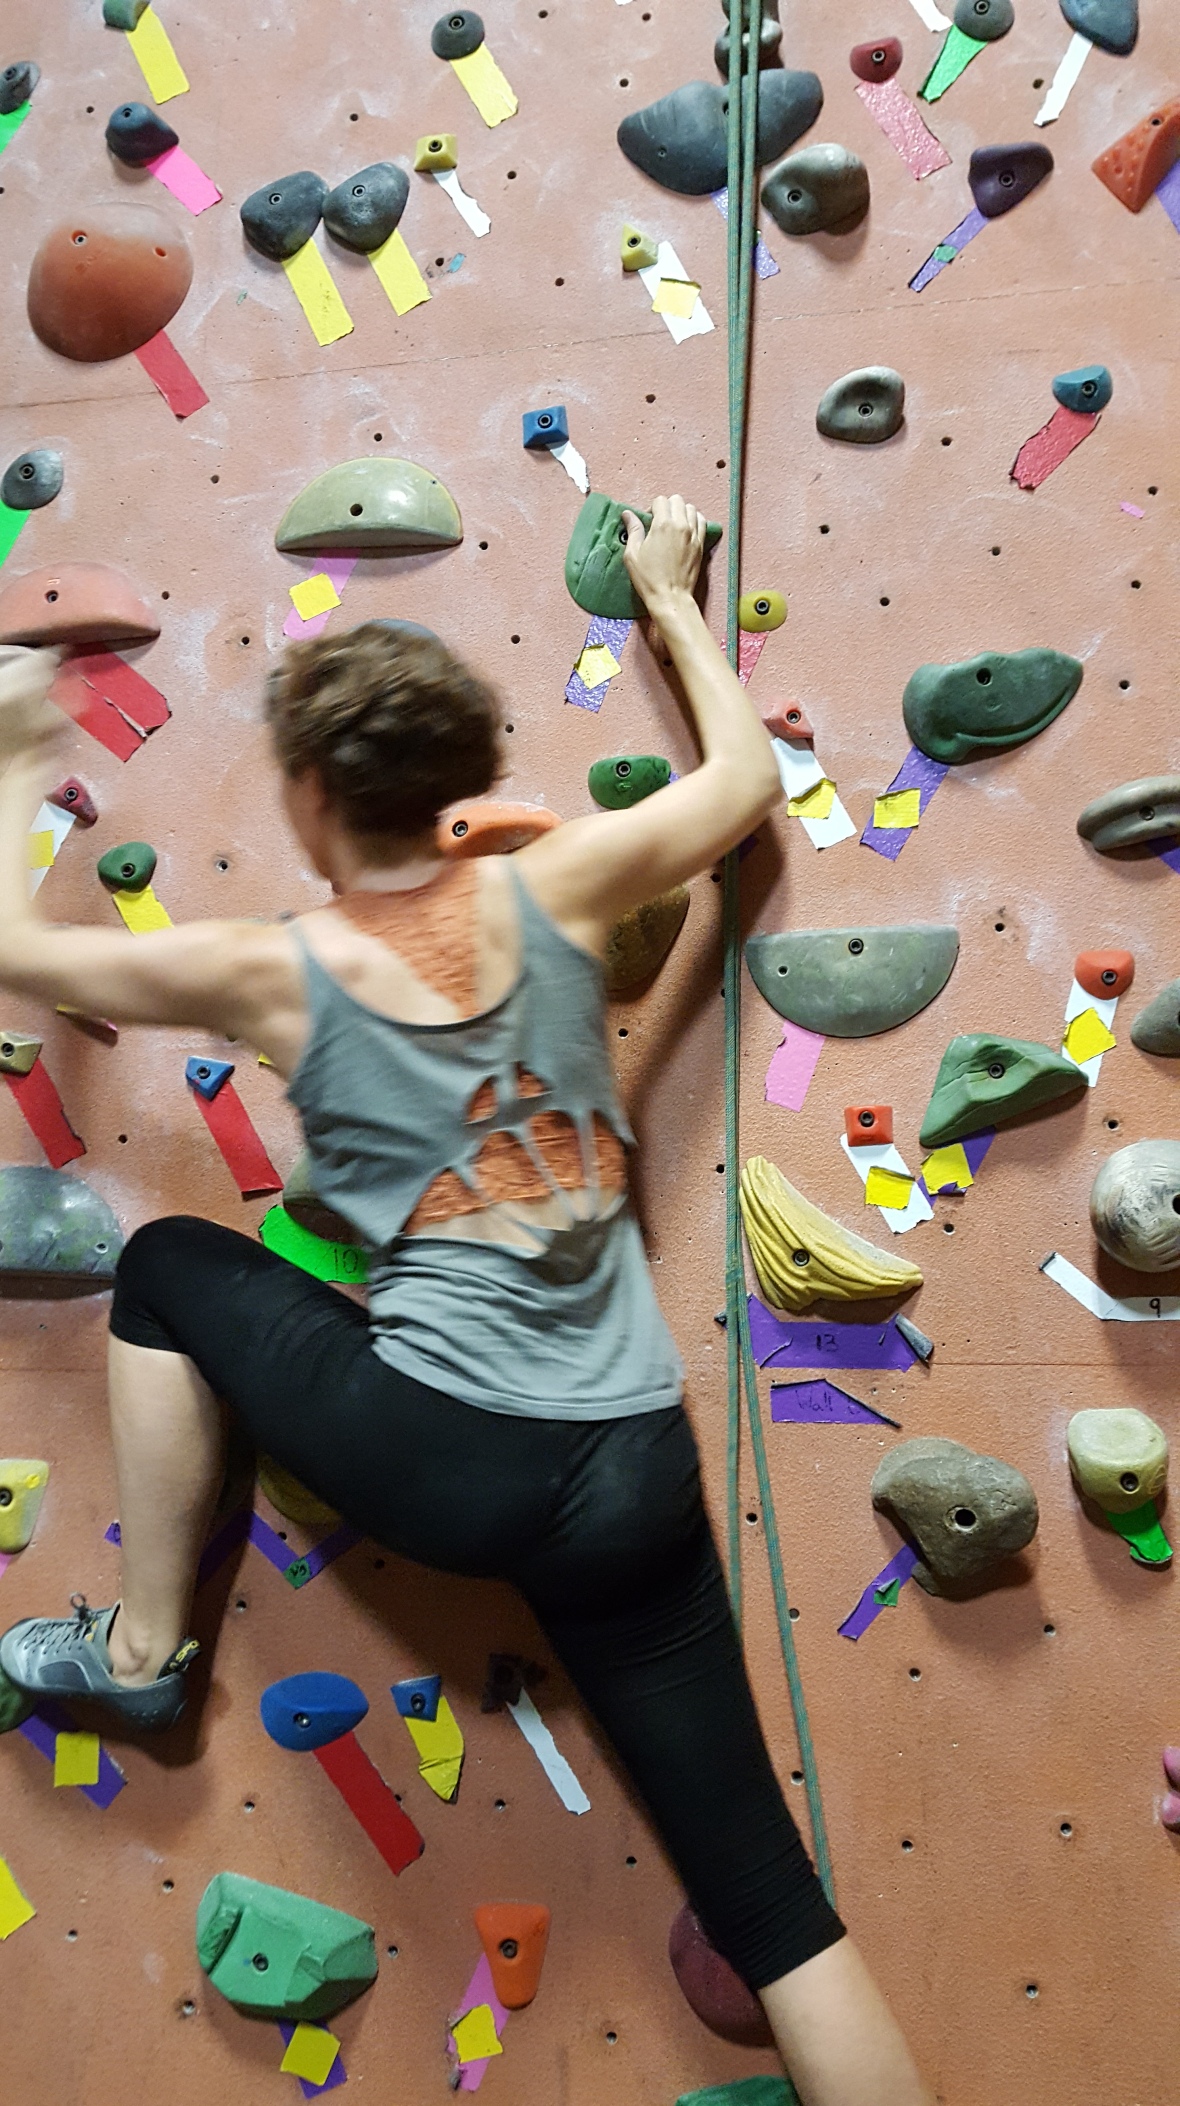
You can still kind of see the chalk lines here. They faded eventually, but I’m probably going to get more chalk on it, seeing as how this is a great top for the rock climbing gym.

2016-07-29 19.17.21

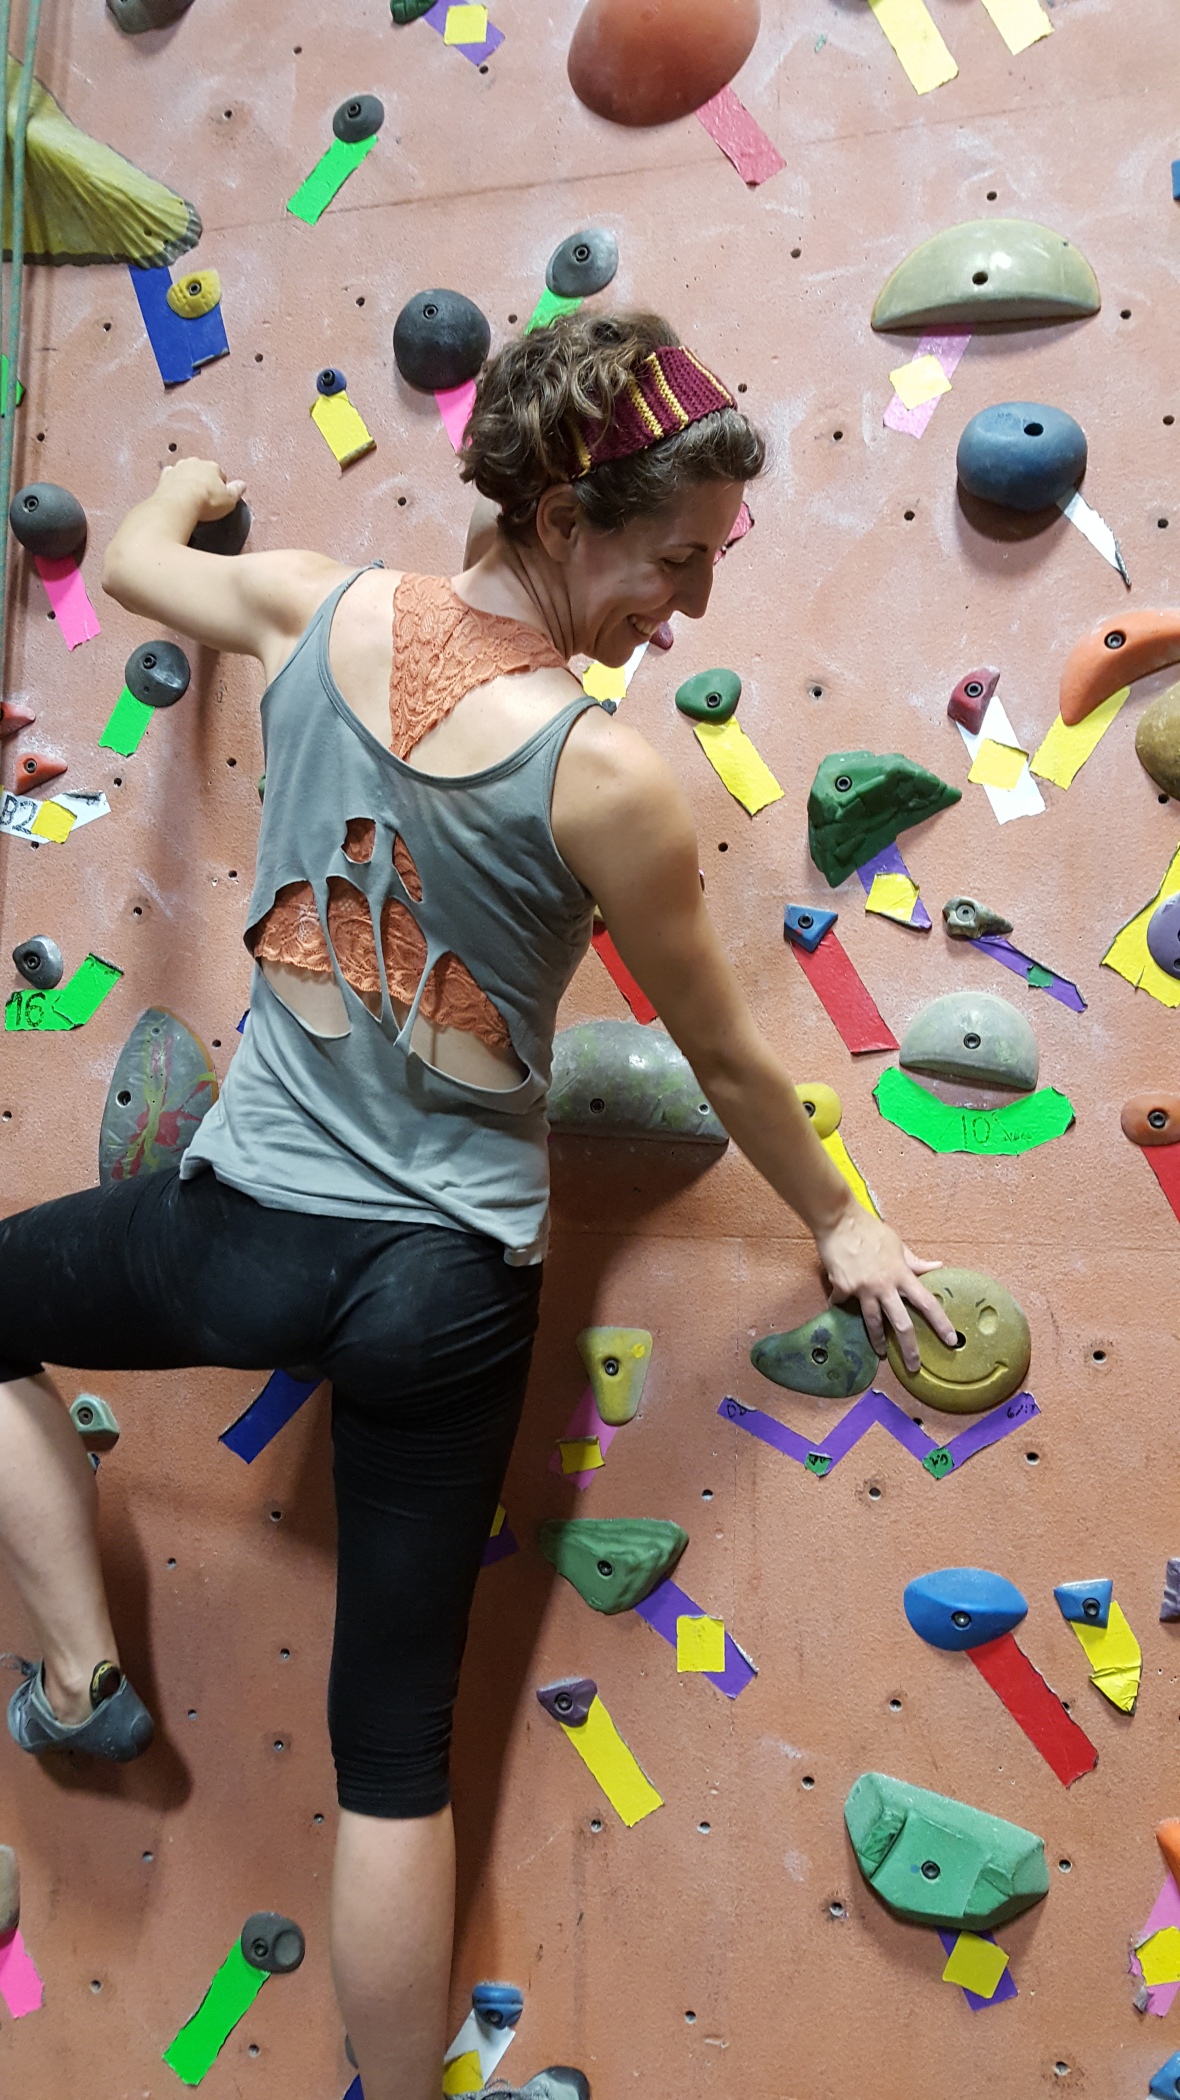
See that high stepping move? Definitely the (hor)crux of the boulder problem. 🙂

House Colors Headband -Gryffindor version

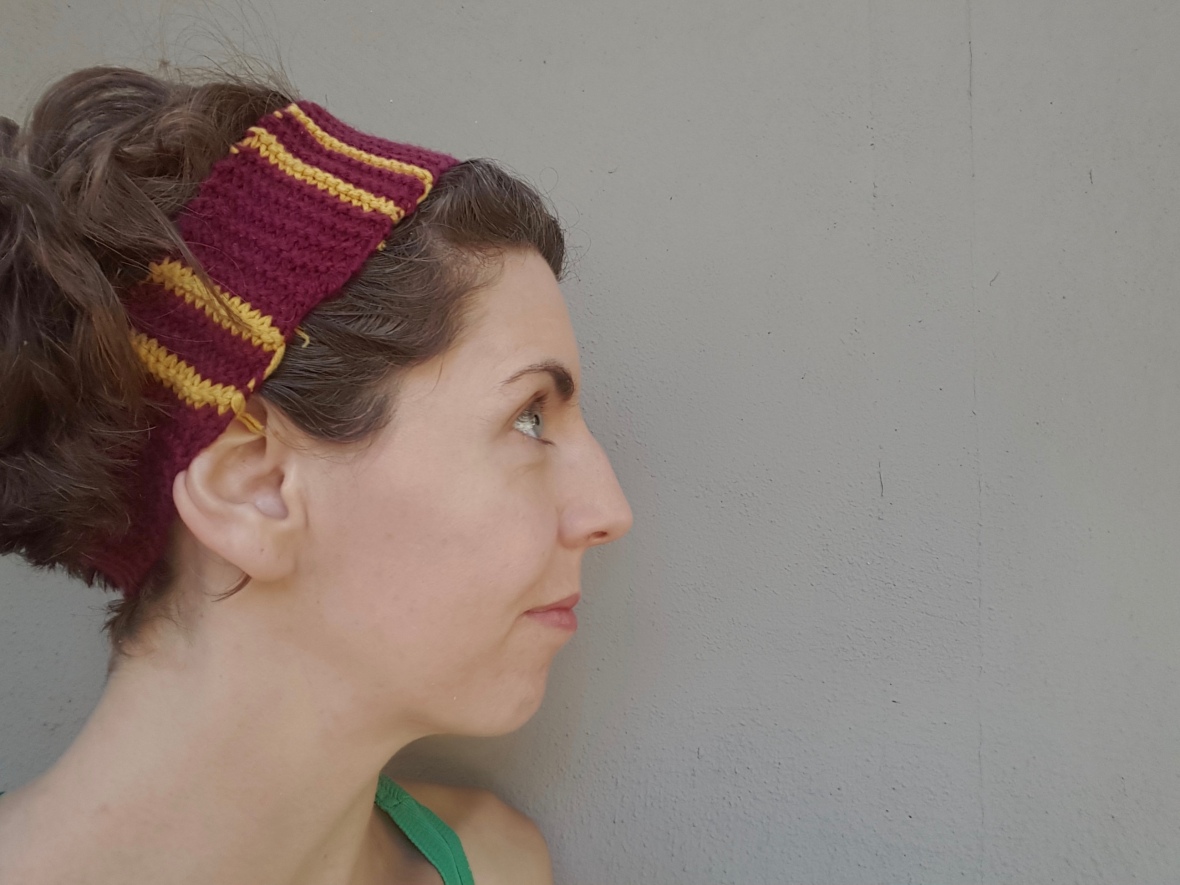
2016-07-29 16.48.48

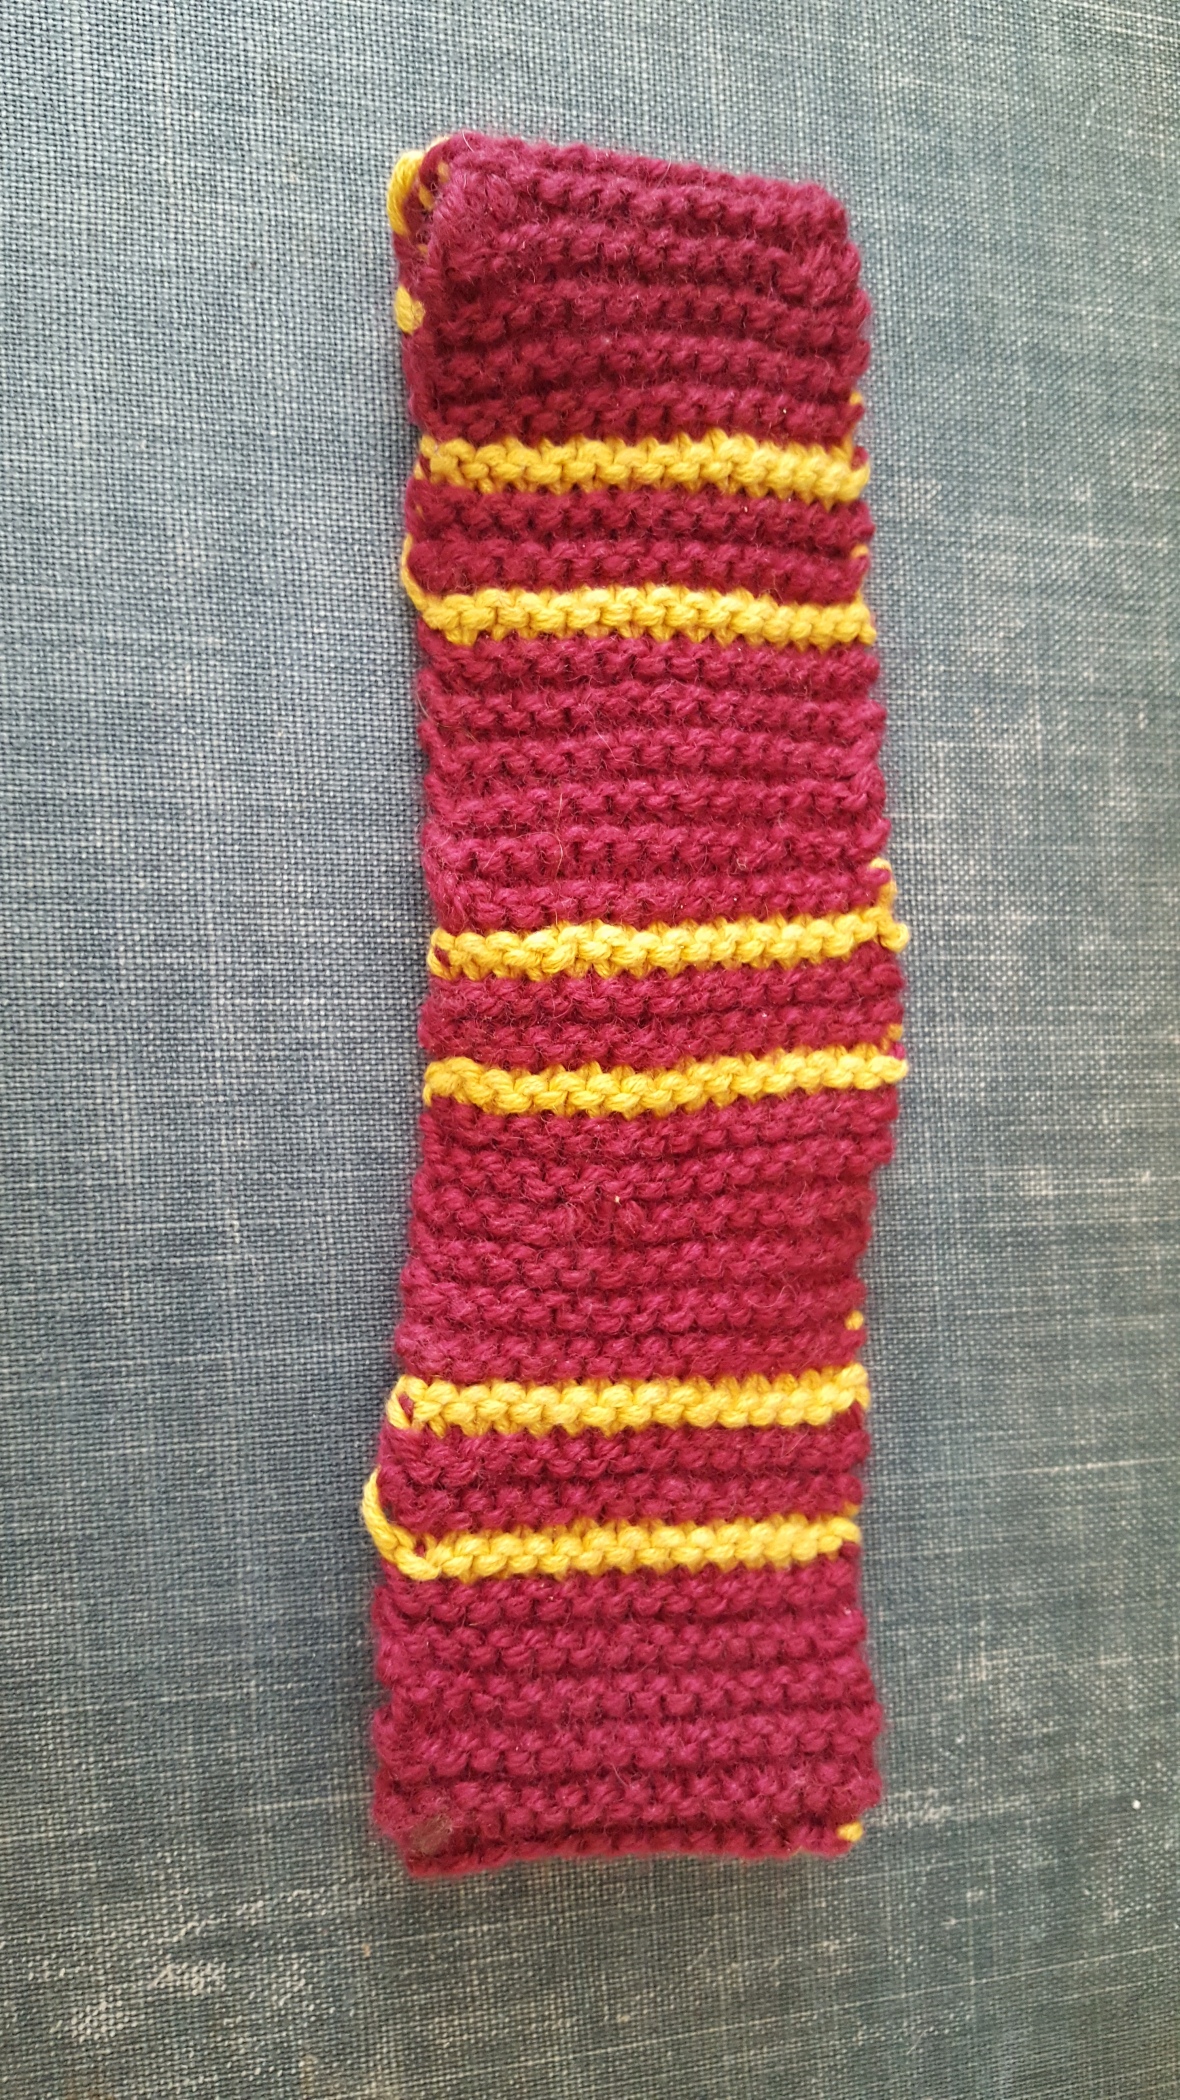
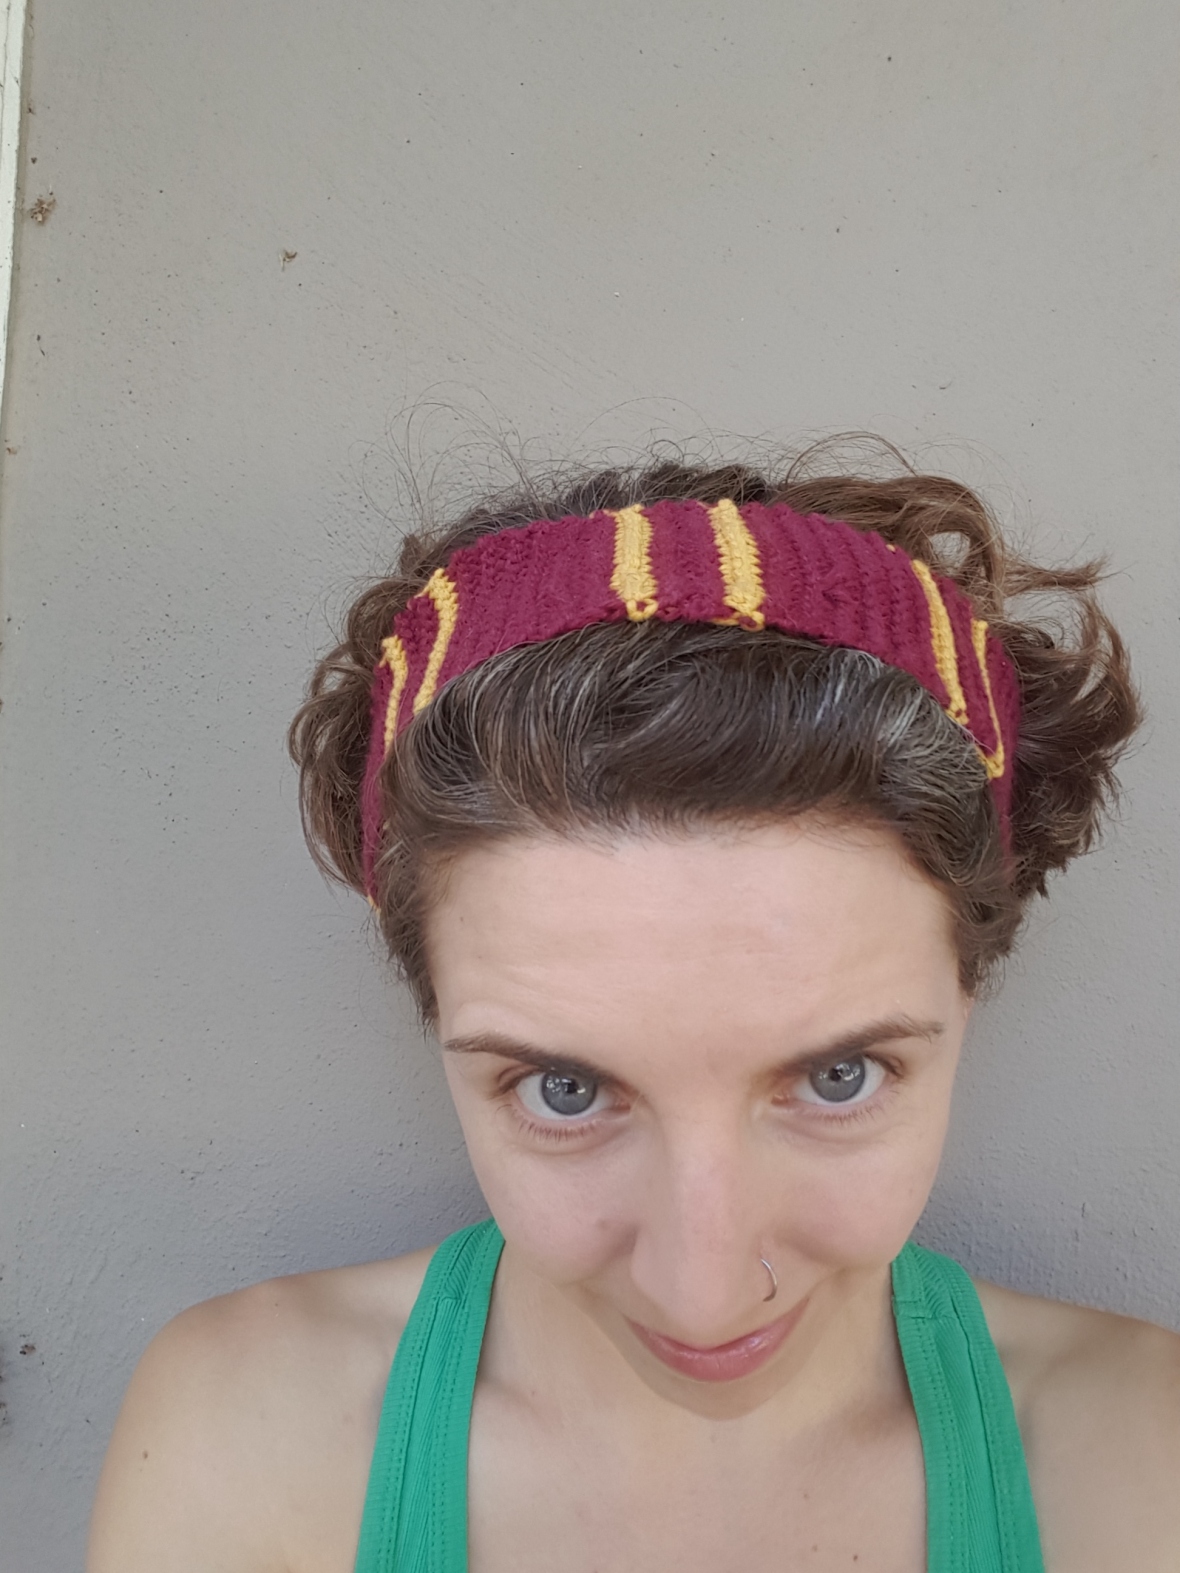
The other item I wore that weekend was a headband, in lieu of a house scarf. Even though the Sorting Hat has placed me in Ravenclaw (and my cat too!), I figured that Gryffindor colors were the way to go here. I drew inspiration from the scarf pattern seen in the 4th Harry Potter Movie. But what I’m most proud of is the fact that I made this on the car ride down from Northern California! I actually finished it in the dark!
2016-07-29 16.46.55

It’s a little wonky because of that, and the fact that I had no pattern, and the fact that I forgot scissors and cut the back threads with a pocket knife, but I’m sure Dobby would still wear it.

2016-07-29 16.48.33

I mostly wore this headband when I went on rides, but once again, I forsee using it quite a bit for rock climbing:

2016-07-29 19.18.05

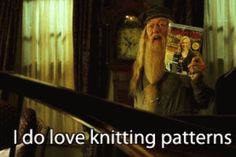
Perhaps it will help me be braver when bouldering! At any rate, I know Dumbledore would approve of this knitting pattern. Need proof? Here it is, book 6:

Dumbledorknitting

By the way, this the first Harry Potter themes knitting I’ve done—that would be the Lion Cat Toy from a post in 2012.

Also: bonus photos!

Wizarding World of Harry Potter:

2016-07-23 08.52.43Version 2

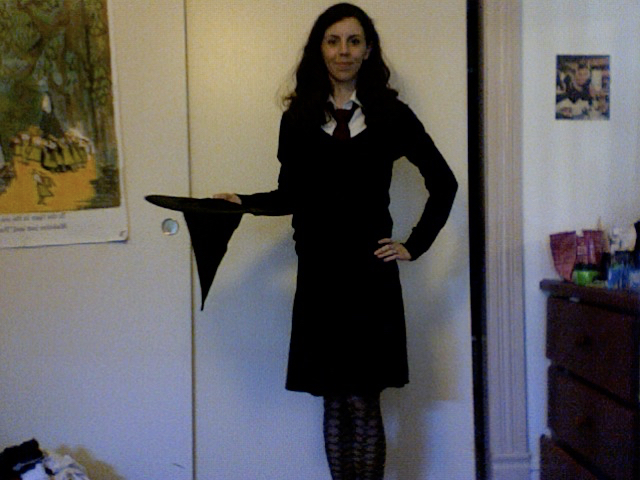
Me as Hermione in 2007:

1


Botanical Knits & Crafts, Nerdy Knits & Crafts, Original Knitting Patterns, Tweaks & Alterations

Lovebirds: An Owl Pillow

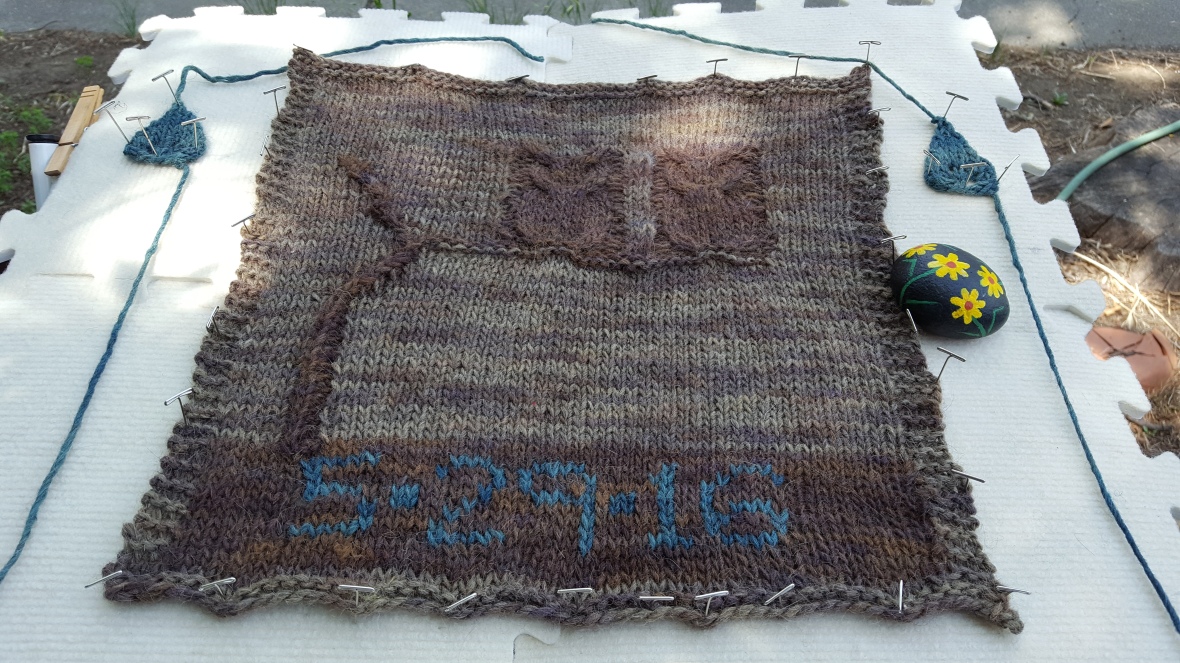
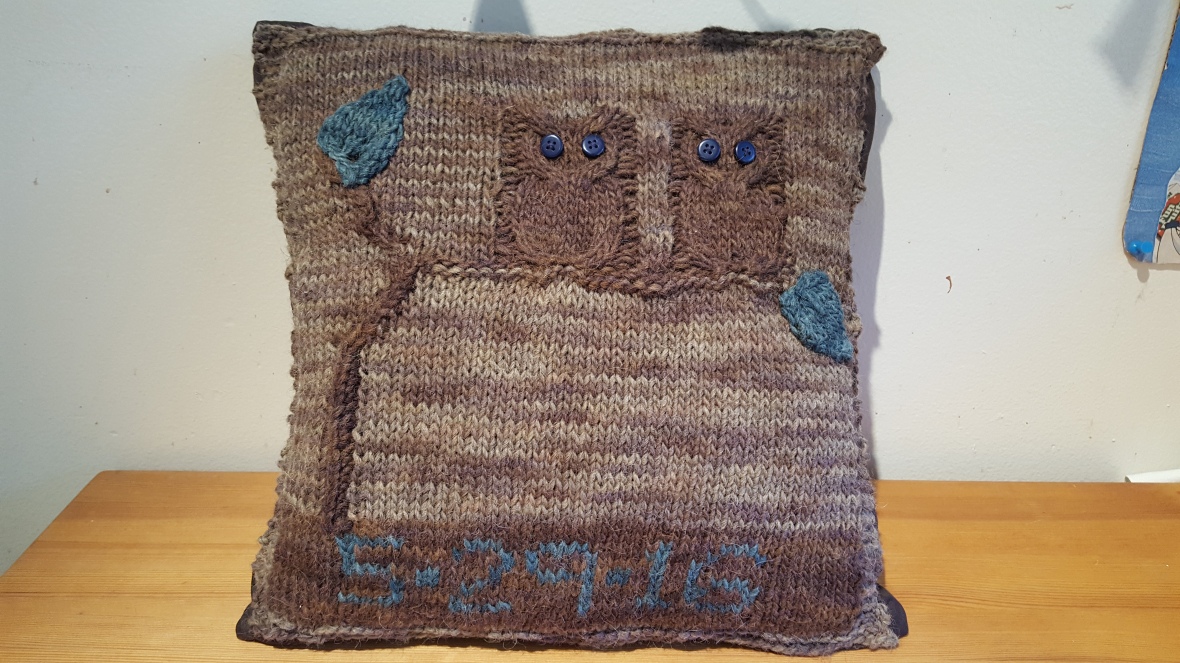
What gift do you give to two crazy lovebirds (known to friends as the Owls) when they get married in a spectacular DIY ceremony in a field behind a farmhouse? Well, if you are me, you give them this:

2016-05-29 12.33.21-1

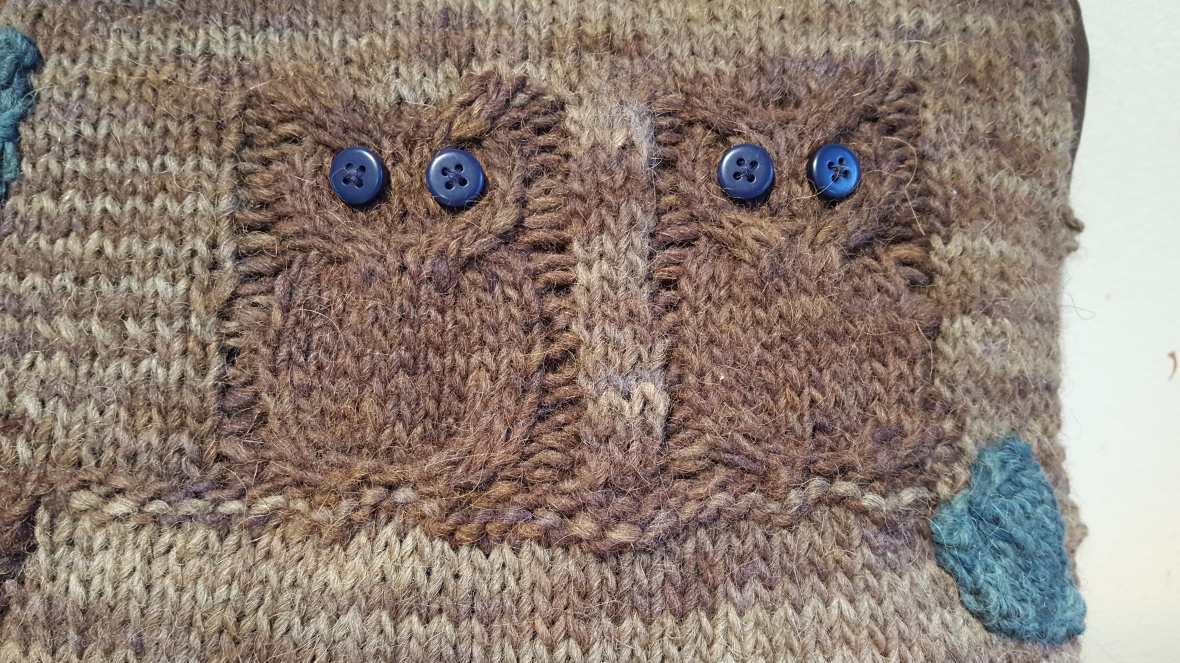
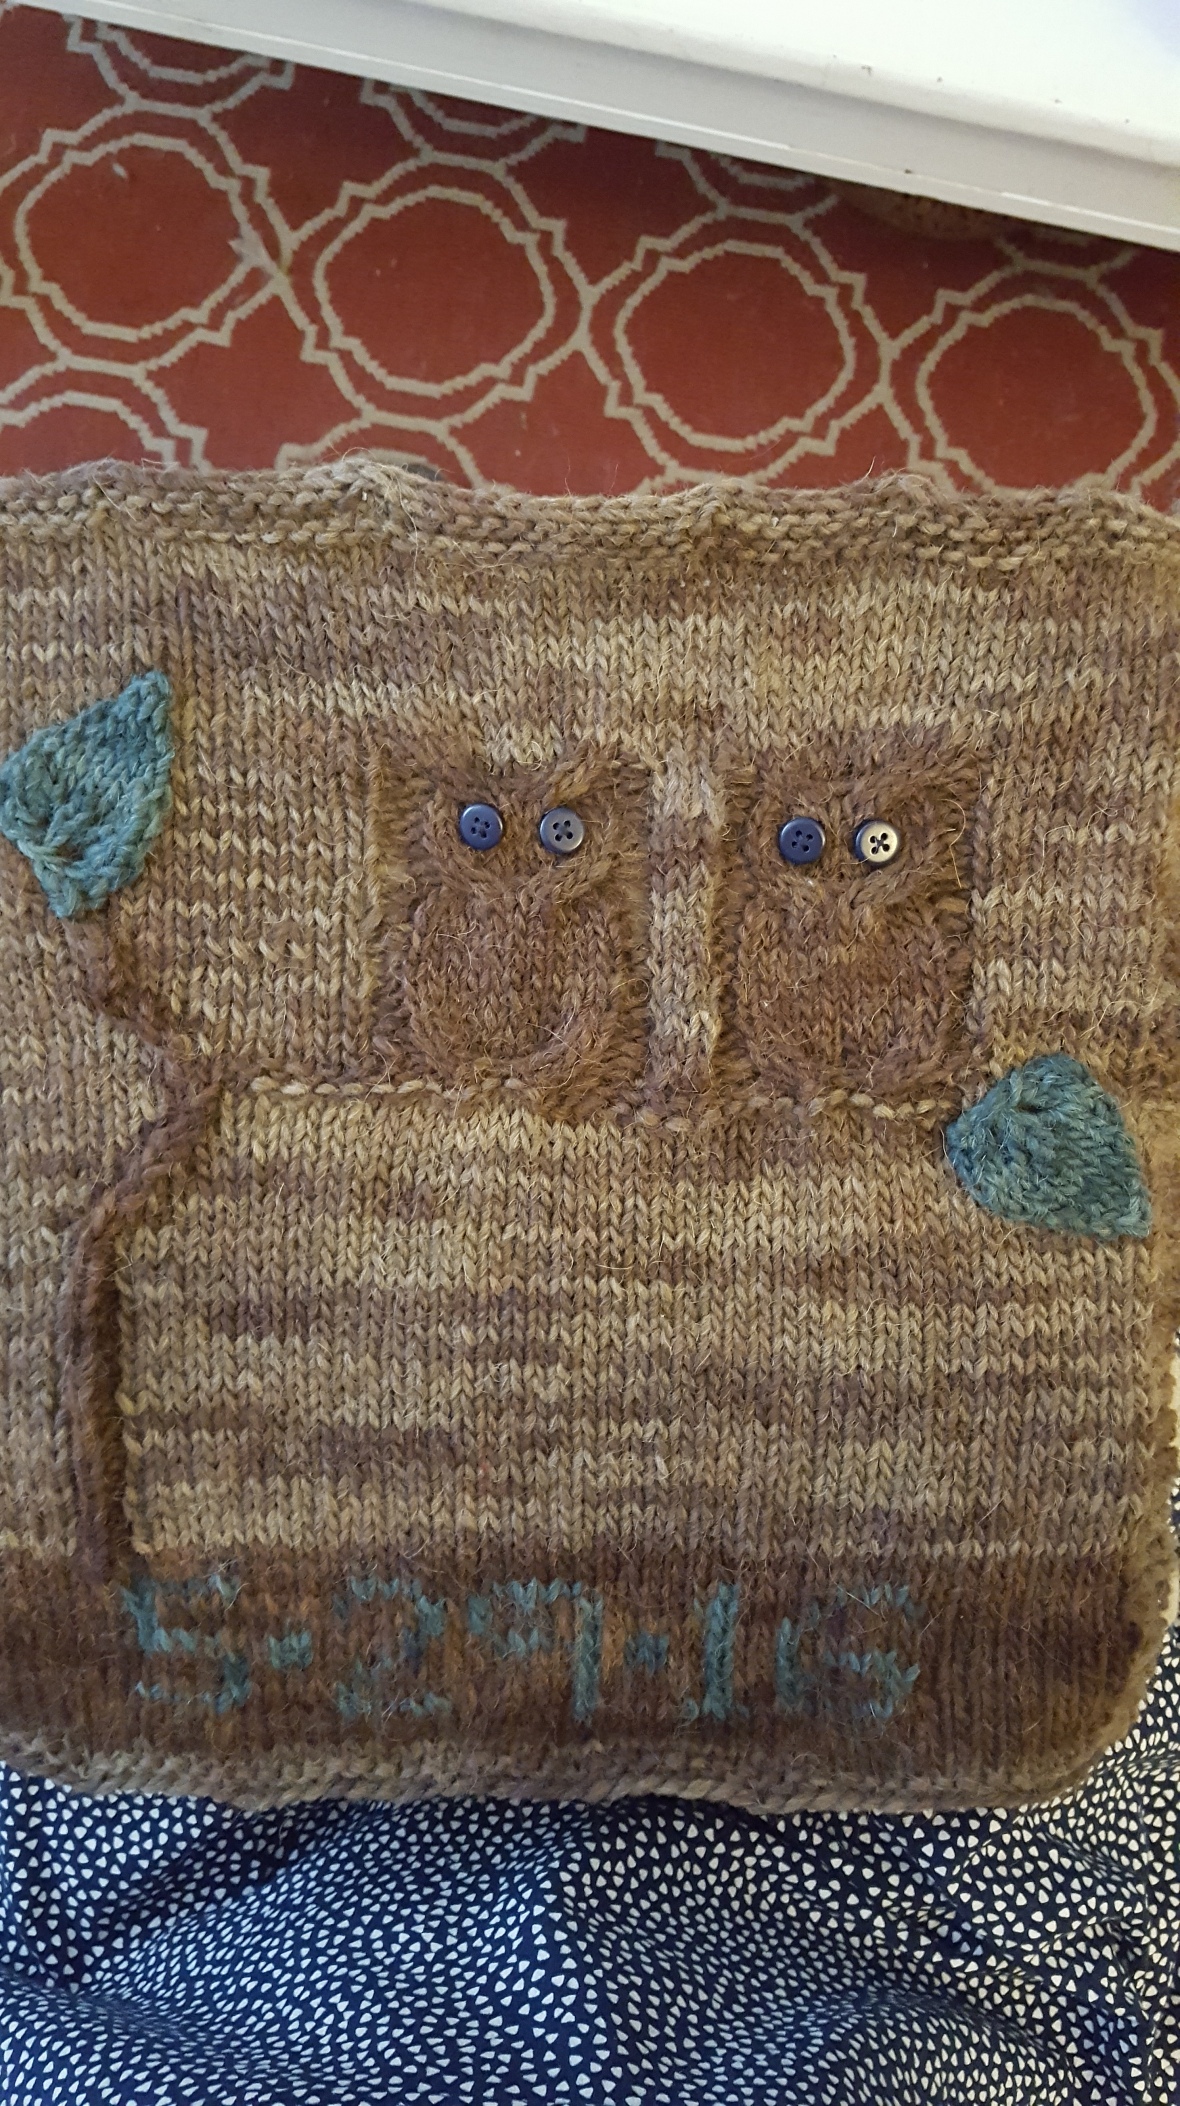
An Owl Pillow, complete with button eyes, a leafy tree, and the date of their wedding.

As with nearly all of my knitting projects, this one is cobbled together from several different patterns and adapted on the FLY. When a knit has to fit, I measure and gauge swatch and carefully plan everything out. When it doesn’t well—I WING it.

Pattern notes and bird puns below!

2016-05-24 11.02.52

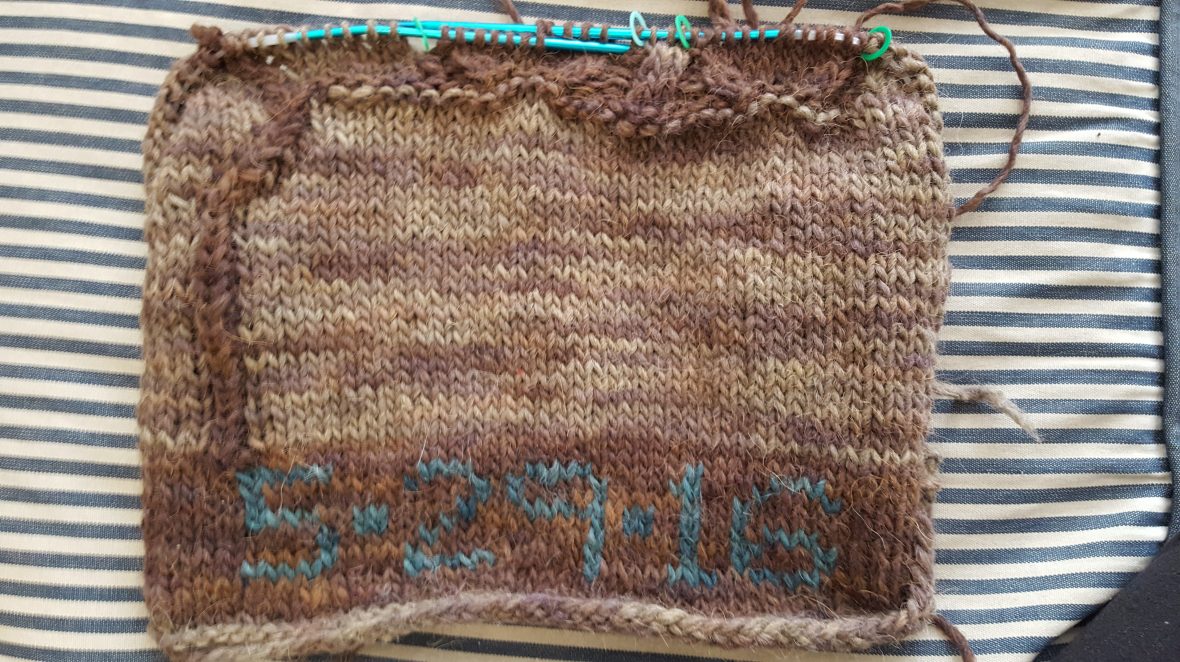
To begin, I used this free calendar numbers chart to place the date at the bottom: 5 * 29 * 16. I was knitting from my stash, trying to use up the brown and green wool from Farmhouse Yarns that my aunt gave me nearly a decade ago (same yarn that I used for my Owl Mittens!). Since I had two dye lots of brown, I decided that the ground, tree and owls would be the darker brown, while the border and the sky would be the lighter brown. It worked. WHO is pretty good as guestimating yarn? I am.

2016-05-26 17.00.55

The main pattern I used was Dr. Owl from Rowan, which is available for free. But since I was doing colorwork and adding the date at the bottom. I had to make a lot of adjustments, let me tell you. The date at the bottom was stranded knitting, but the tree and the owls were intarsia. The leaves were knit separately and sewed on. And did I mention the original pattern is in the round and I knit this flat? Keeping track of all the various yarn balls and the altered stitches was not exactly a HOOT.

2016-05-28 12.10.45

Furthermore, I added a second owl to the pattern. I couldn’t have just one for a wedding pillow—I needed  a PARLIAMENT! When the piece was as tall as it was wide, I finished and blocked it. It was about 14 inches square—conveniently the size of a pillow form.

2016-05-29 12.34.24

2016-05-29 12.33.30

Sewing on the leaves and eyes was pretty easy and really made this piece SOAR. However, I had no time or yarn leftover to knit a second panel for the back, so it was off to the fabric store for a pillow form and some brown fabric remnants.

2016-05-29 12.33.48

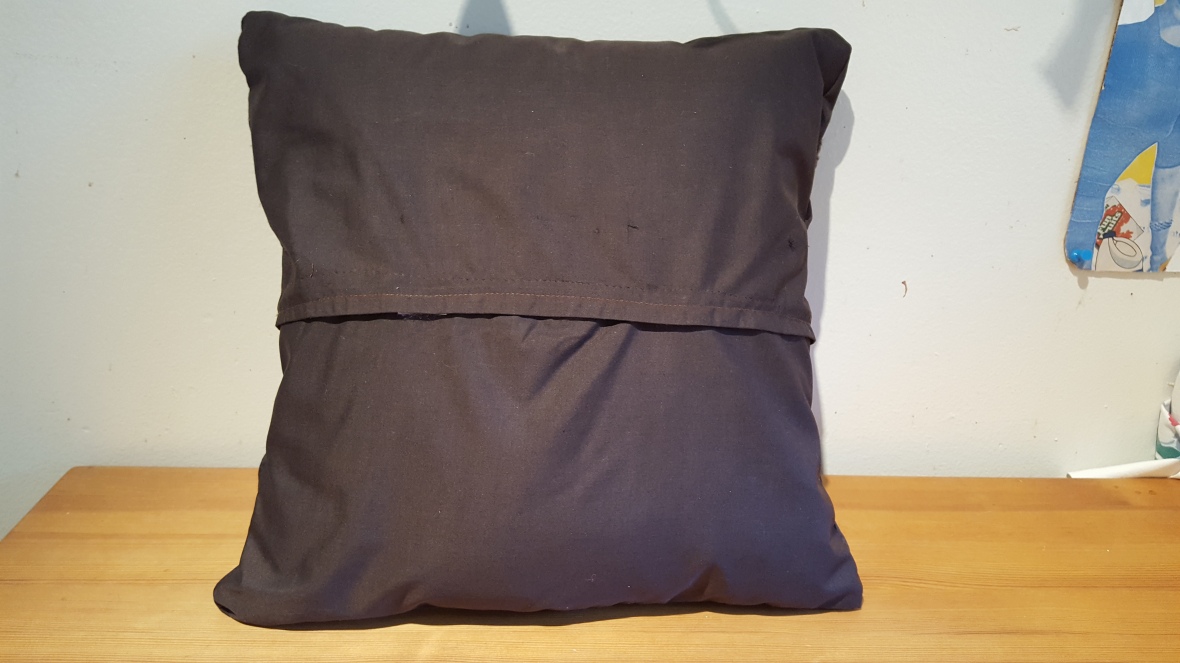
Confession: I am a crappy seamstress. It’s just not really my thing most of the time. But I managed to get two wonky looking back panels, which are held together with velcro, so that the whole pillowcase can be removed for washing if necessary. And it OWL came together a few hours before the wedding!

2016-05-28 18.24.11

And there you have it. The flappy happy couple texted me later to say that they loved it—sometimes it’s risky to make a knitted gift without input from the recipients, but in this case it worked out.

As a side note, I didn’t realize just how long it had been since I posted in this blog! I was thinking it had been 2 or three months, but it’s more like 7. I’ve been teaching a lot of courses and I just don’t have the time on the weekends that I used to in grad school. But I have a few more little projects that I will share here in the future!